How to install the subfloor
Materials: Fasteners: Screws: Nails: Tools: Installation Okay, if I might say, the subfloor was by…
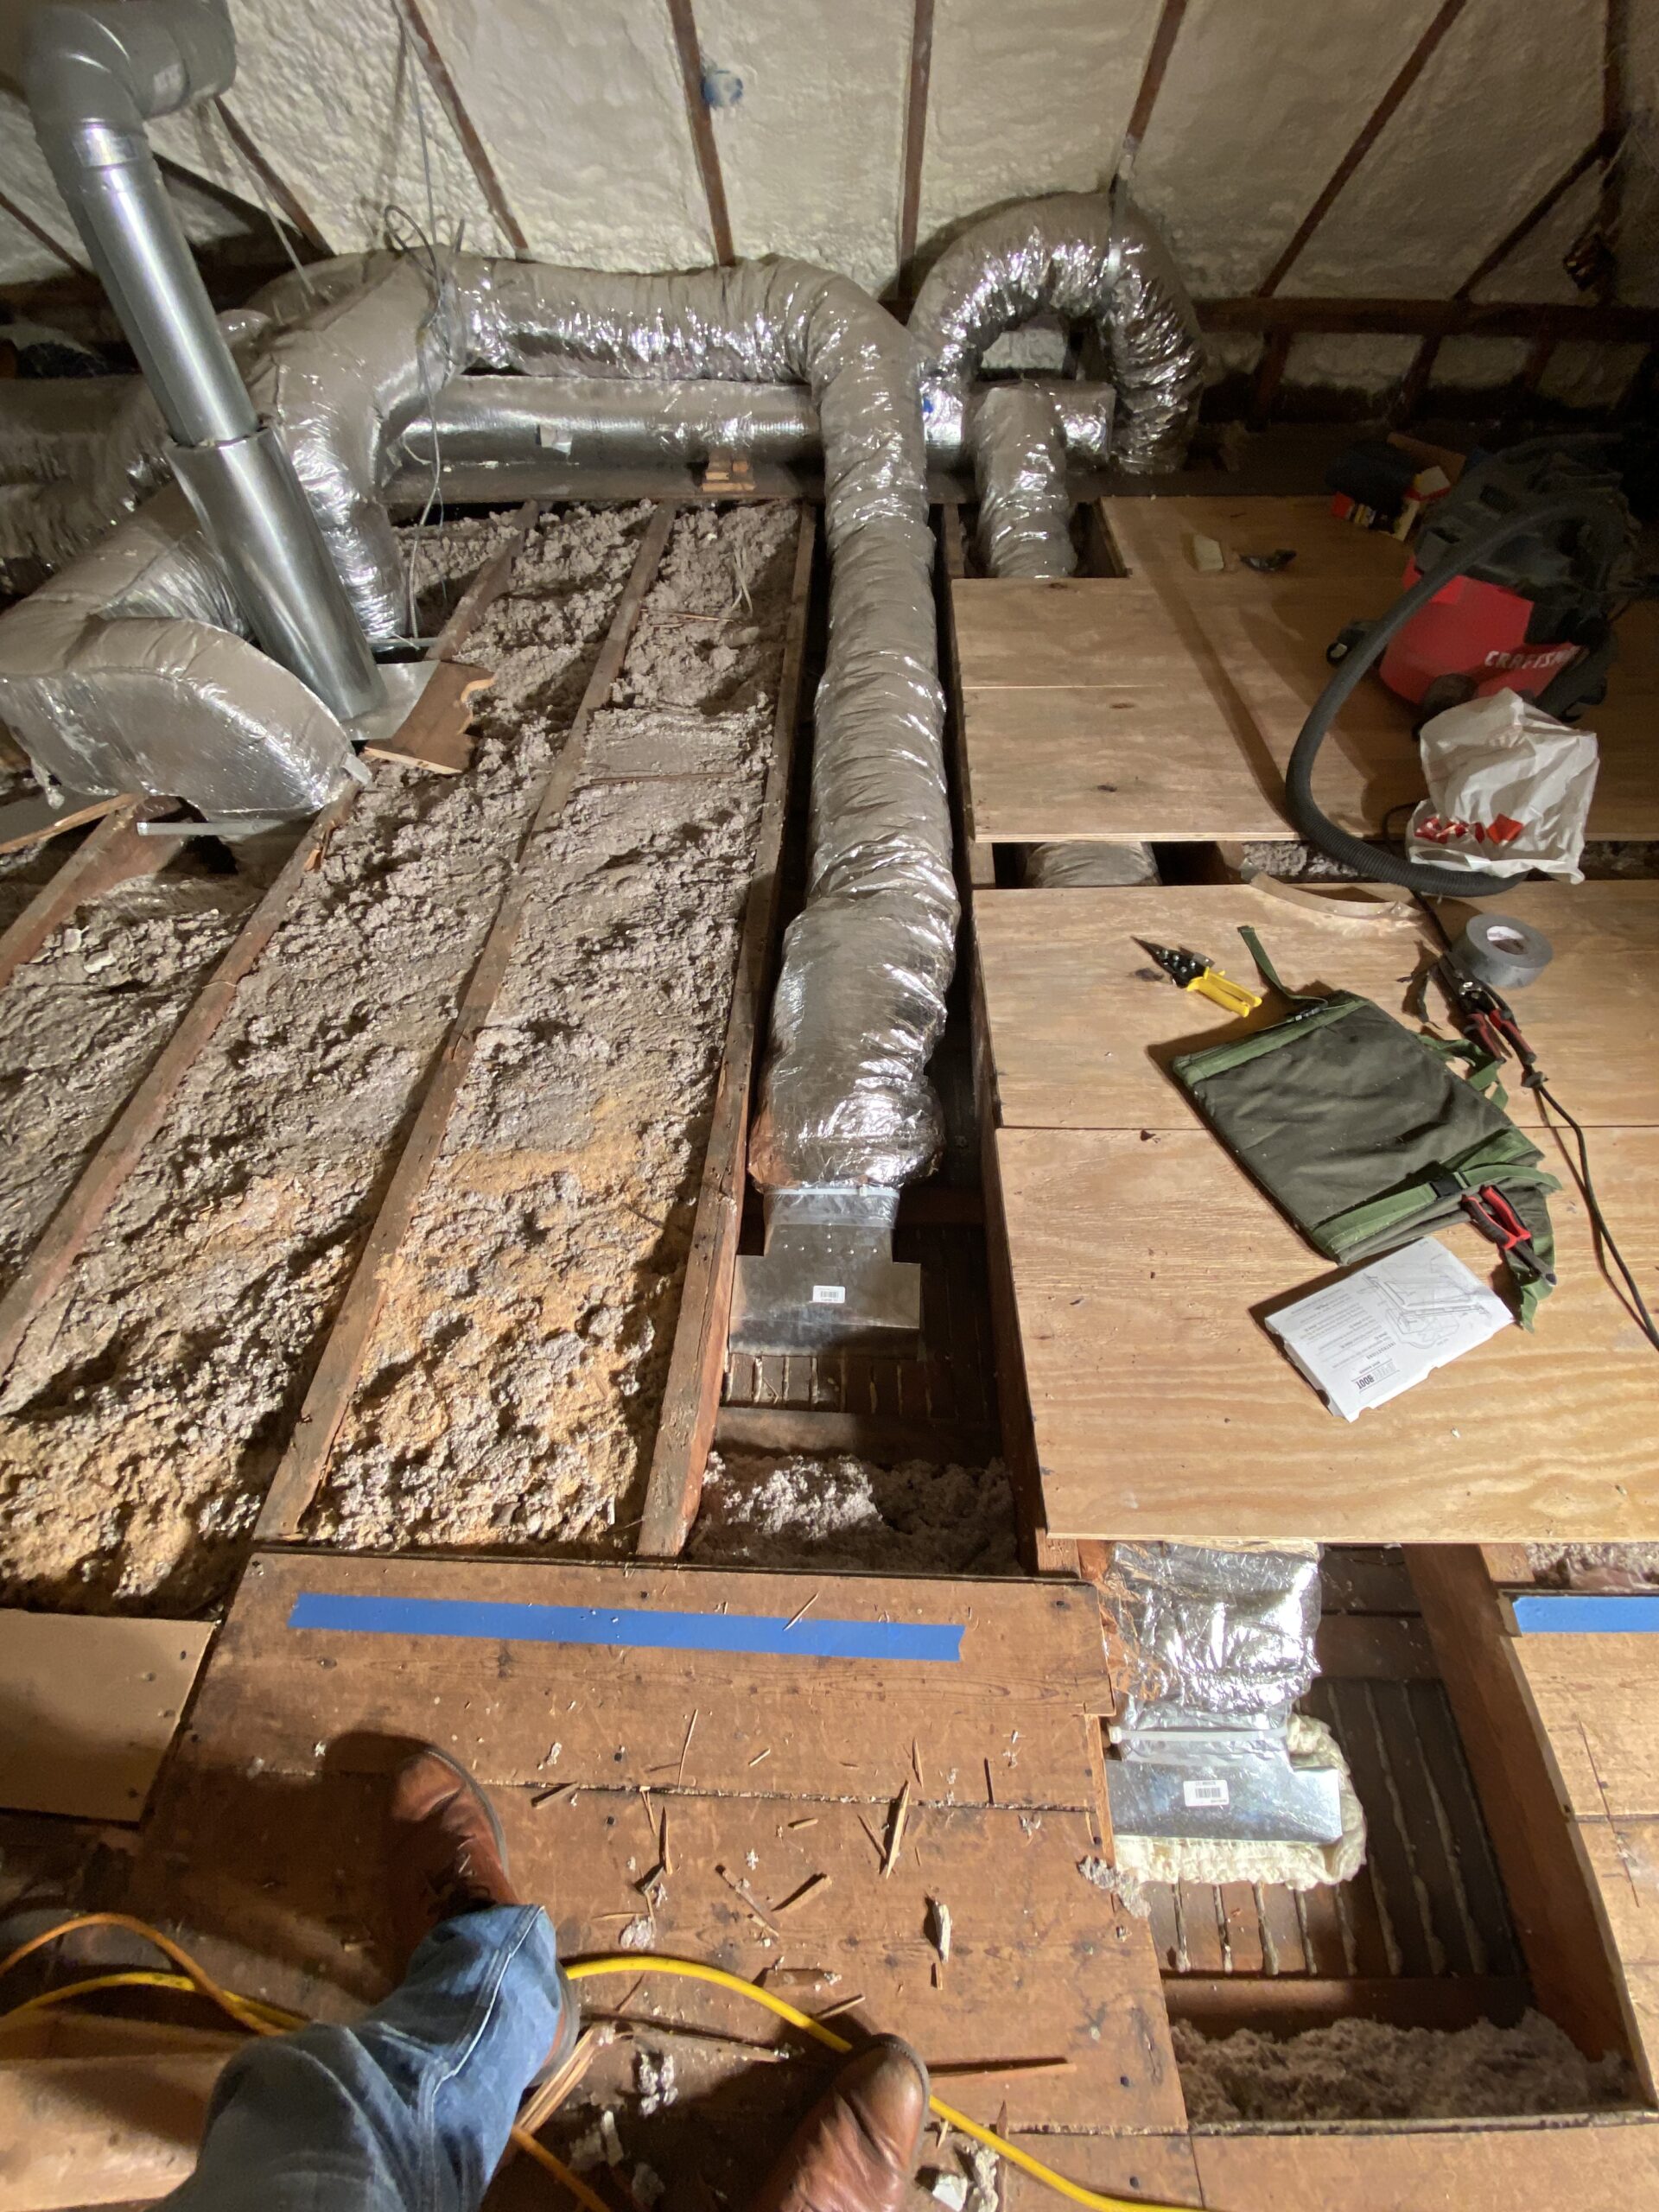
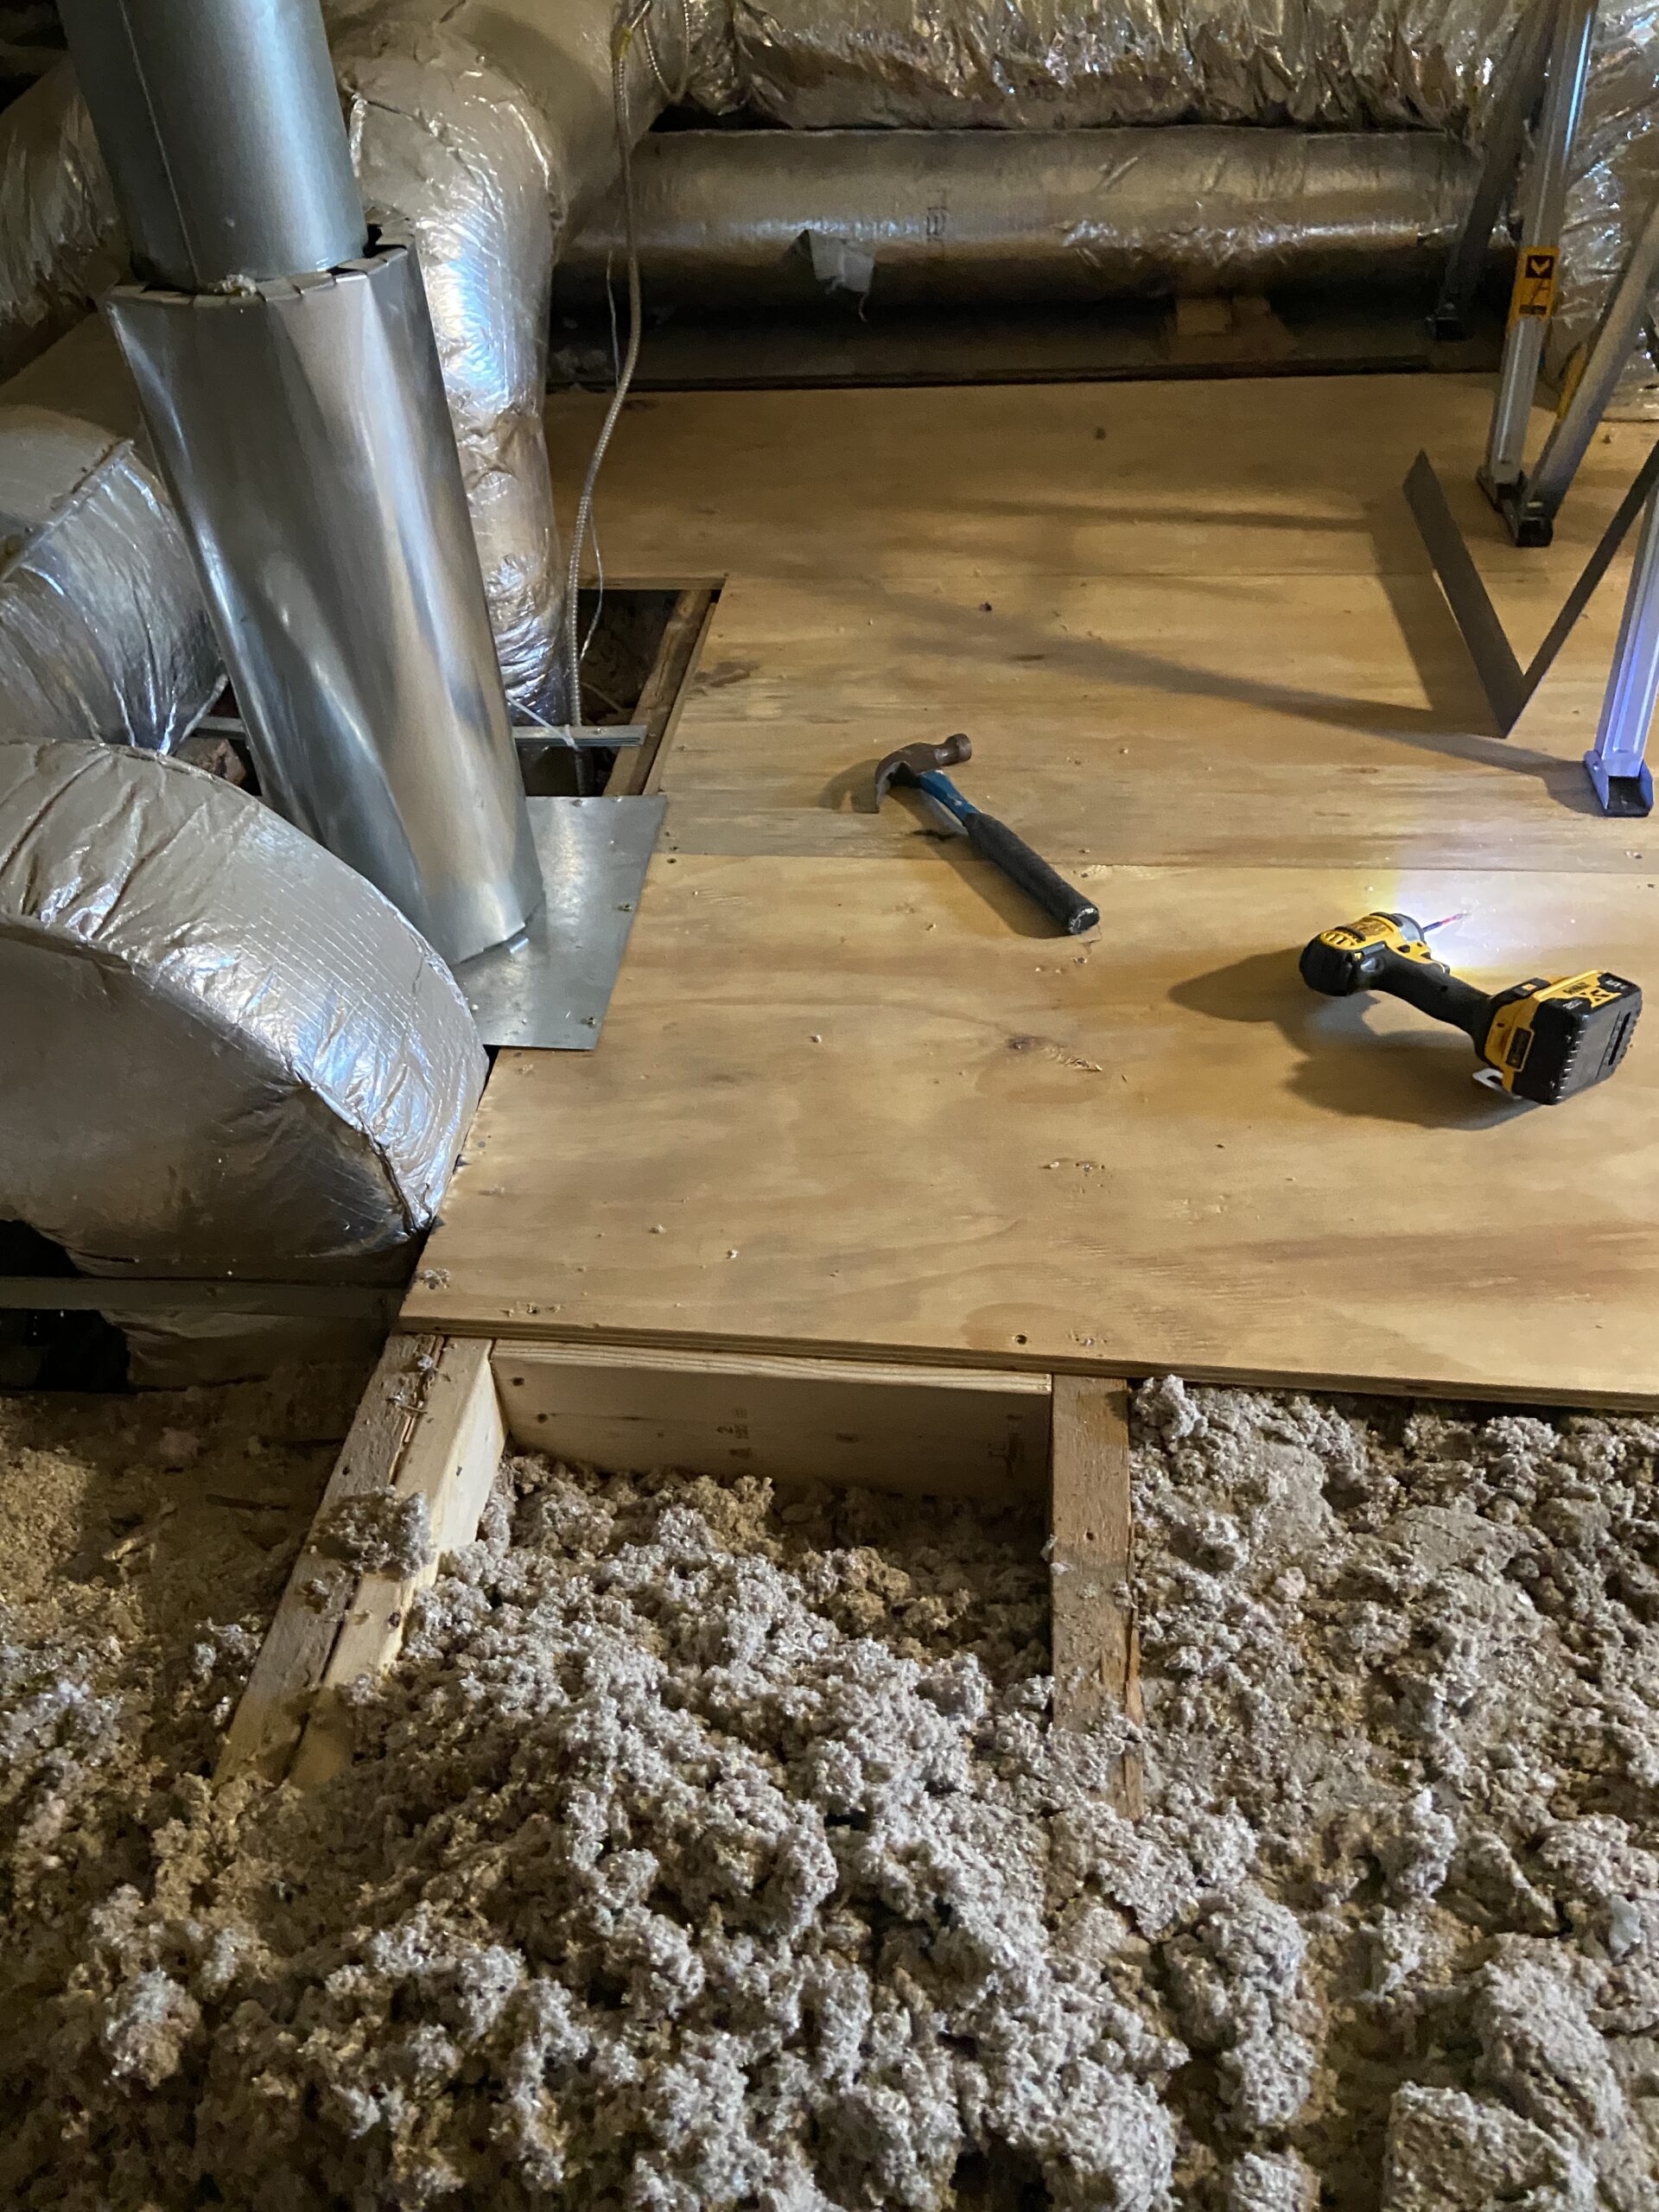
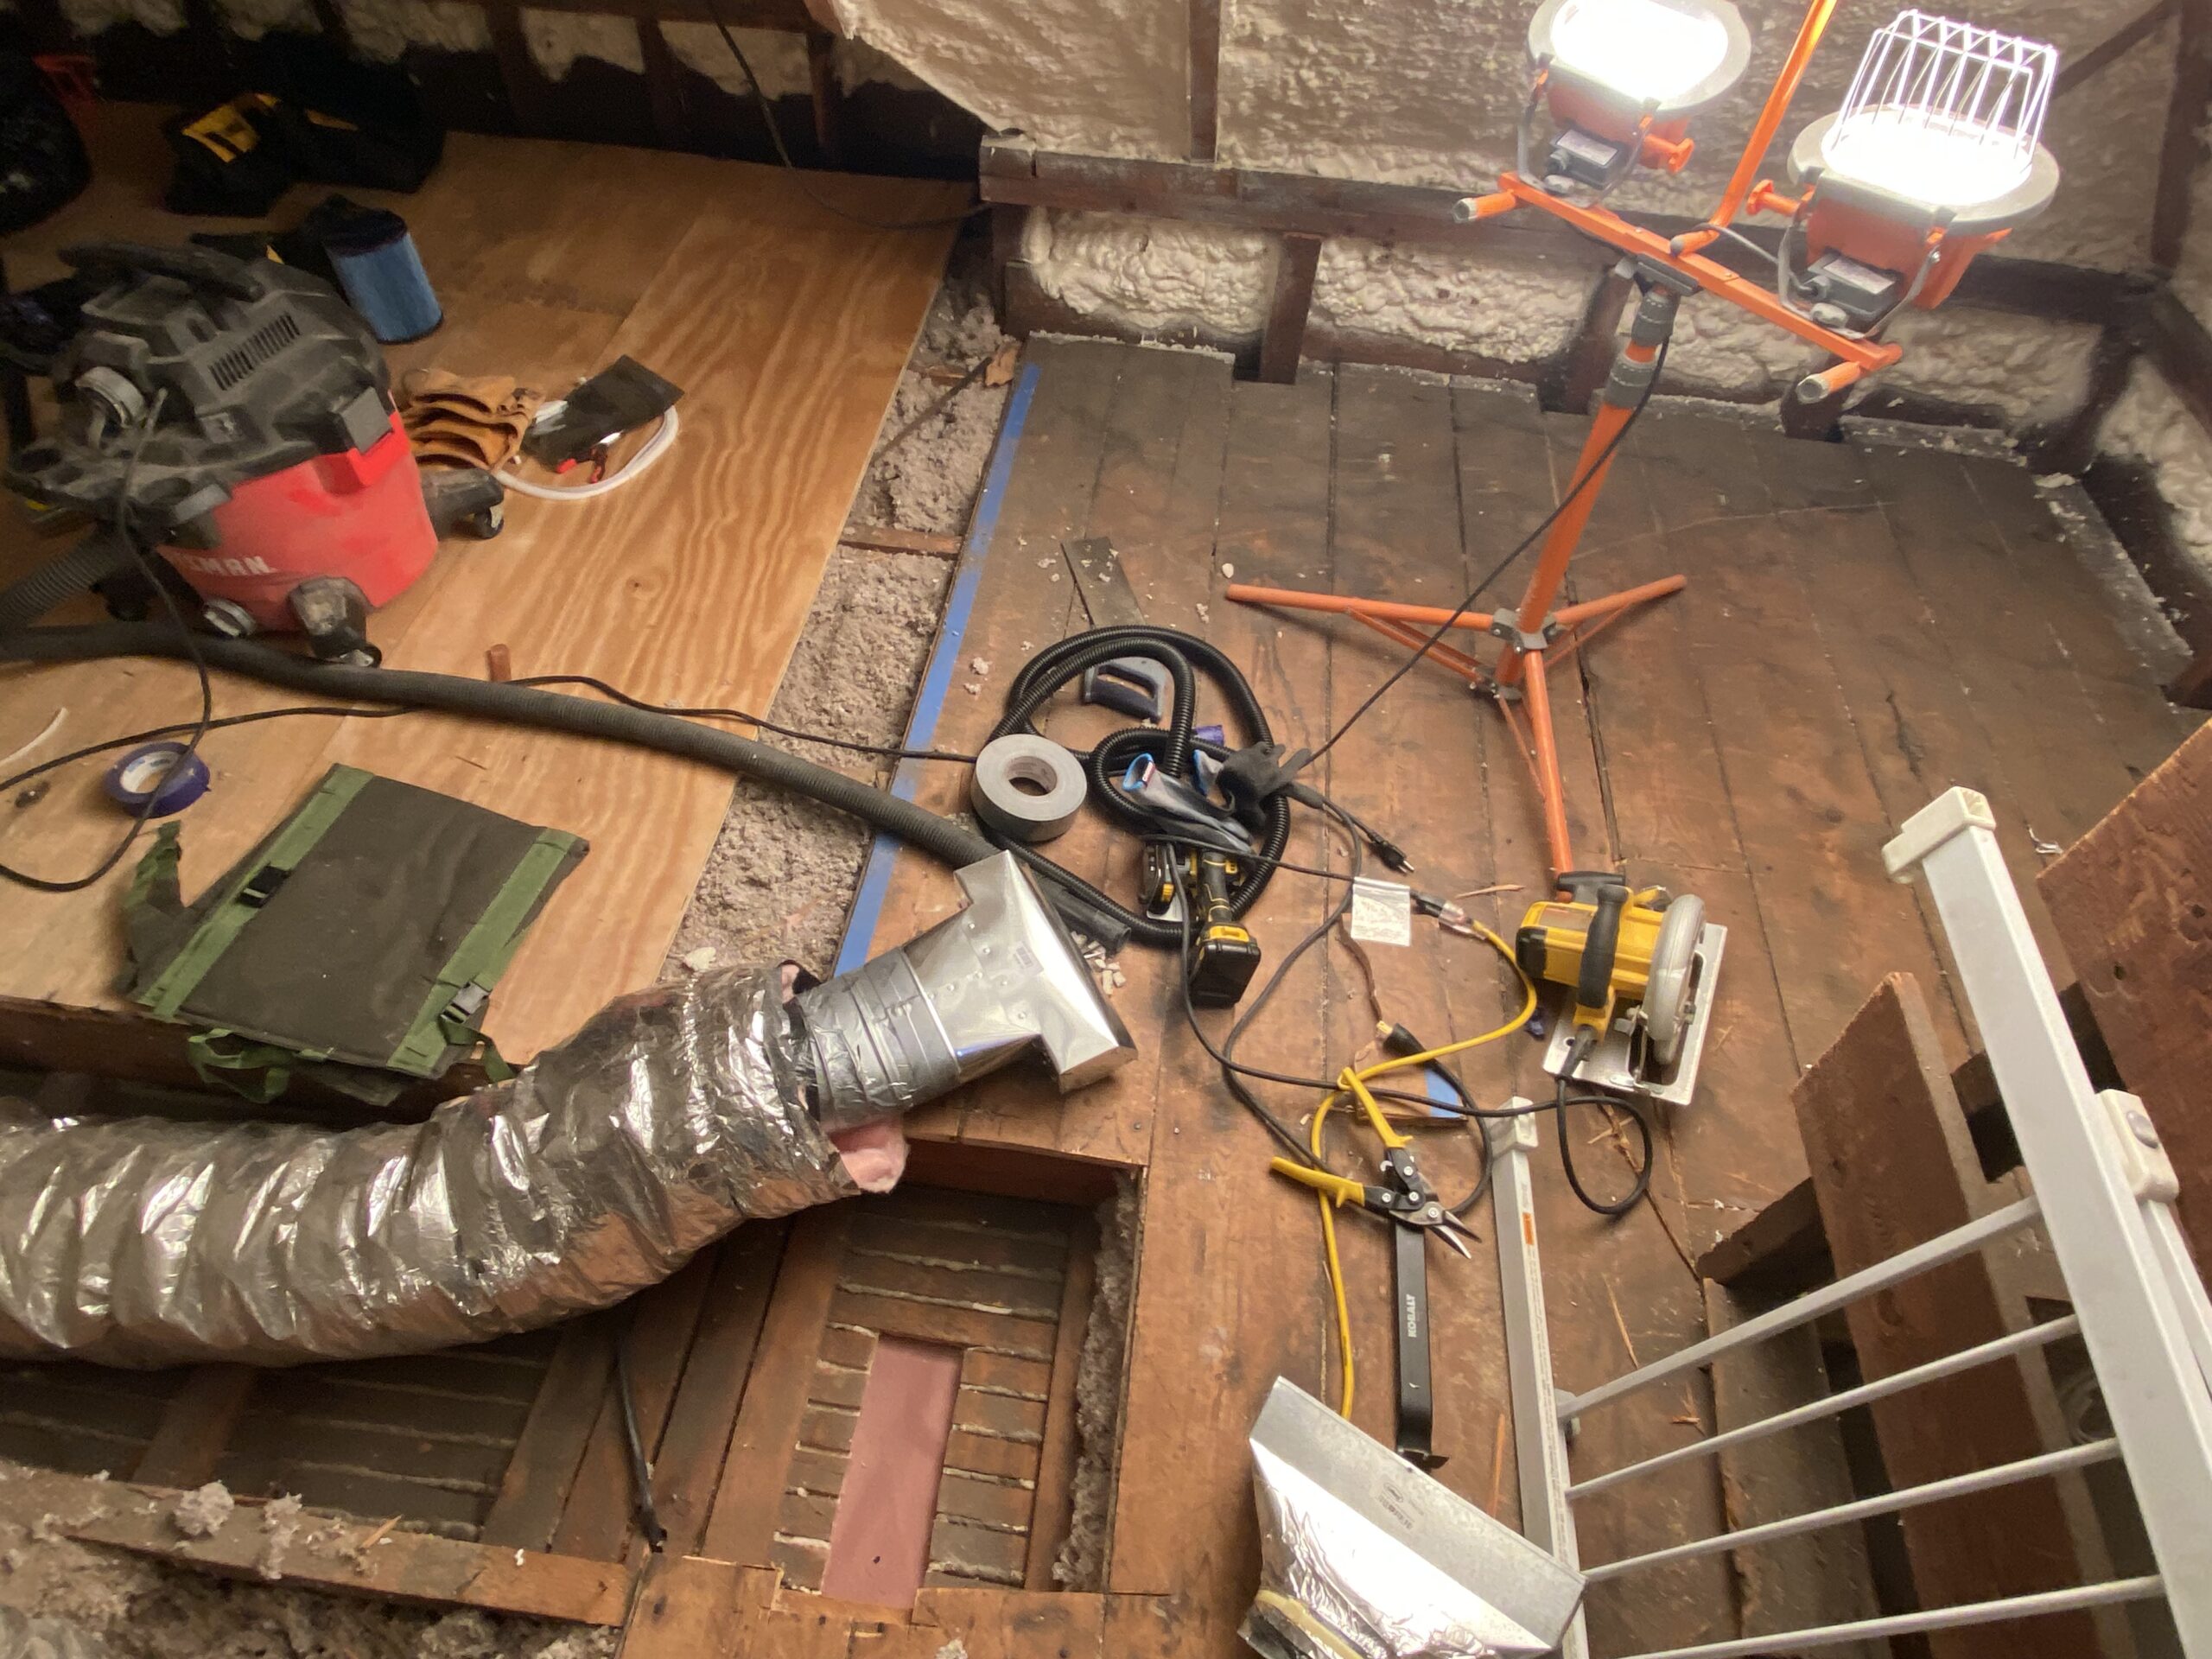
The first thing that I had to do was make sure to clean out all of the old cellulose around that straight boot going into the floor. This was part of the prep work that I mentioned before, but I wanted to highlight its importance as it played a key role in deassembling the old duct work, and installing the new ones.
The next thing that we had to do here was grab a ladder and go into the room below, unscrew the diffuser, and then unscrew the screws which were holding things in place. One side was held in at the joist and the rest were punched into the old lathe (something that I really thought was quite fragile to begin with). As you can see, they had used old wood screws, which I frankly disagreed in some capacities as they couldnt get them tight enough, and, it’s really hard to punch those through as opposed to self-tapping sheet metal.
Anyways, I unscrewed these nevertheless and popped out the duct, and began the process of the swap.
First, I had to cut the old duct boot off of the flex line with a pair of scissors and wire cutters (to snip the coil in the flex). When you open up an old flex line, you’re going to see quite a bit of dirt, dust, and debris inside of your line.

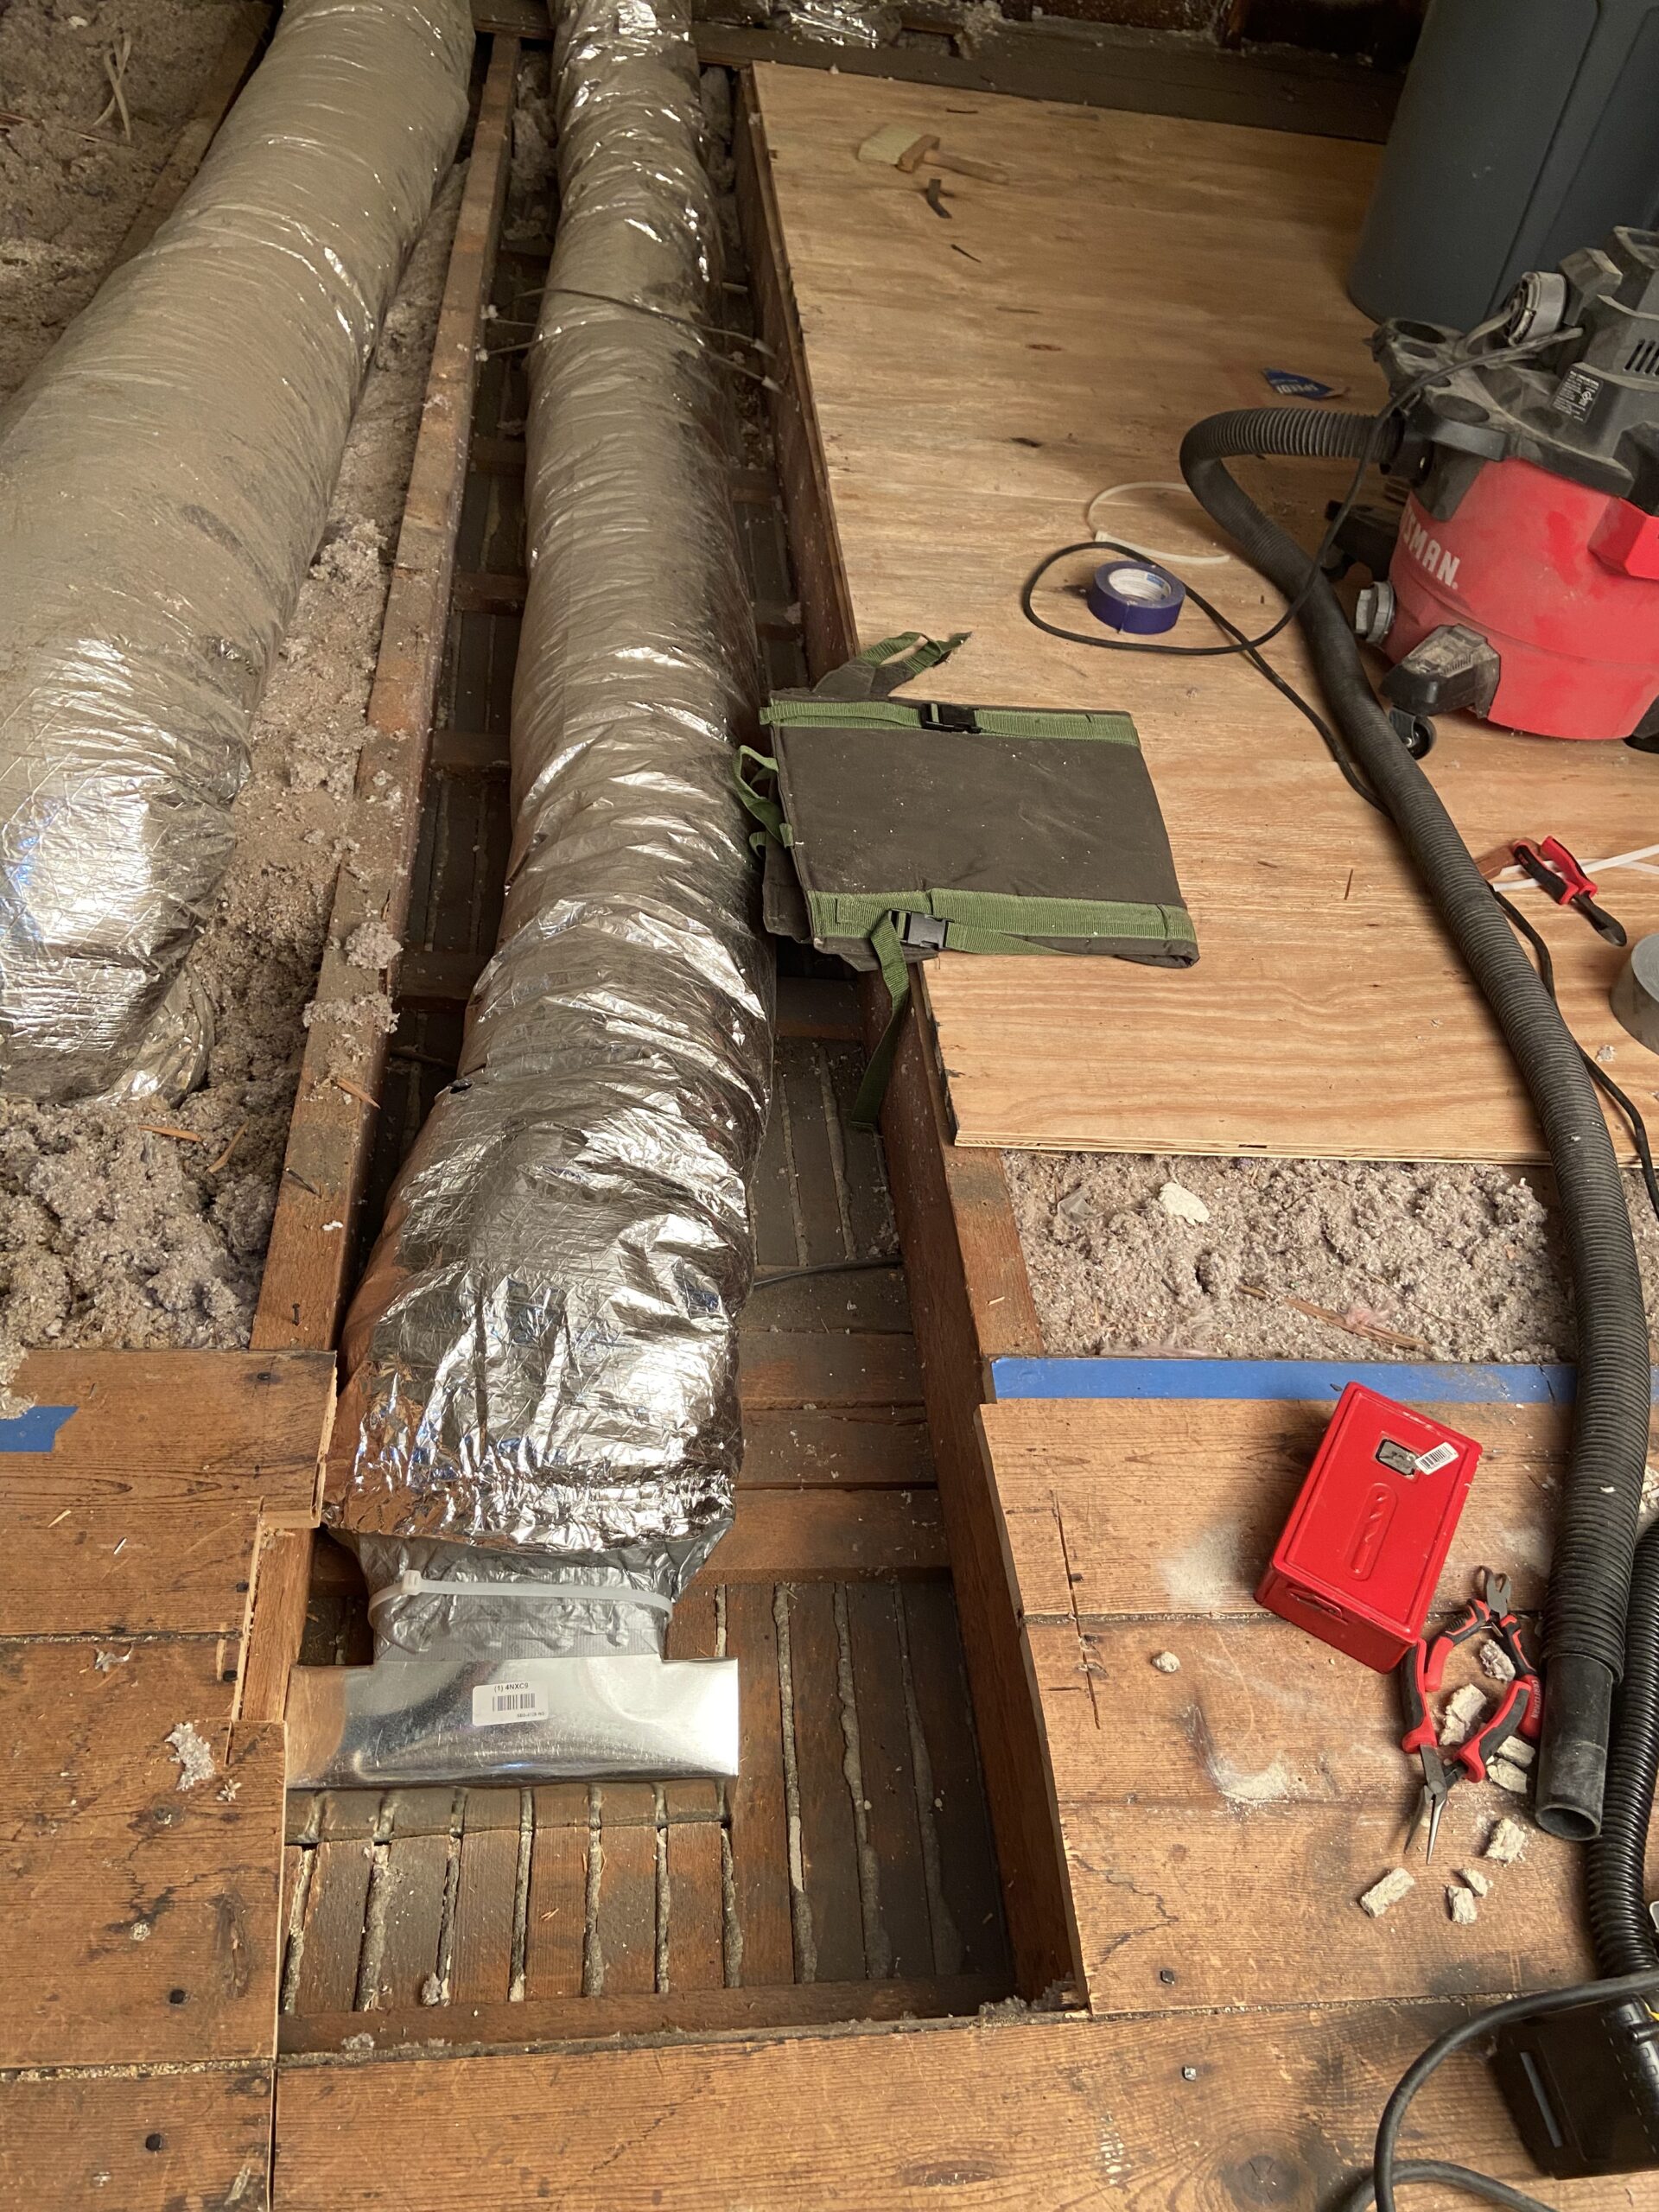
Now, I swapped the boots for the first two flex lines that I did up there (a supply and a return). I used a duster and a vacuum to do my best to clean out the lines, but it was far from perfect. The volume of debris and difficulty cleaning led me to the decision to swap all of the remaining lines out for fresh ones as the workload wasn’t too much more. Additionally, I had old R8 insulation wrap on those lines which made it a bit harder to fit under the subfloor, so swapping them out for R6 paid space dividends.
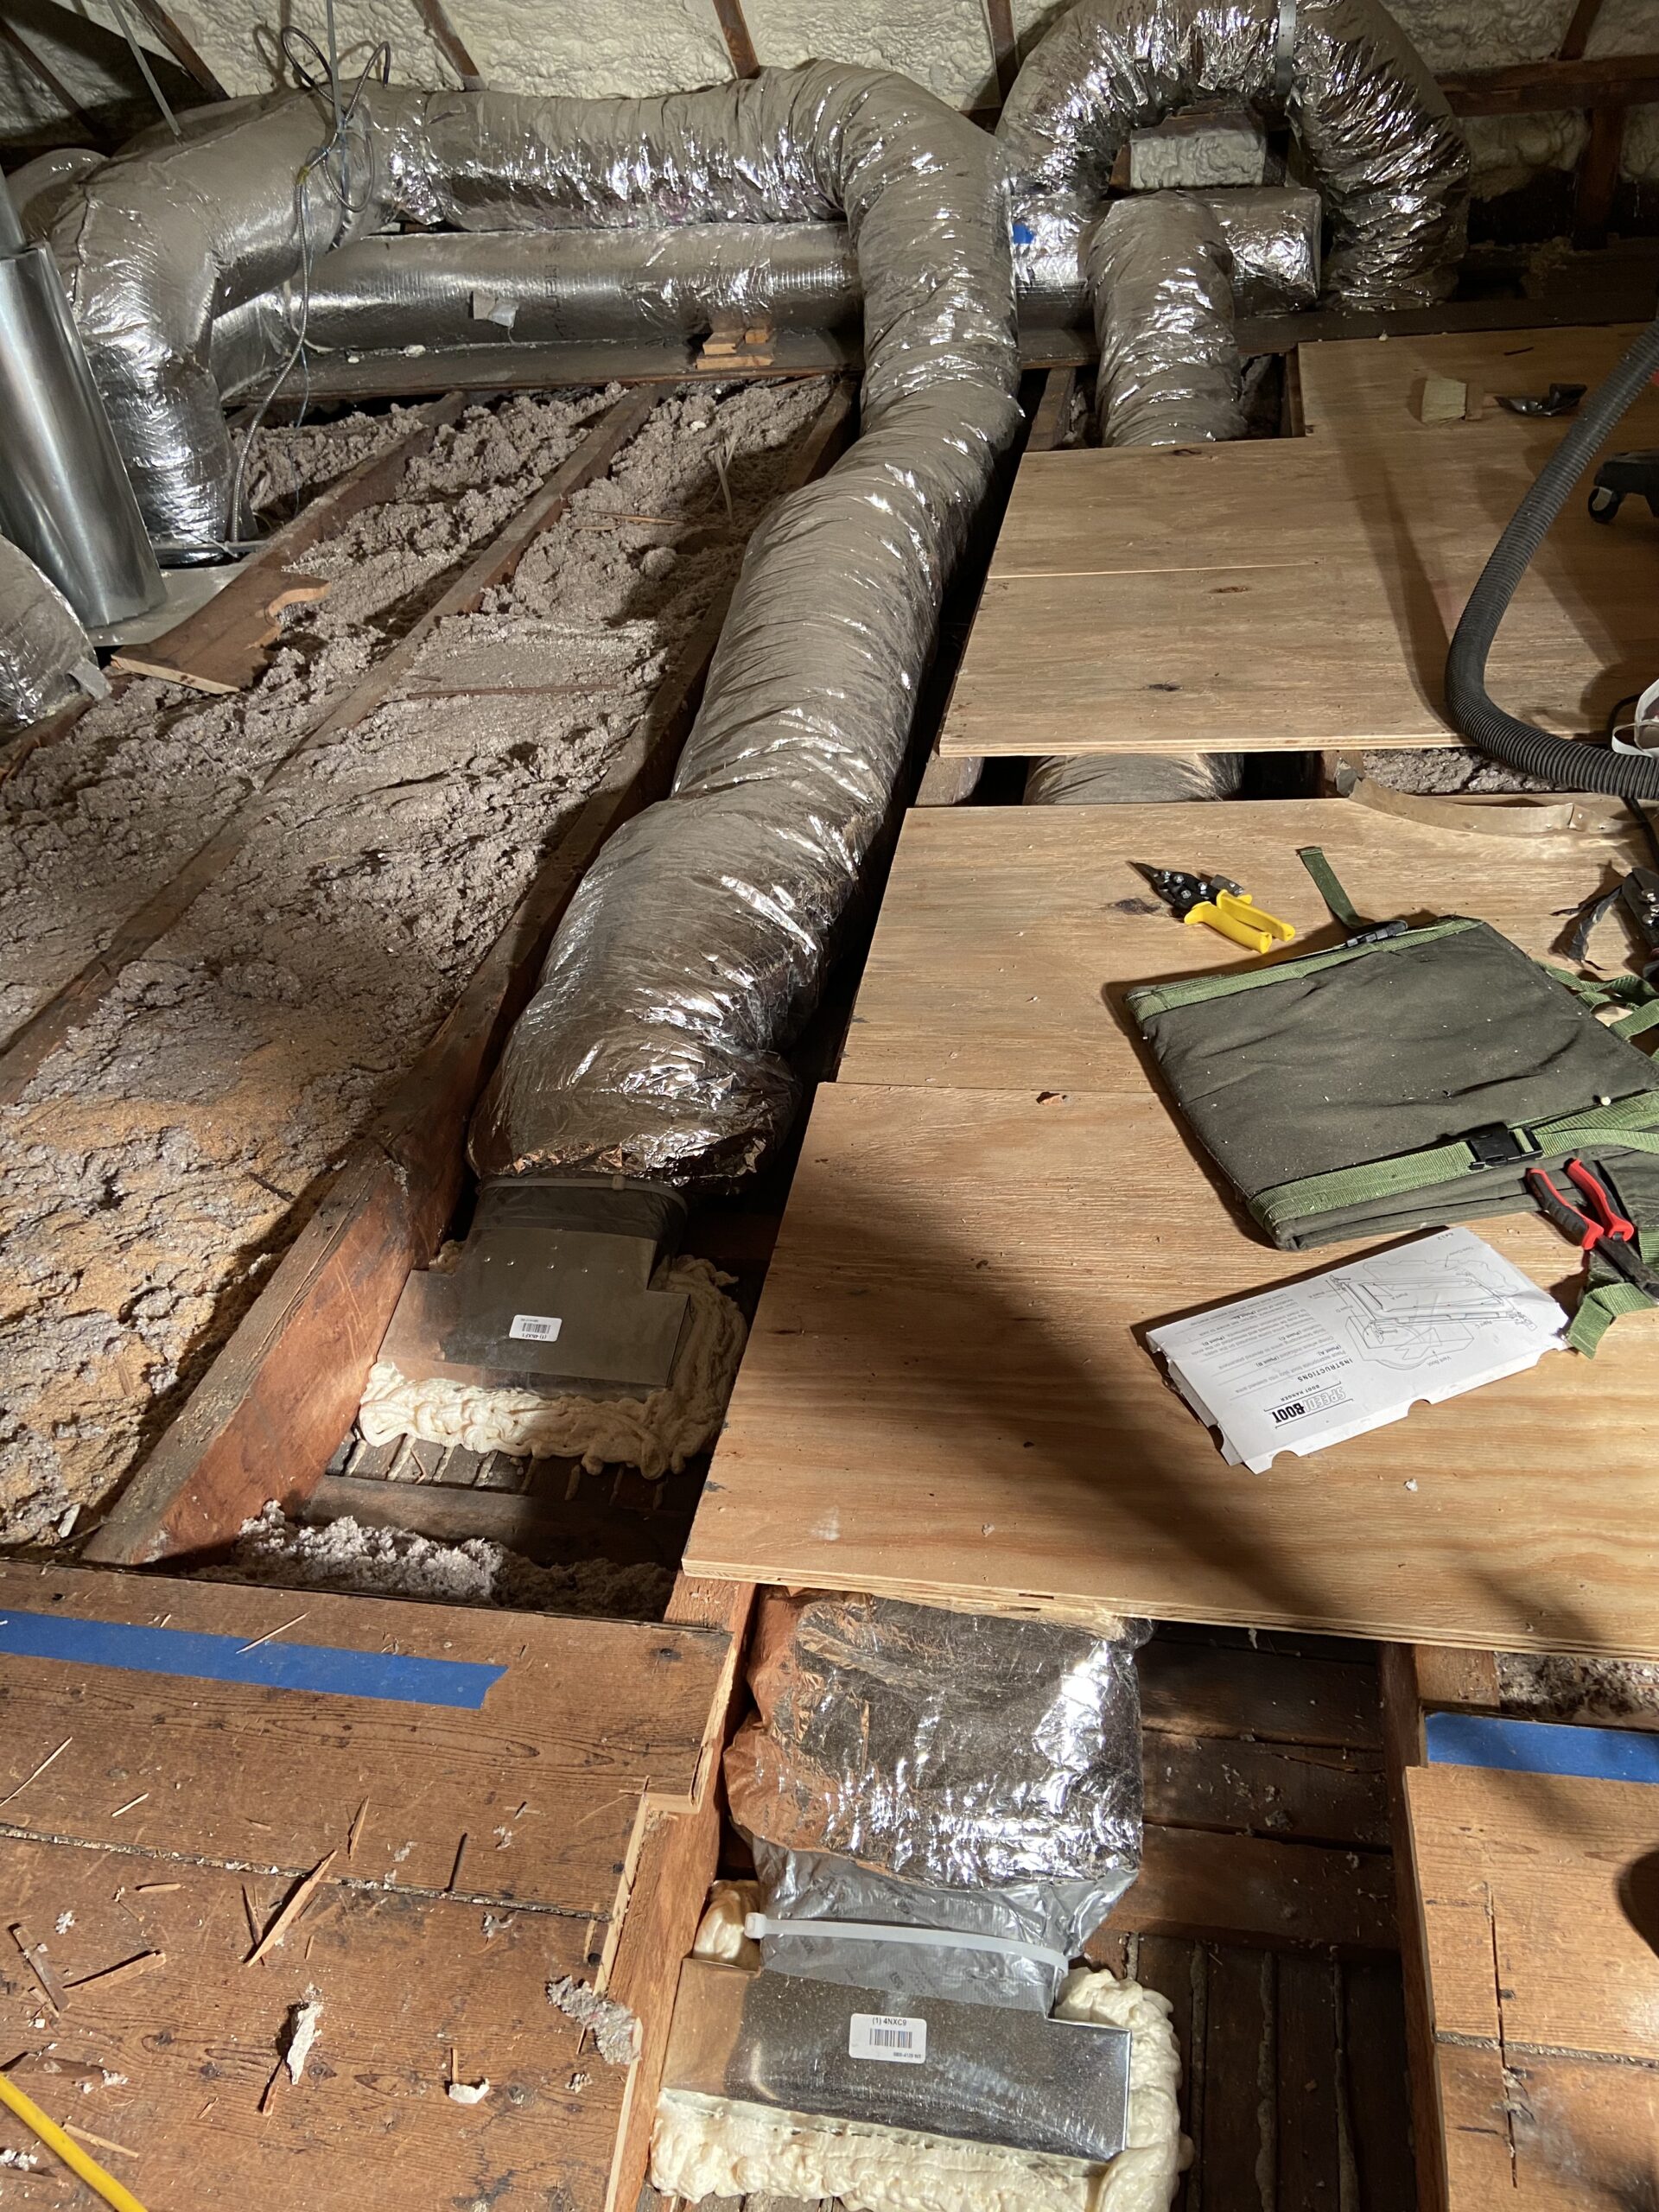
You can see from the image above that the lines barely fit within the confines of the joists due to the heavier R8 wrap.
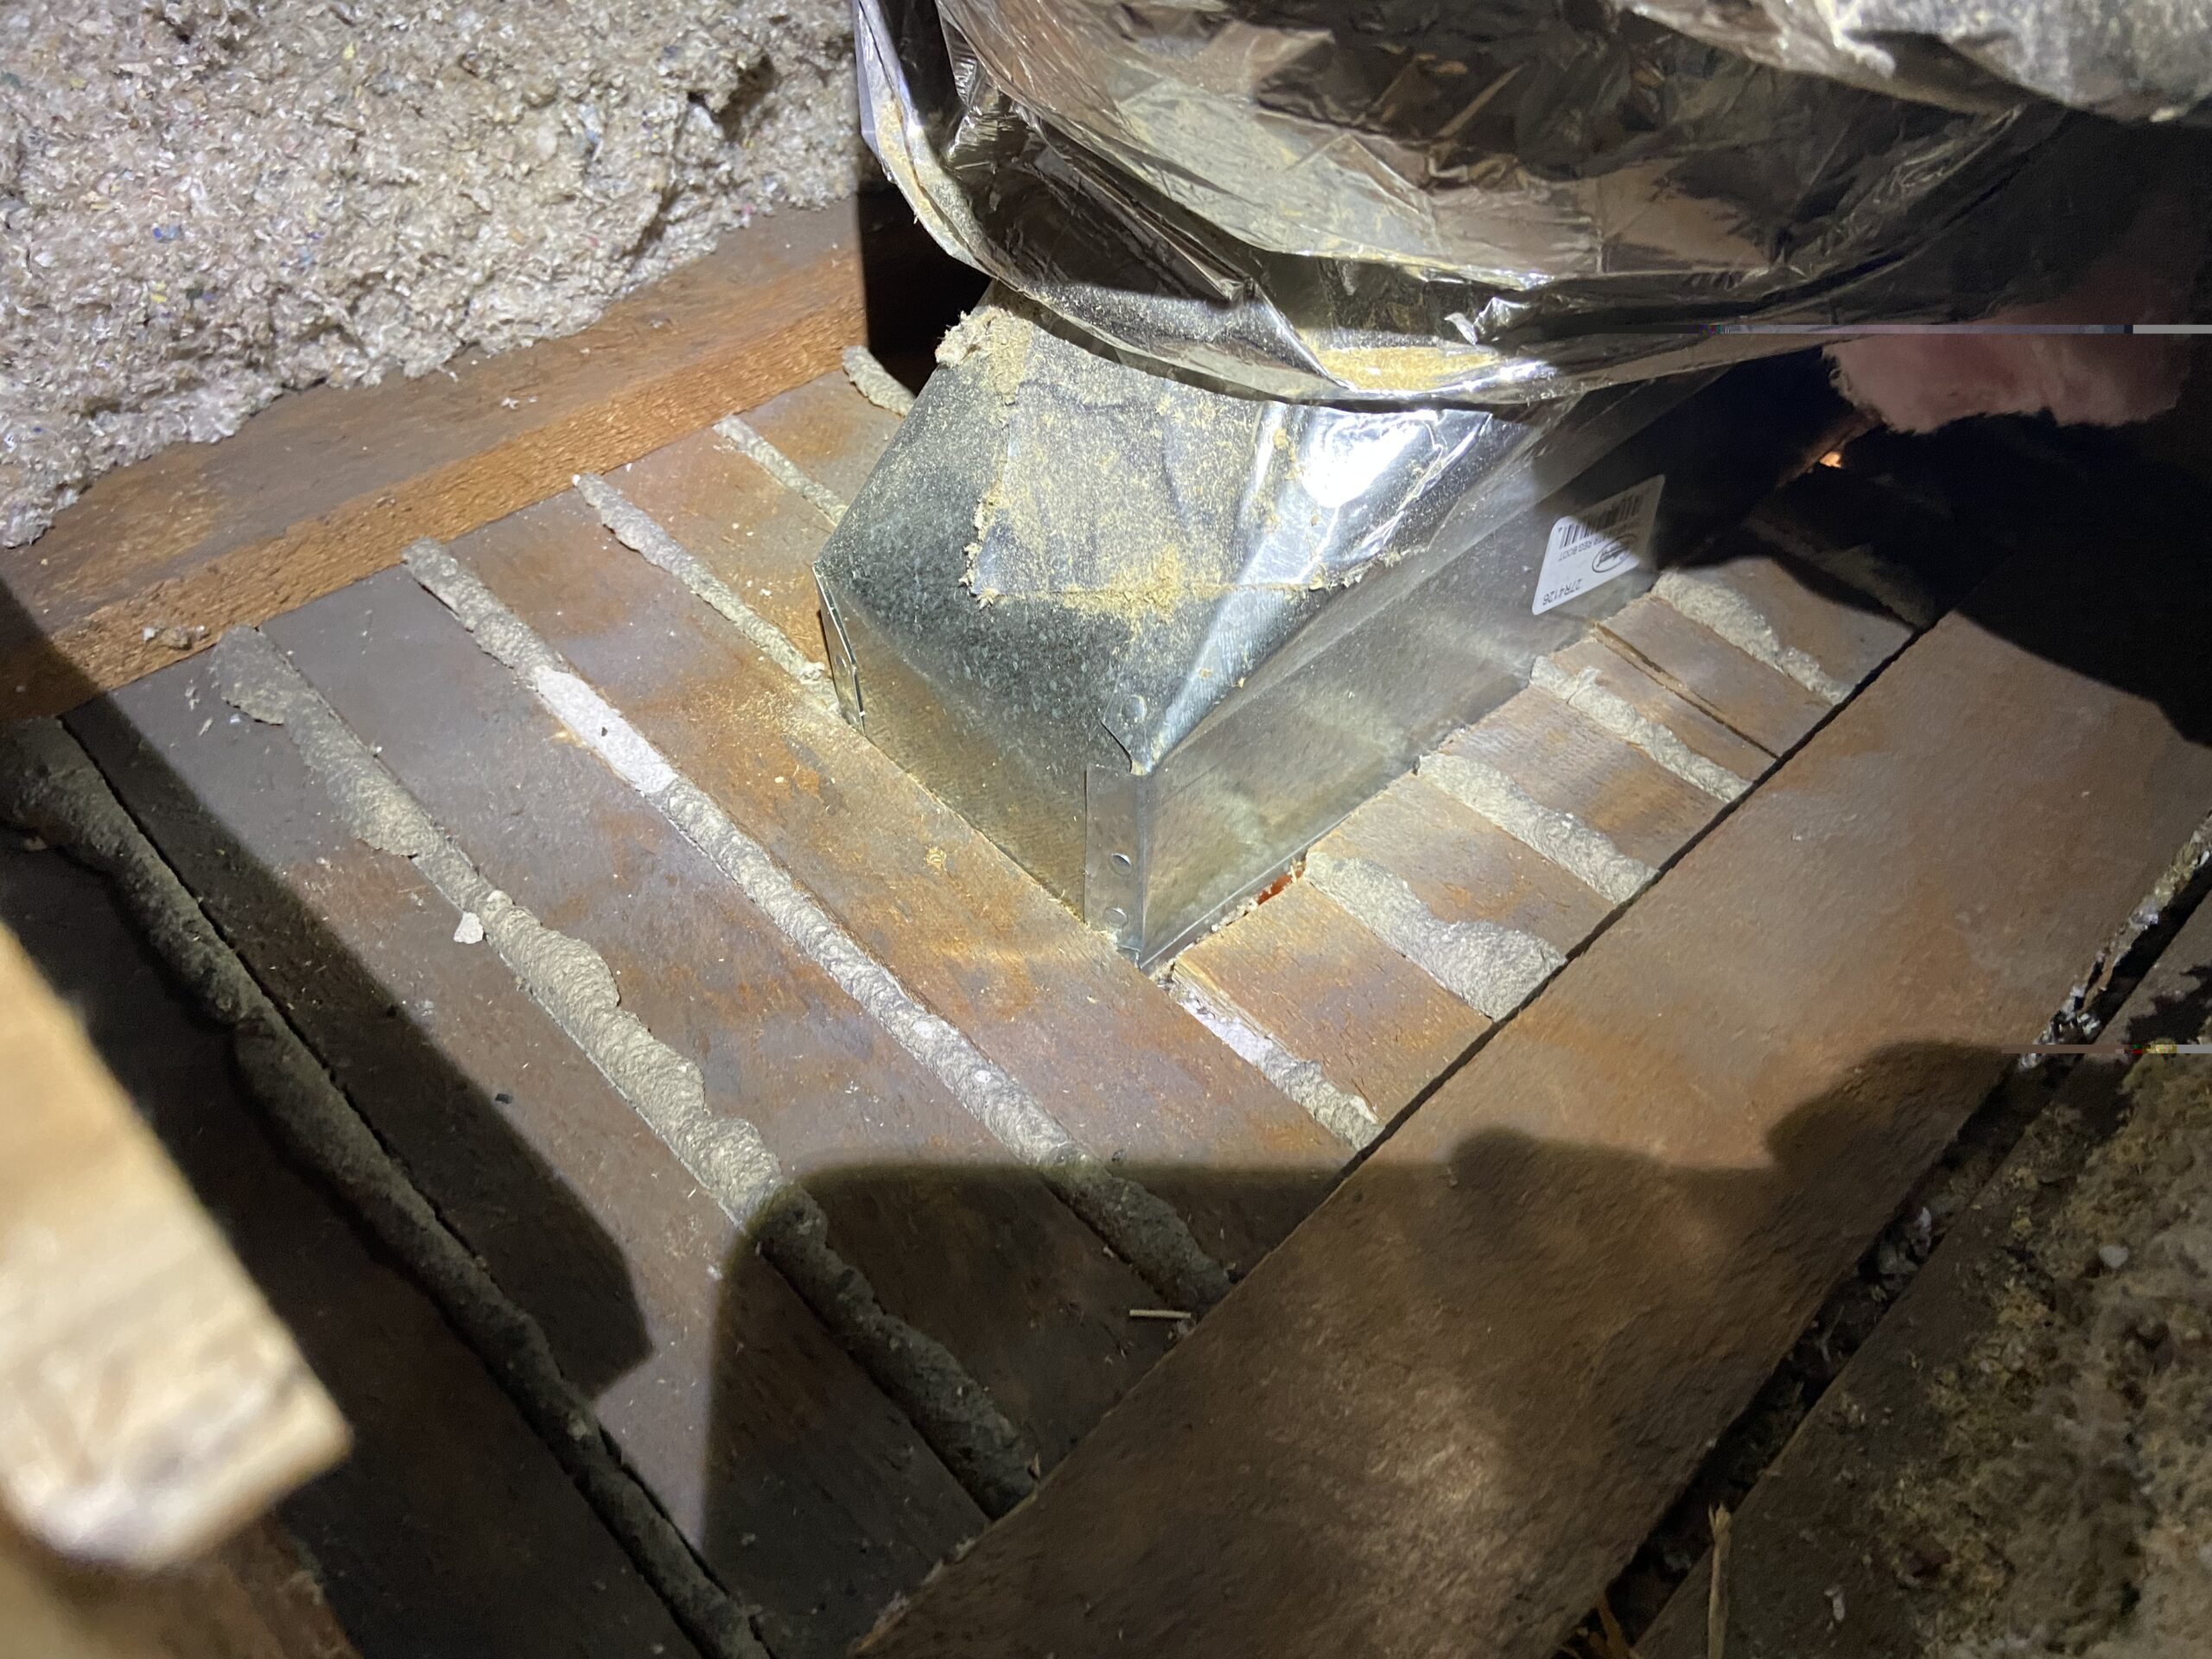
Anyways, after cutting the old flex line off of the old straight boot, I had to connect the oval-to-round adapter to the wall-duct-boot (because the Speedi-Boot was an oval connection and you can’t can’t connect a flex to an oval pipe).
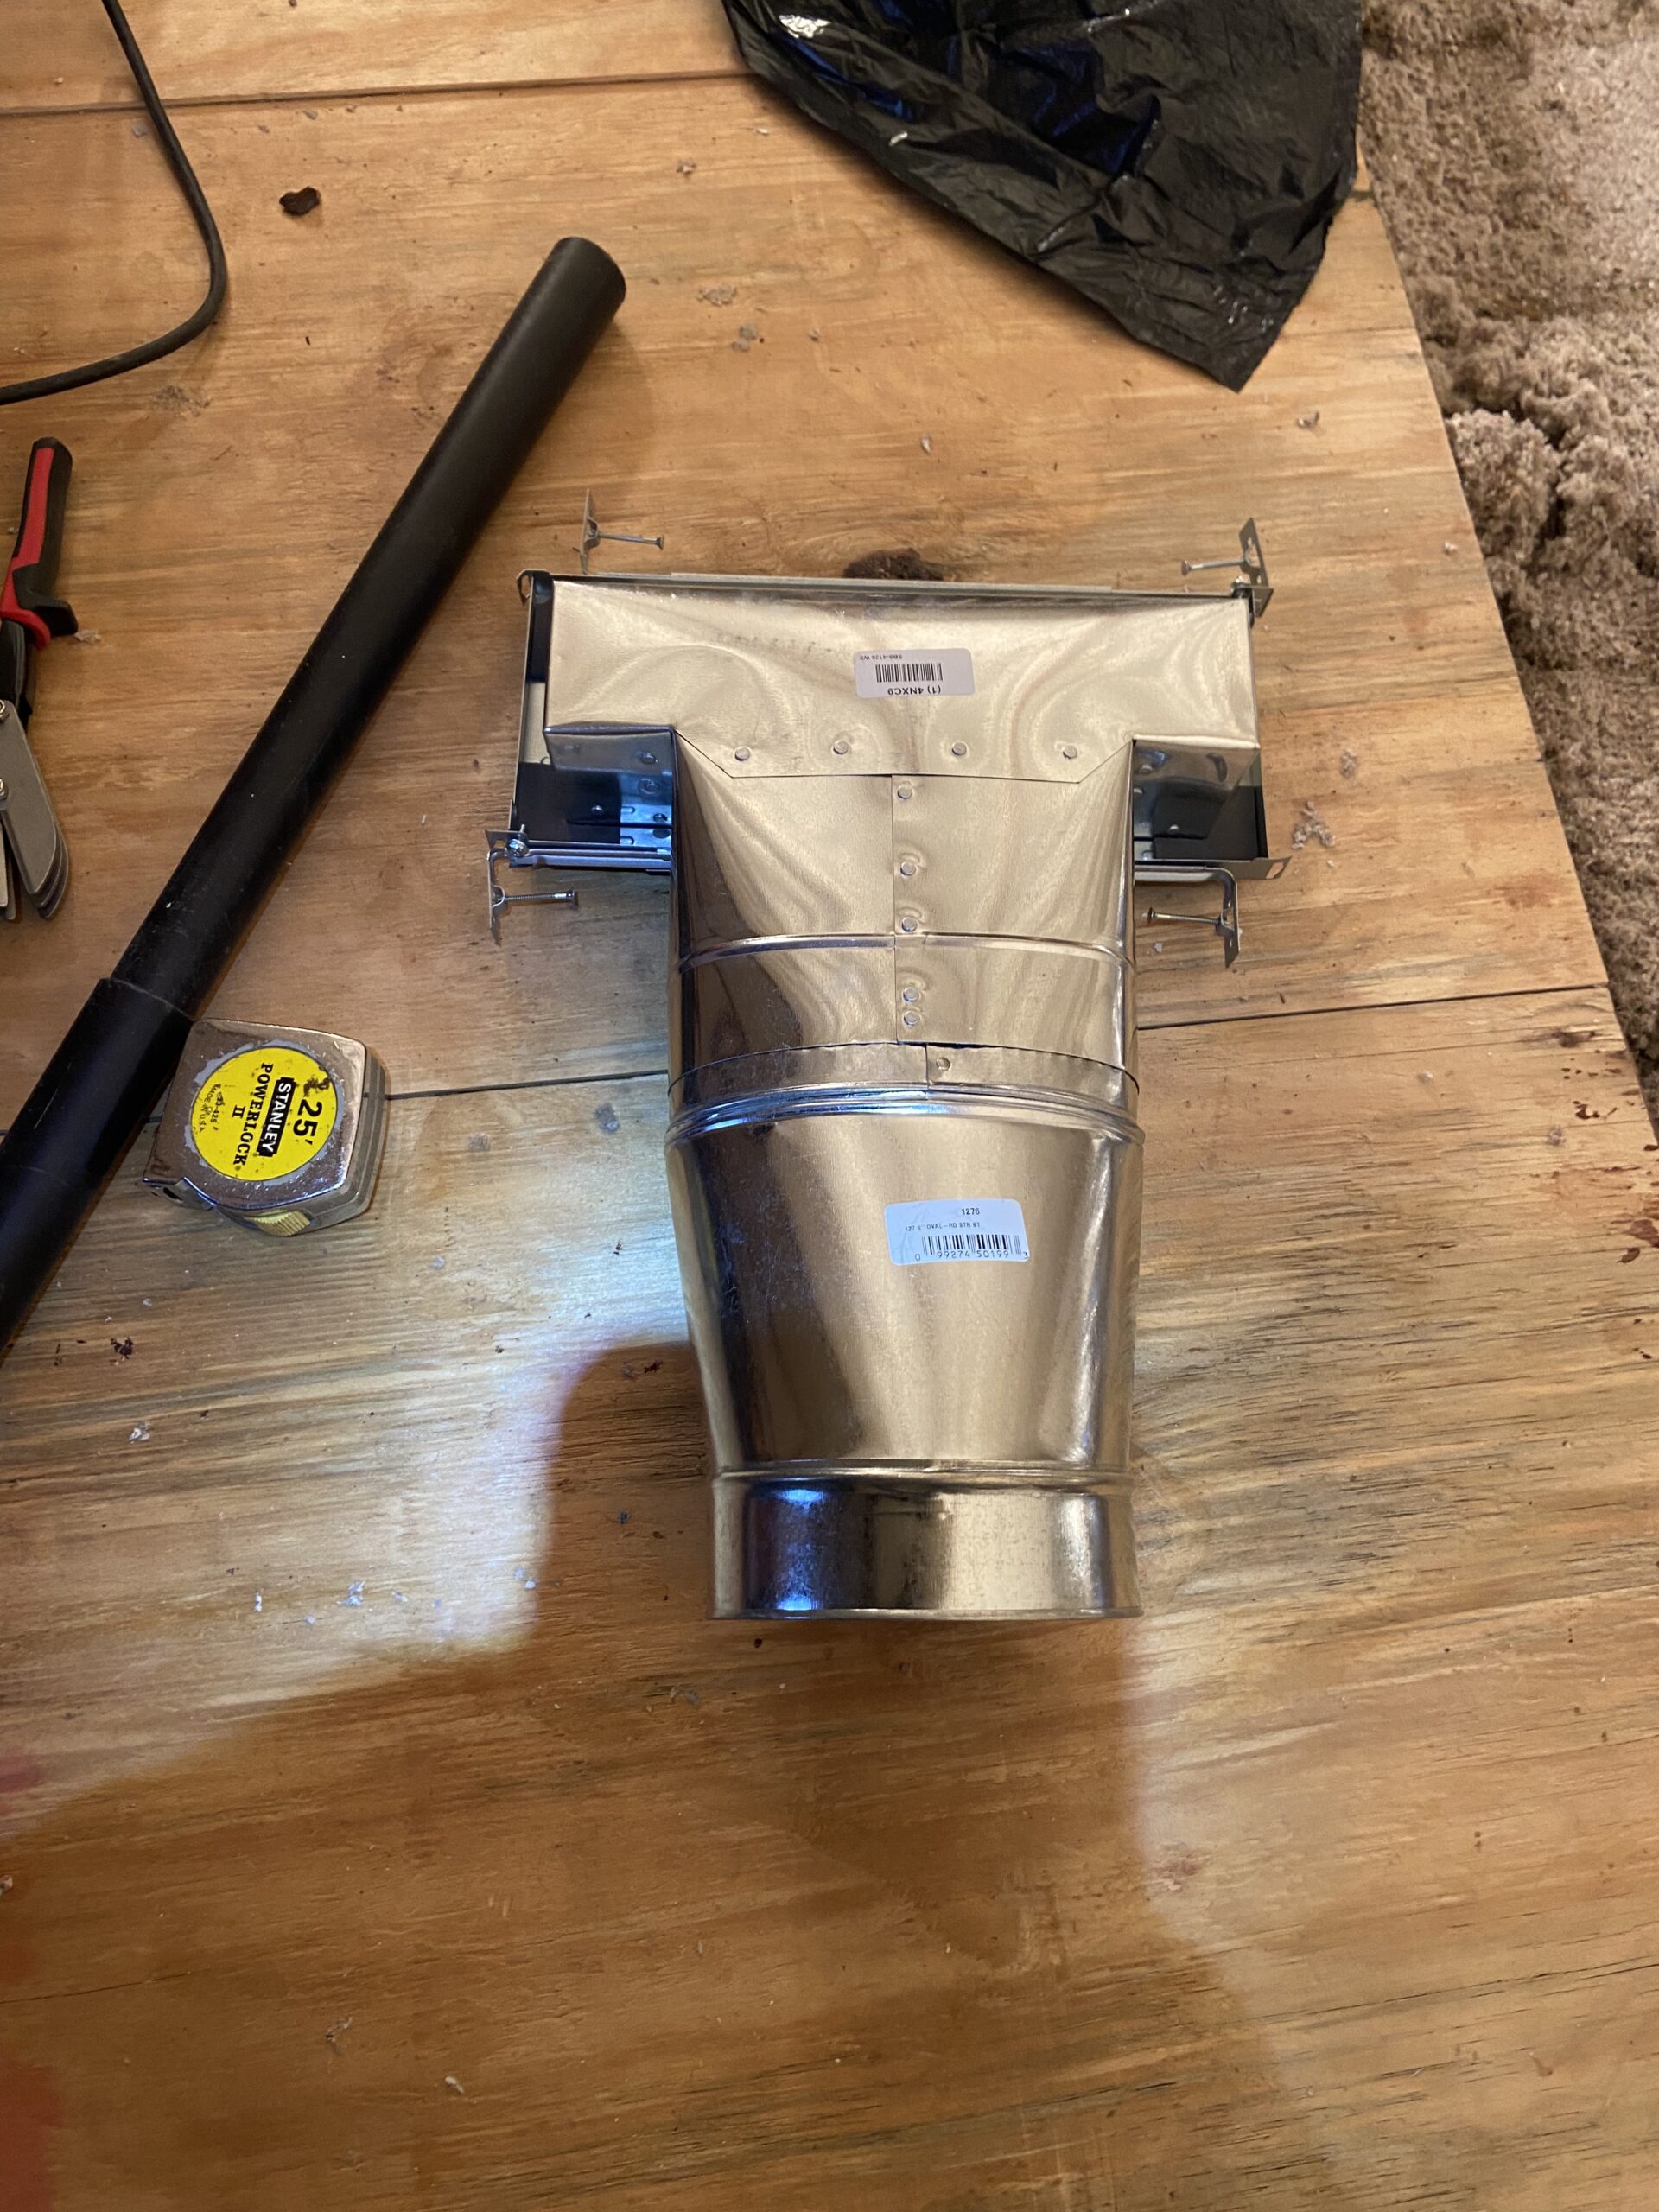
Note: This picture was just a test assemply. I did rip those mounting brackets off for the installation – they were quite a hinderance when stuffing the lip into the lathe and plaster ceiling.
One thing to note is that when you are connecting pipe, you should use mastic at the joint in order to ensure a tight seal that doesn’t deteriorate – this is your last line of defense in the event that your tape job fails at some point. So, after you’ve done your mastic job, you’ll want to use 3-4 self-tapping screws to secure the pipe, and we’ll go over this later in more detail. You want to do everythign you can to ensure that the pipe is going to hold for the long haul.
After you’f sent in your 3/4″ self tapping screws, it’s time to tape up. I had a bit of a learning curve on the right types of tape to use.
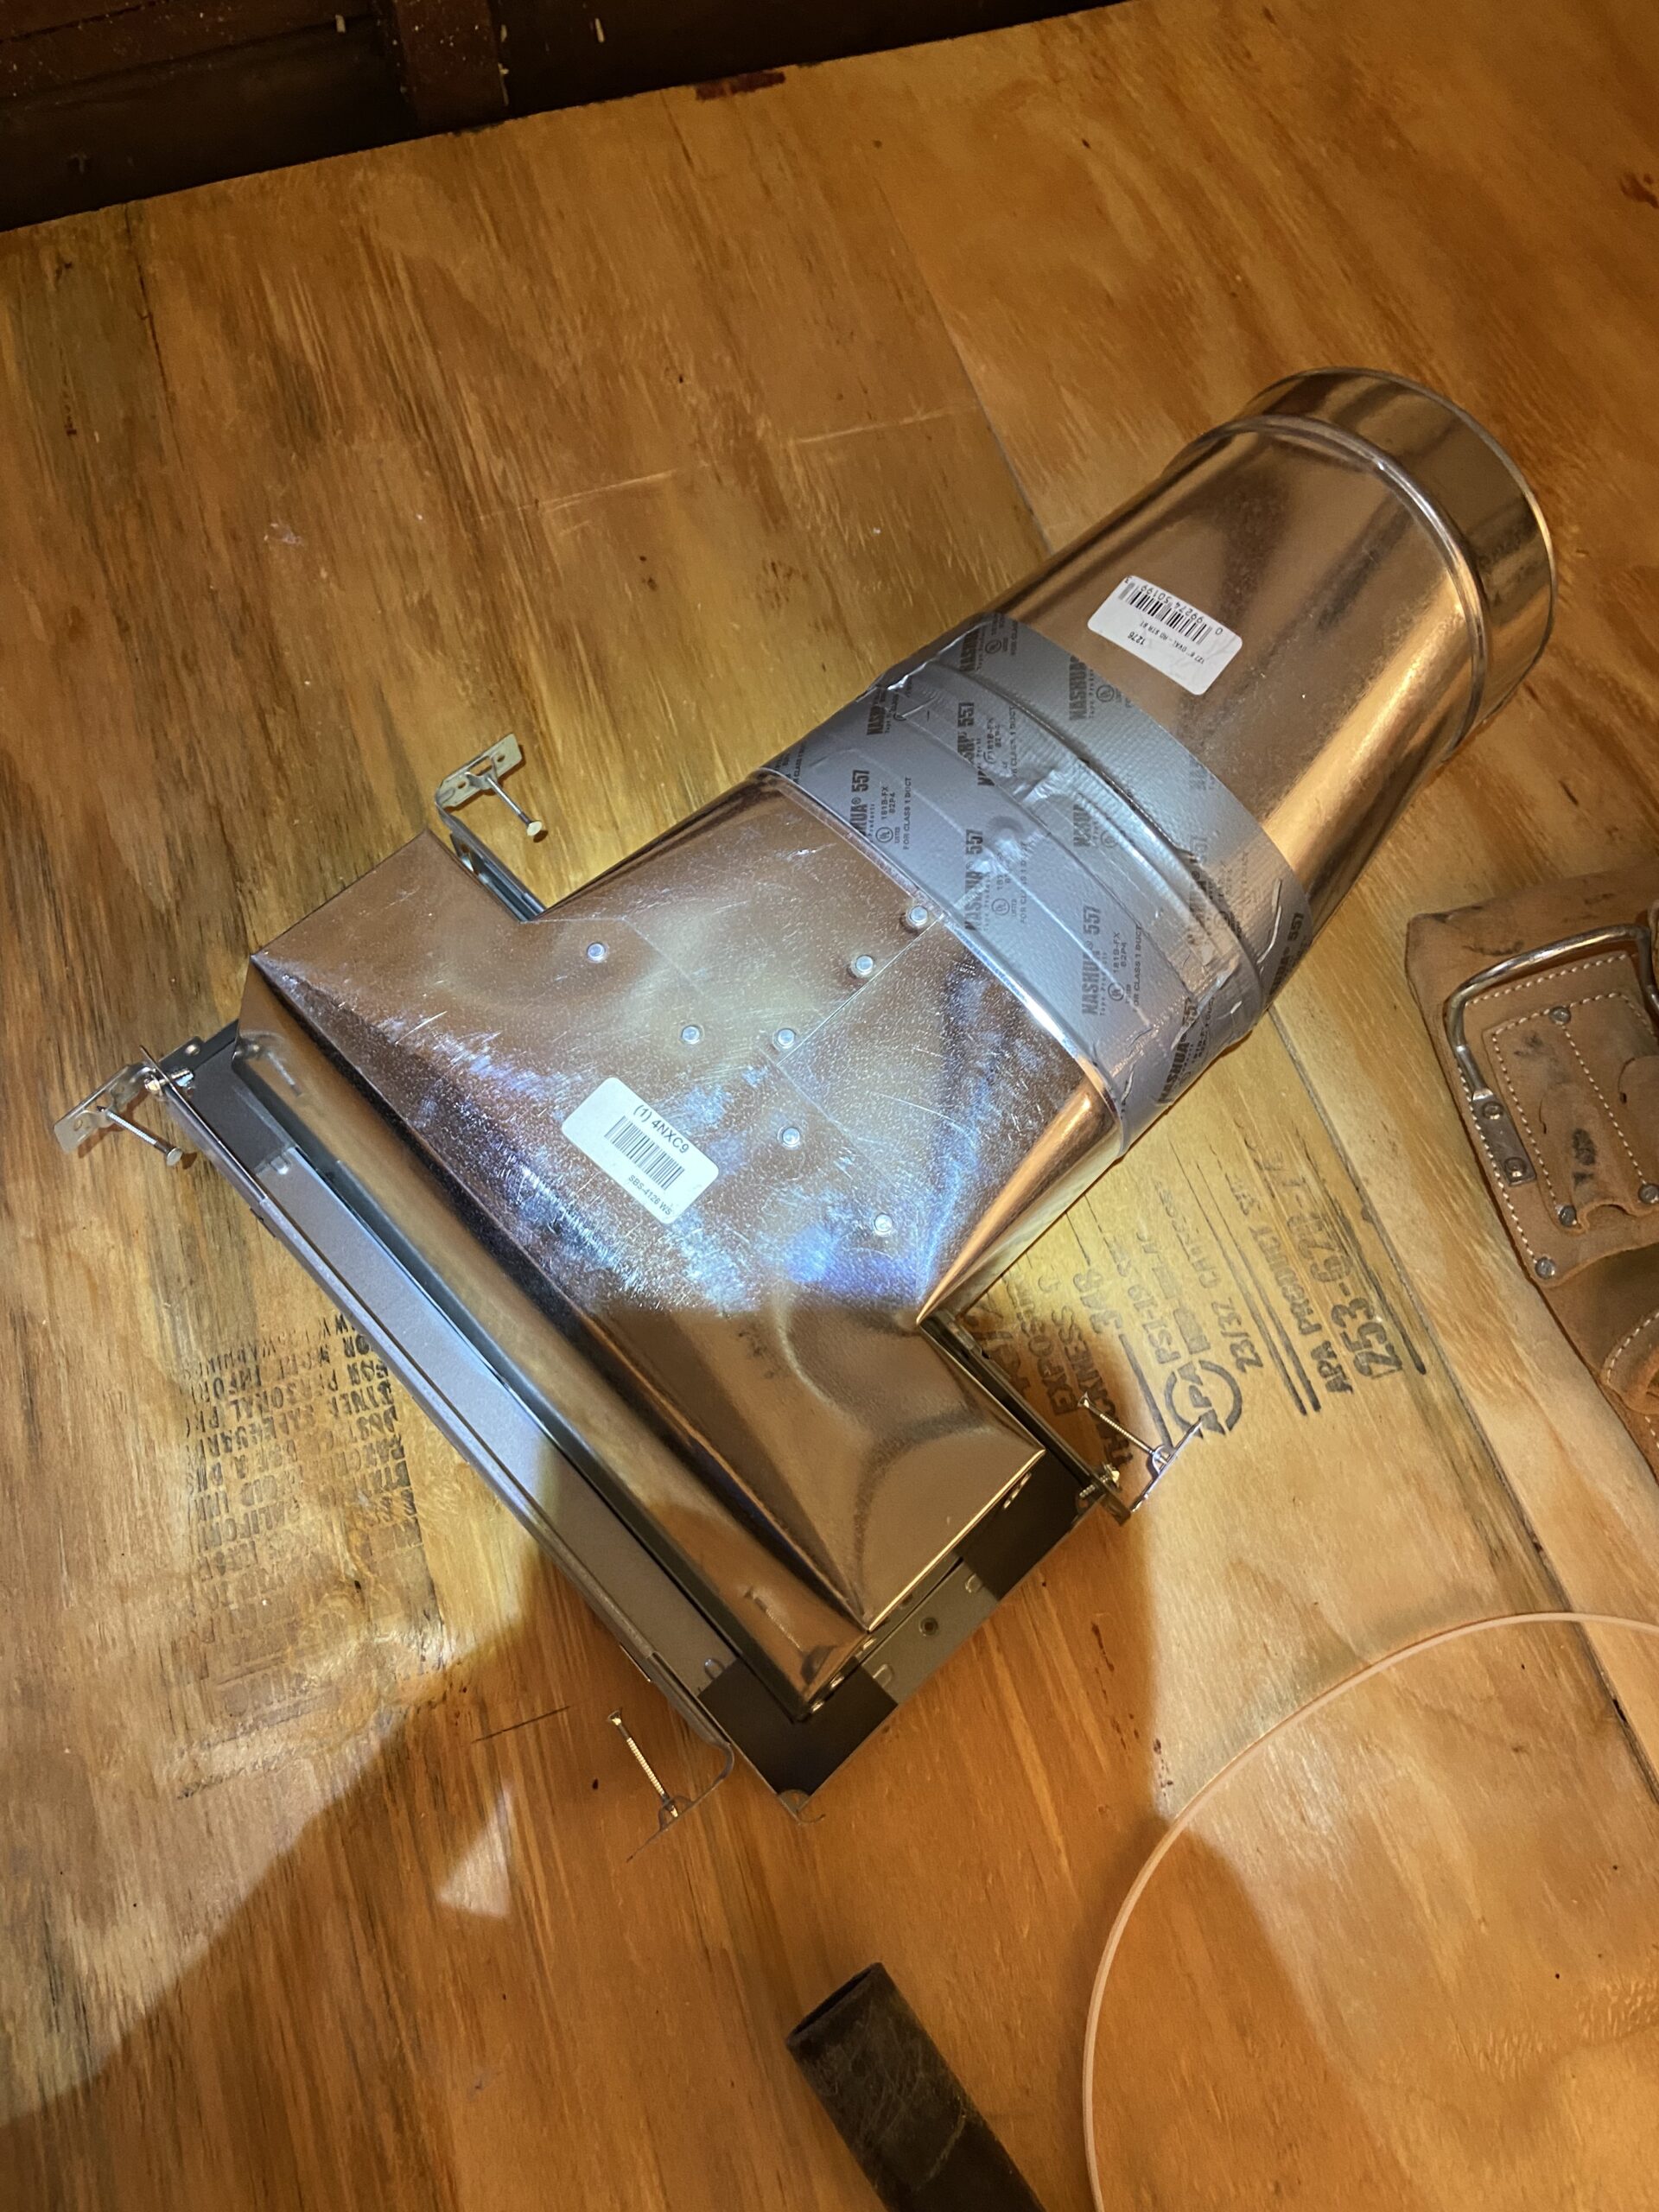
I probably went a bit overboard on many of my tape jobs but frankly, I wanted to ensure the tightest, strongest seal possible. However, for my first one here, I made the mistake of not sealing the joints with tape across every seam. Although we probably didn’t lose much, I ended up being pretty anal for every other installation, trying to seal up every seam I could find.
The the main assembly here between the flex duct and the boot is pretty quick and easy for the most part, and also the most fun. You do need to follow a pretty strict process here, though. The first thing that you will do is slip the flex (using the wire as your guide so as not to split the plastic duct) over the round pipe at the connection point of the boot. This can be a bit finicky so it is important to go slow at first because you do want a tight seal here, not bunched up. Given that you do not want a bunched up flex, and it has to be taped, you need to be quick with your tape job around the flex (which should be pulled up as much as you can, within reason, so as to have enough of it taped and zip-tied).
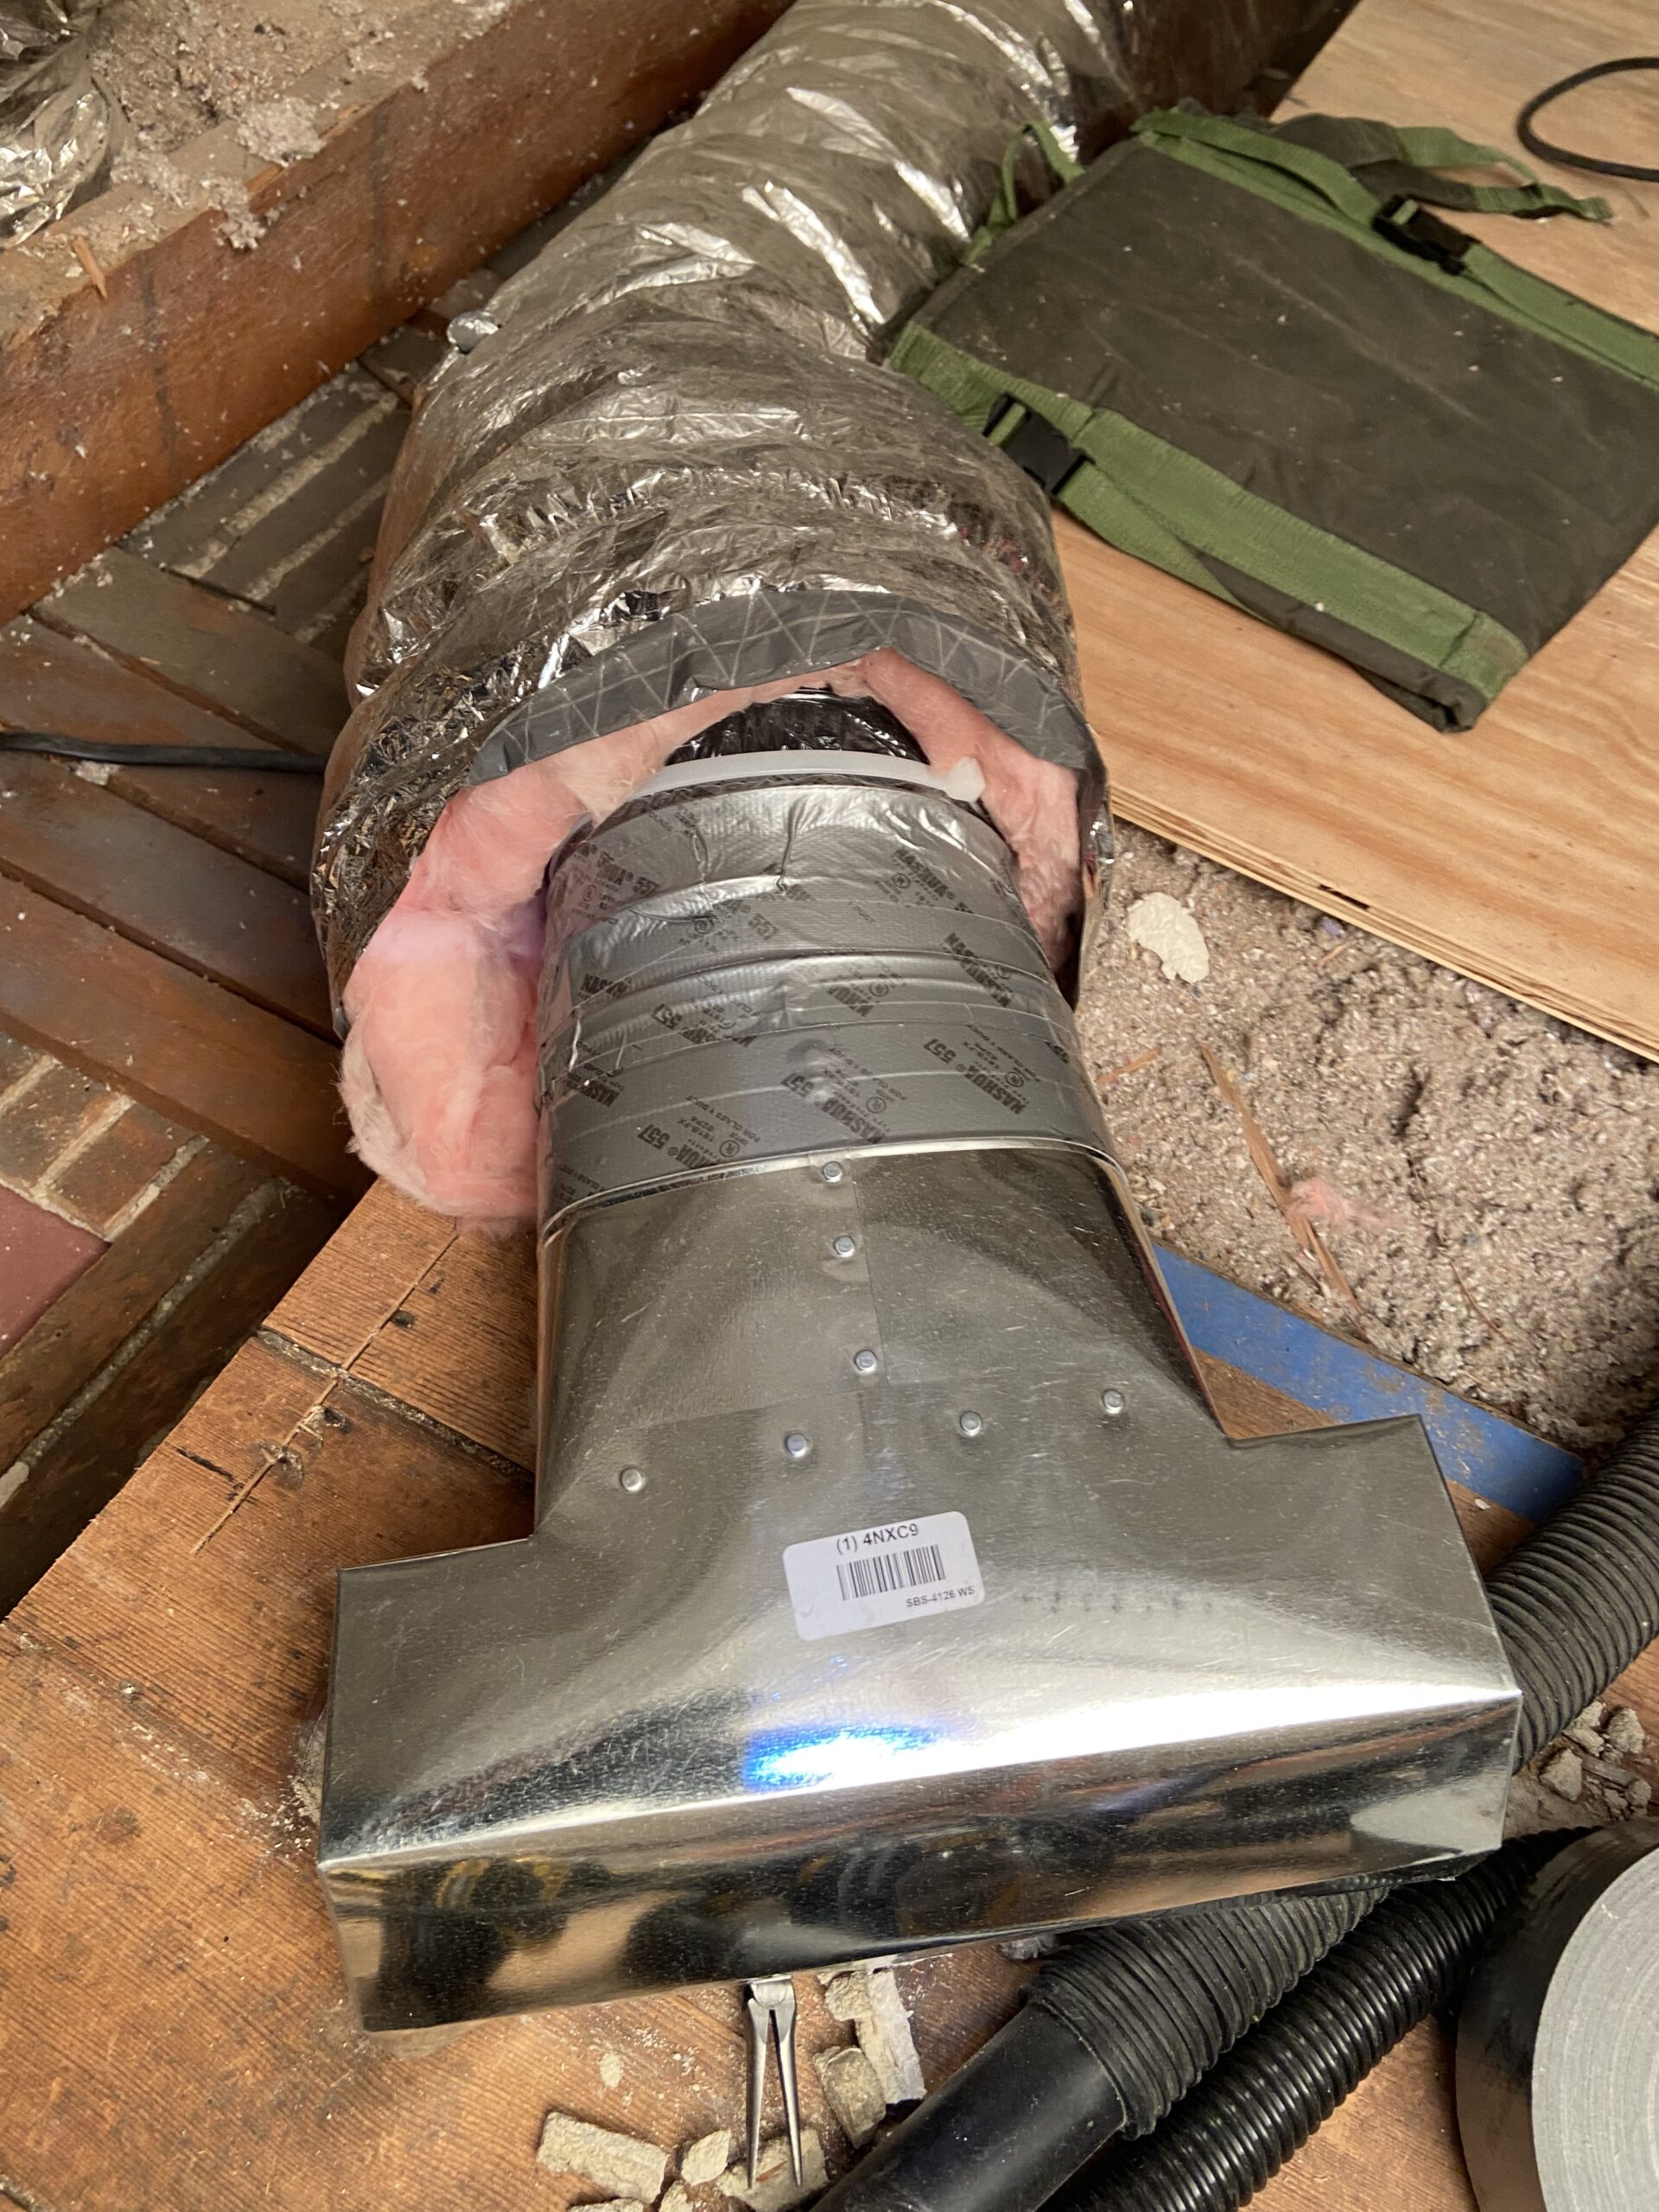
A good practice is to actually cut all of your pieces of tape in advance and have them hanging near you because when you’re holding the boot with one hand with the flex in it’s spot, you need to be quick. It also just speeds up the process of completing the assembly when you have all the pieces of tape ready to go. This little ancedote turned out to be quite critical for the remaining HVAC work up in the attic (and there was quite a bit).
After you’ve taped up your flex, you need to take one of your 3′ zip ties and wrap it around the pipe, ensuring they get in between at least one of the wire rings, and pull it real tight. Use your snips to snip it down as close as possible to ensure your insulation wrap doesn’t get snagged (or popped through) once you pull it over.
The last thing to do on the assembly front is to pull that insulation up as high as it can go, tape it off, and wrape one more 3′ zip tie around the flex which will alleviate most of the strain on the tape. In my case, I could not pull the insulation up as much as I would have wanted as we were dealing with such a tight space, I couldn’t get the duct all the way into the hole, especially considering I was dealing with an even tighter space due to the 1″ slats that were sitting on top of the lathe, cutting my working area to roughly 6″ of joist space.
Once you have finished the assemly, the next step is to stuff it in! I had to use my snips to actually cut the corner joints on a few of my corners on the duct to fit it into the hole as it wasn’t a perfect fit (off by a few milimeters), which was fine.
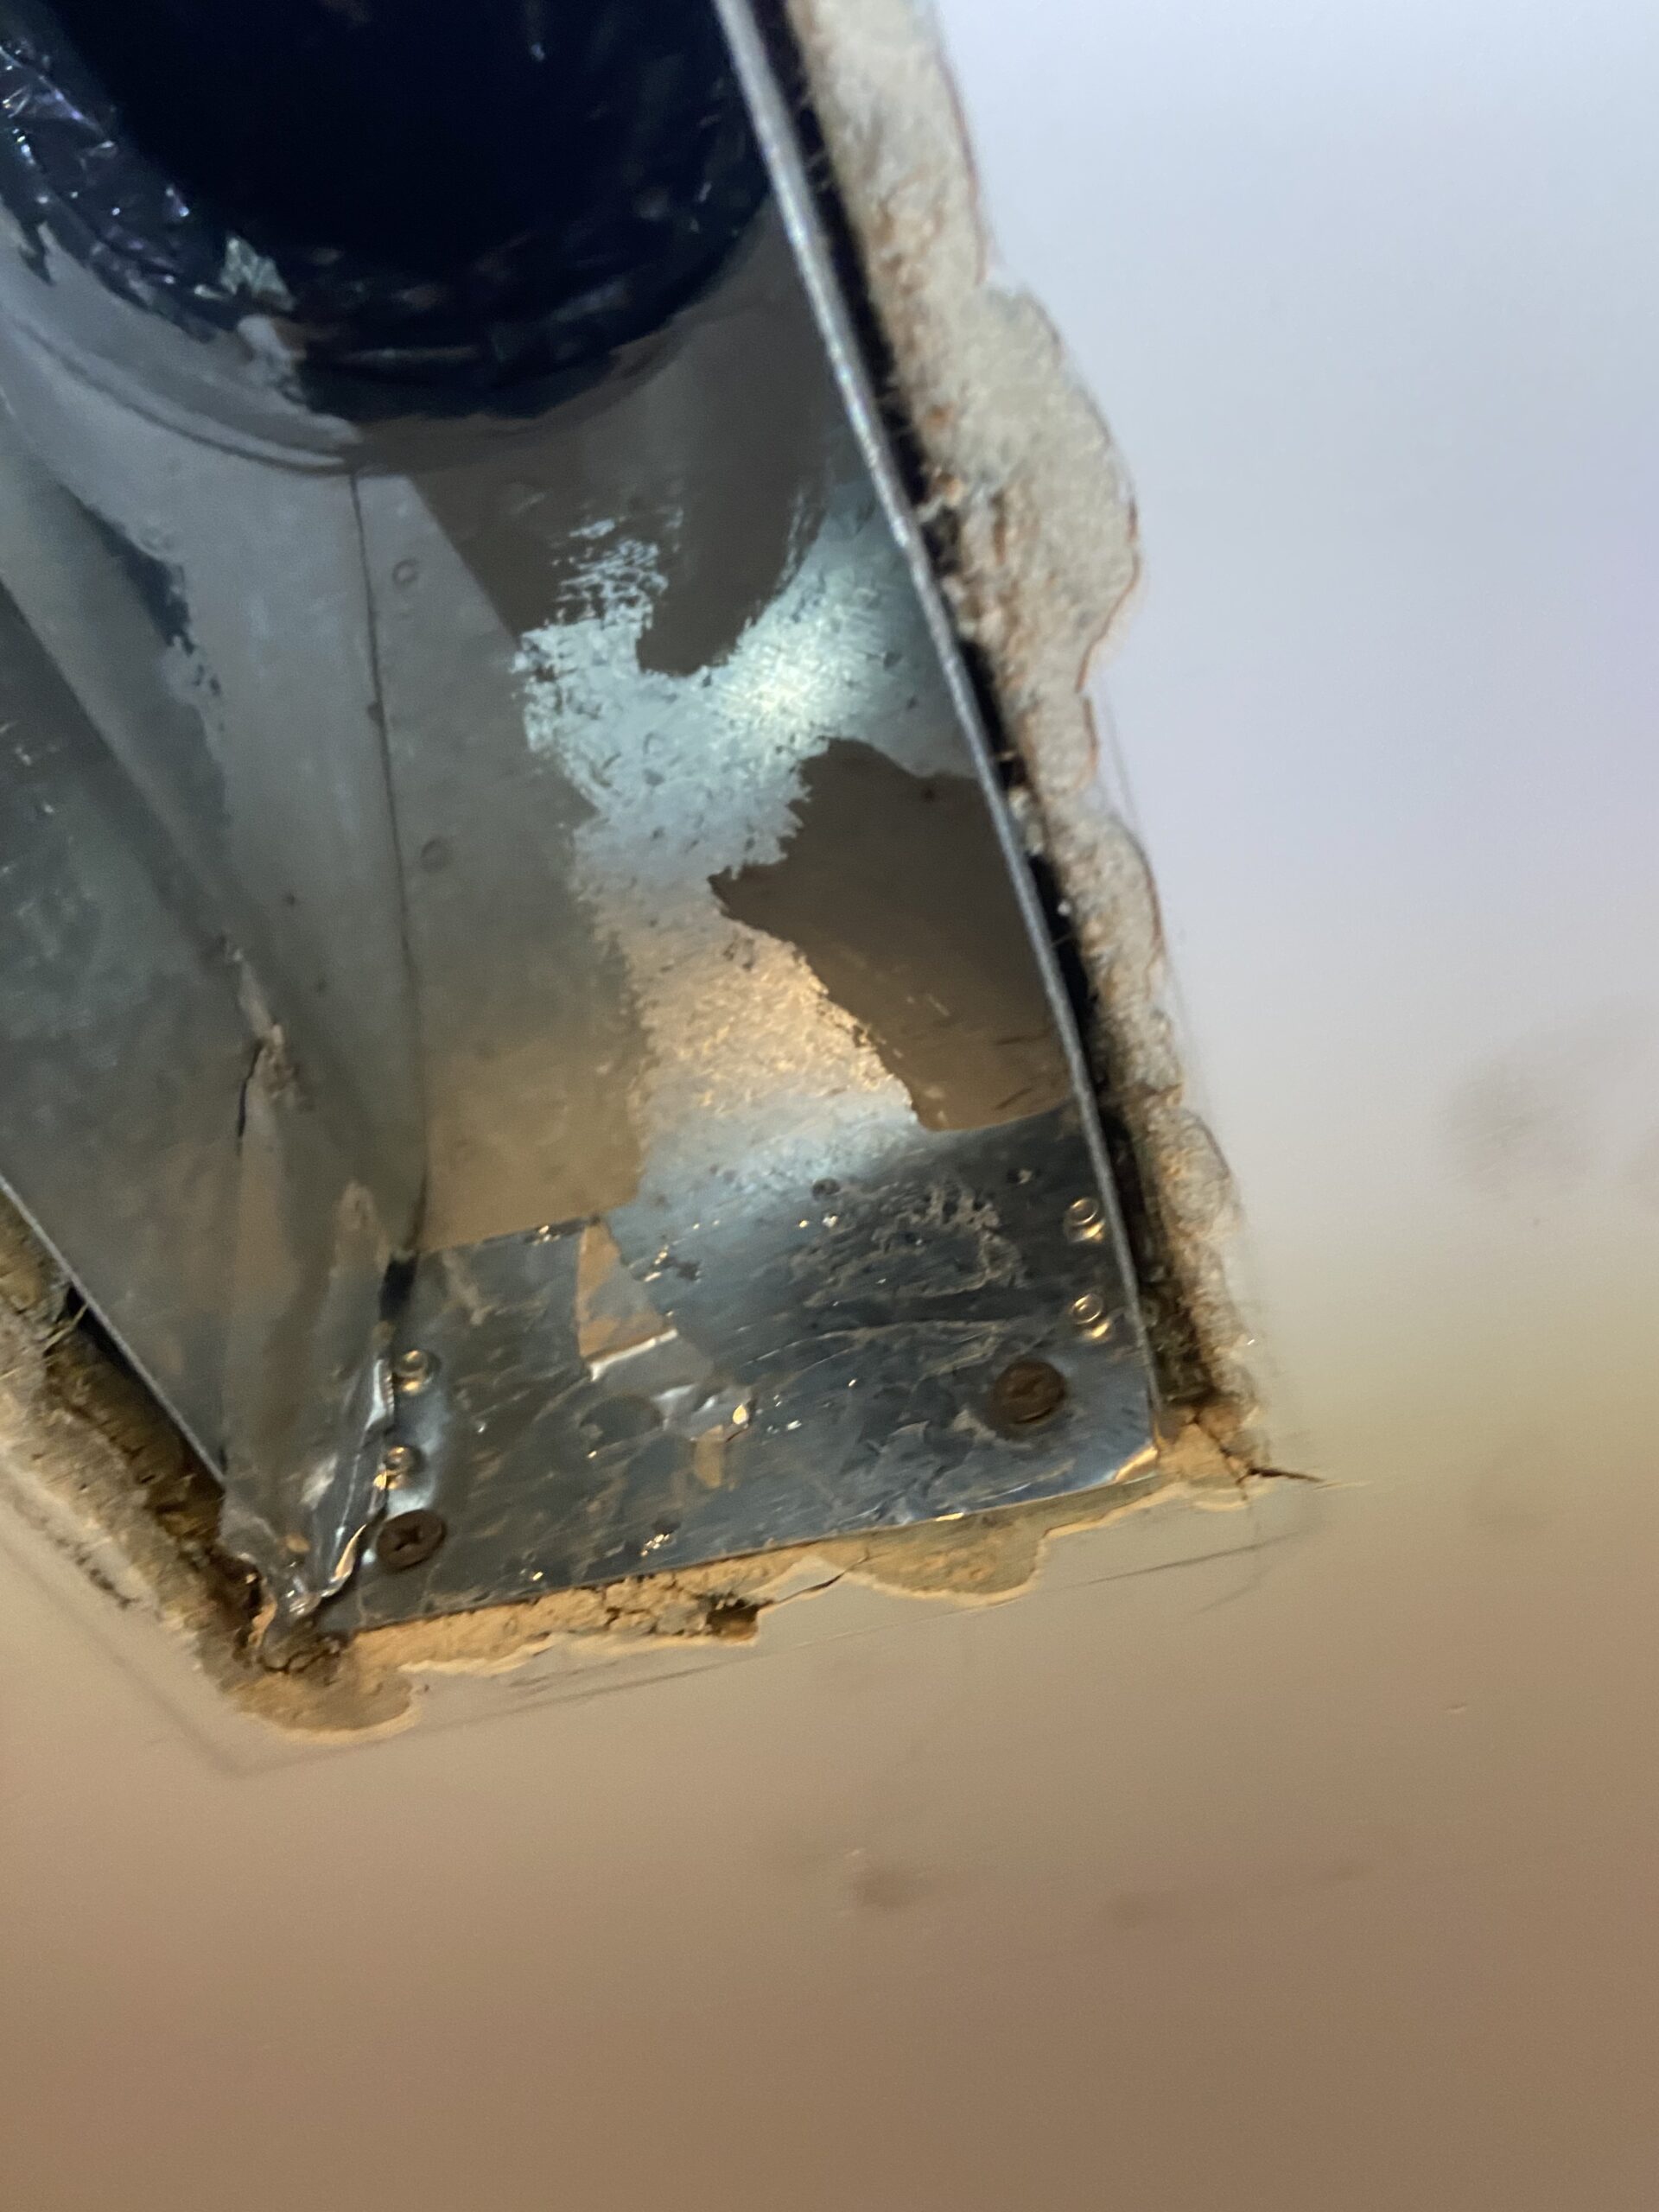
From here, it’s time to go downstairs and hop on the ladder to screw in the duct and tape it off.
The HVAC technician who had installed the previous boots had used wood screws. While I can understand the need for a secure connection into the wood, they were so hard to get out, and even harder to get back in. But, they are also much lower profile than self-tapping which helps with air flow.
Once your screws are in, you need to grab your metal tape and tape up both the screws, and where the duct meets the edge of the plaster. This is quite critical to seal up any air gap and create a streamlined, finished product. Tape right up to the edge of where the difuser will go, but not past it so that you won’t see it poking out and ruin your ceilings athestics.
Screw the defuser back on and you’re done!