How to Change an HVAC Boot Duct
Tools Required Materials Required The first thing that I had to do was make sure…
Okay, if I might say, the subfloor was by far the hardest part of this operation. The attic is 3 floors up in an old Victorian with tight corners. There was no way to take a full sheet of plywood up the stairs. There was however a window on the second floor that we later found out we could fit blue board through, but we of course cannot go back in time now.
So, I had to get my 5/8th” smooth-faced plywood ( I went with the expensive stuff) down to 2’x8’ sheets to carry them through the front door and up 3 flights of stairs. This was one of the hardest parts of the entire renovation. 5/8ths smooth is very heavy, and three flights of stairs is a long way to go. And to top it off, since we had a toddler and a new baby, I was mostly doing these lifts at night after 9:00 pm in the dark. I used a headlamp and it was tough to avoid cracking the ceiling with an 8’ board in the dark.
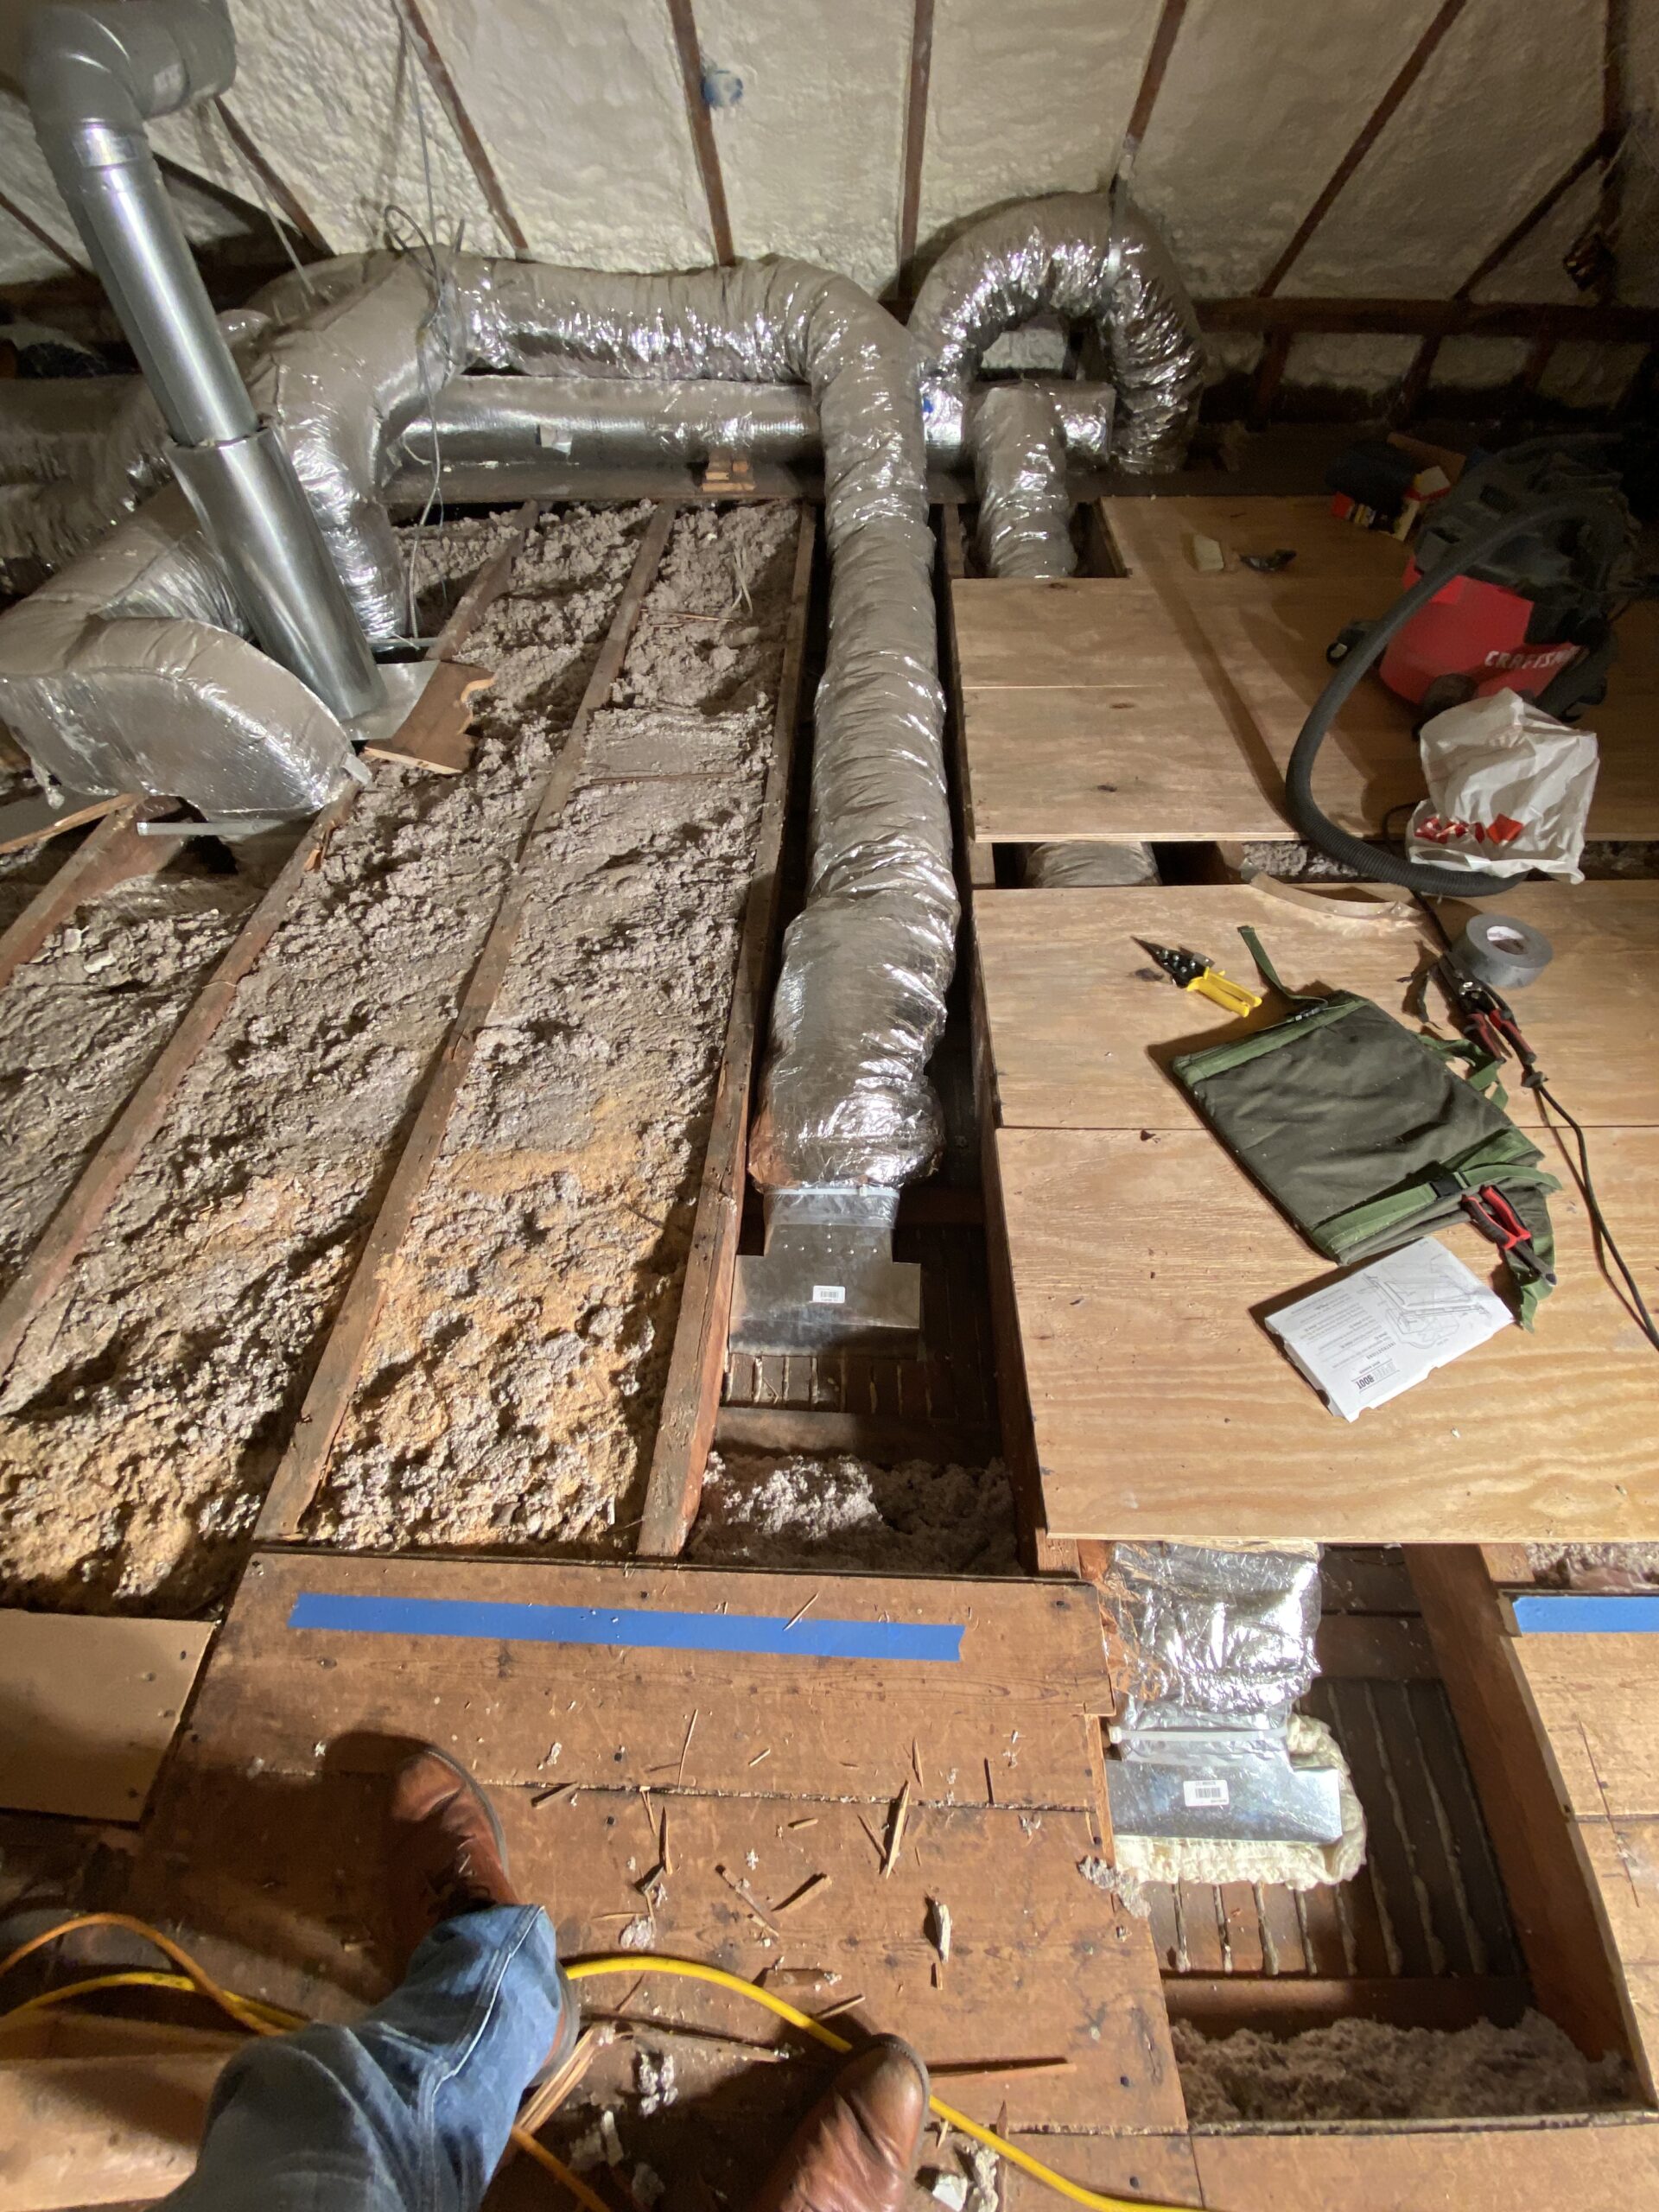
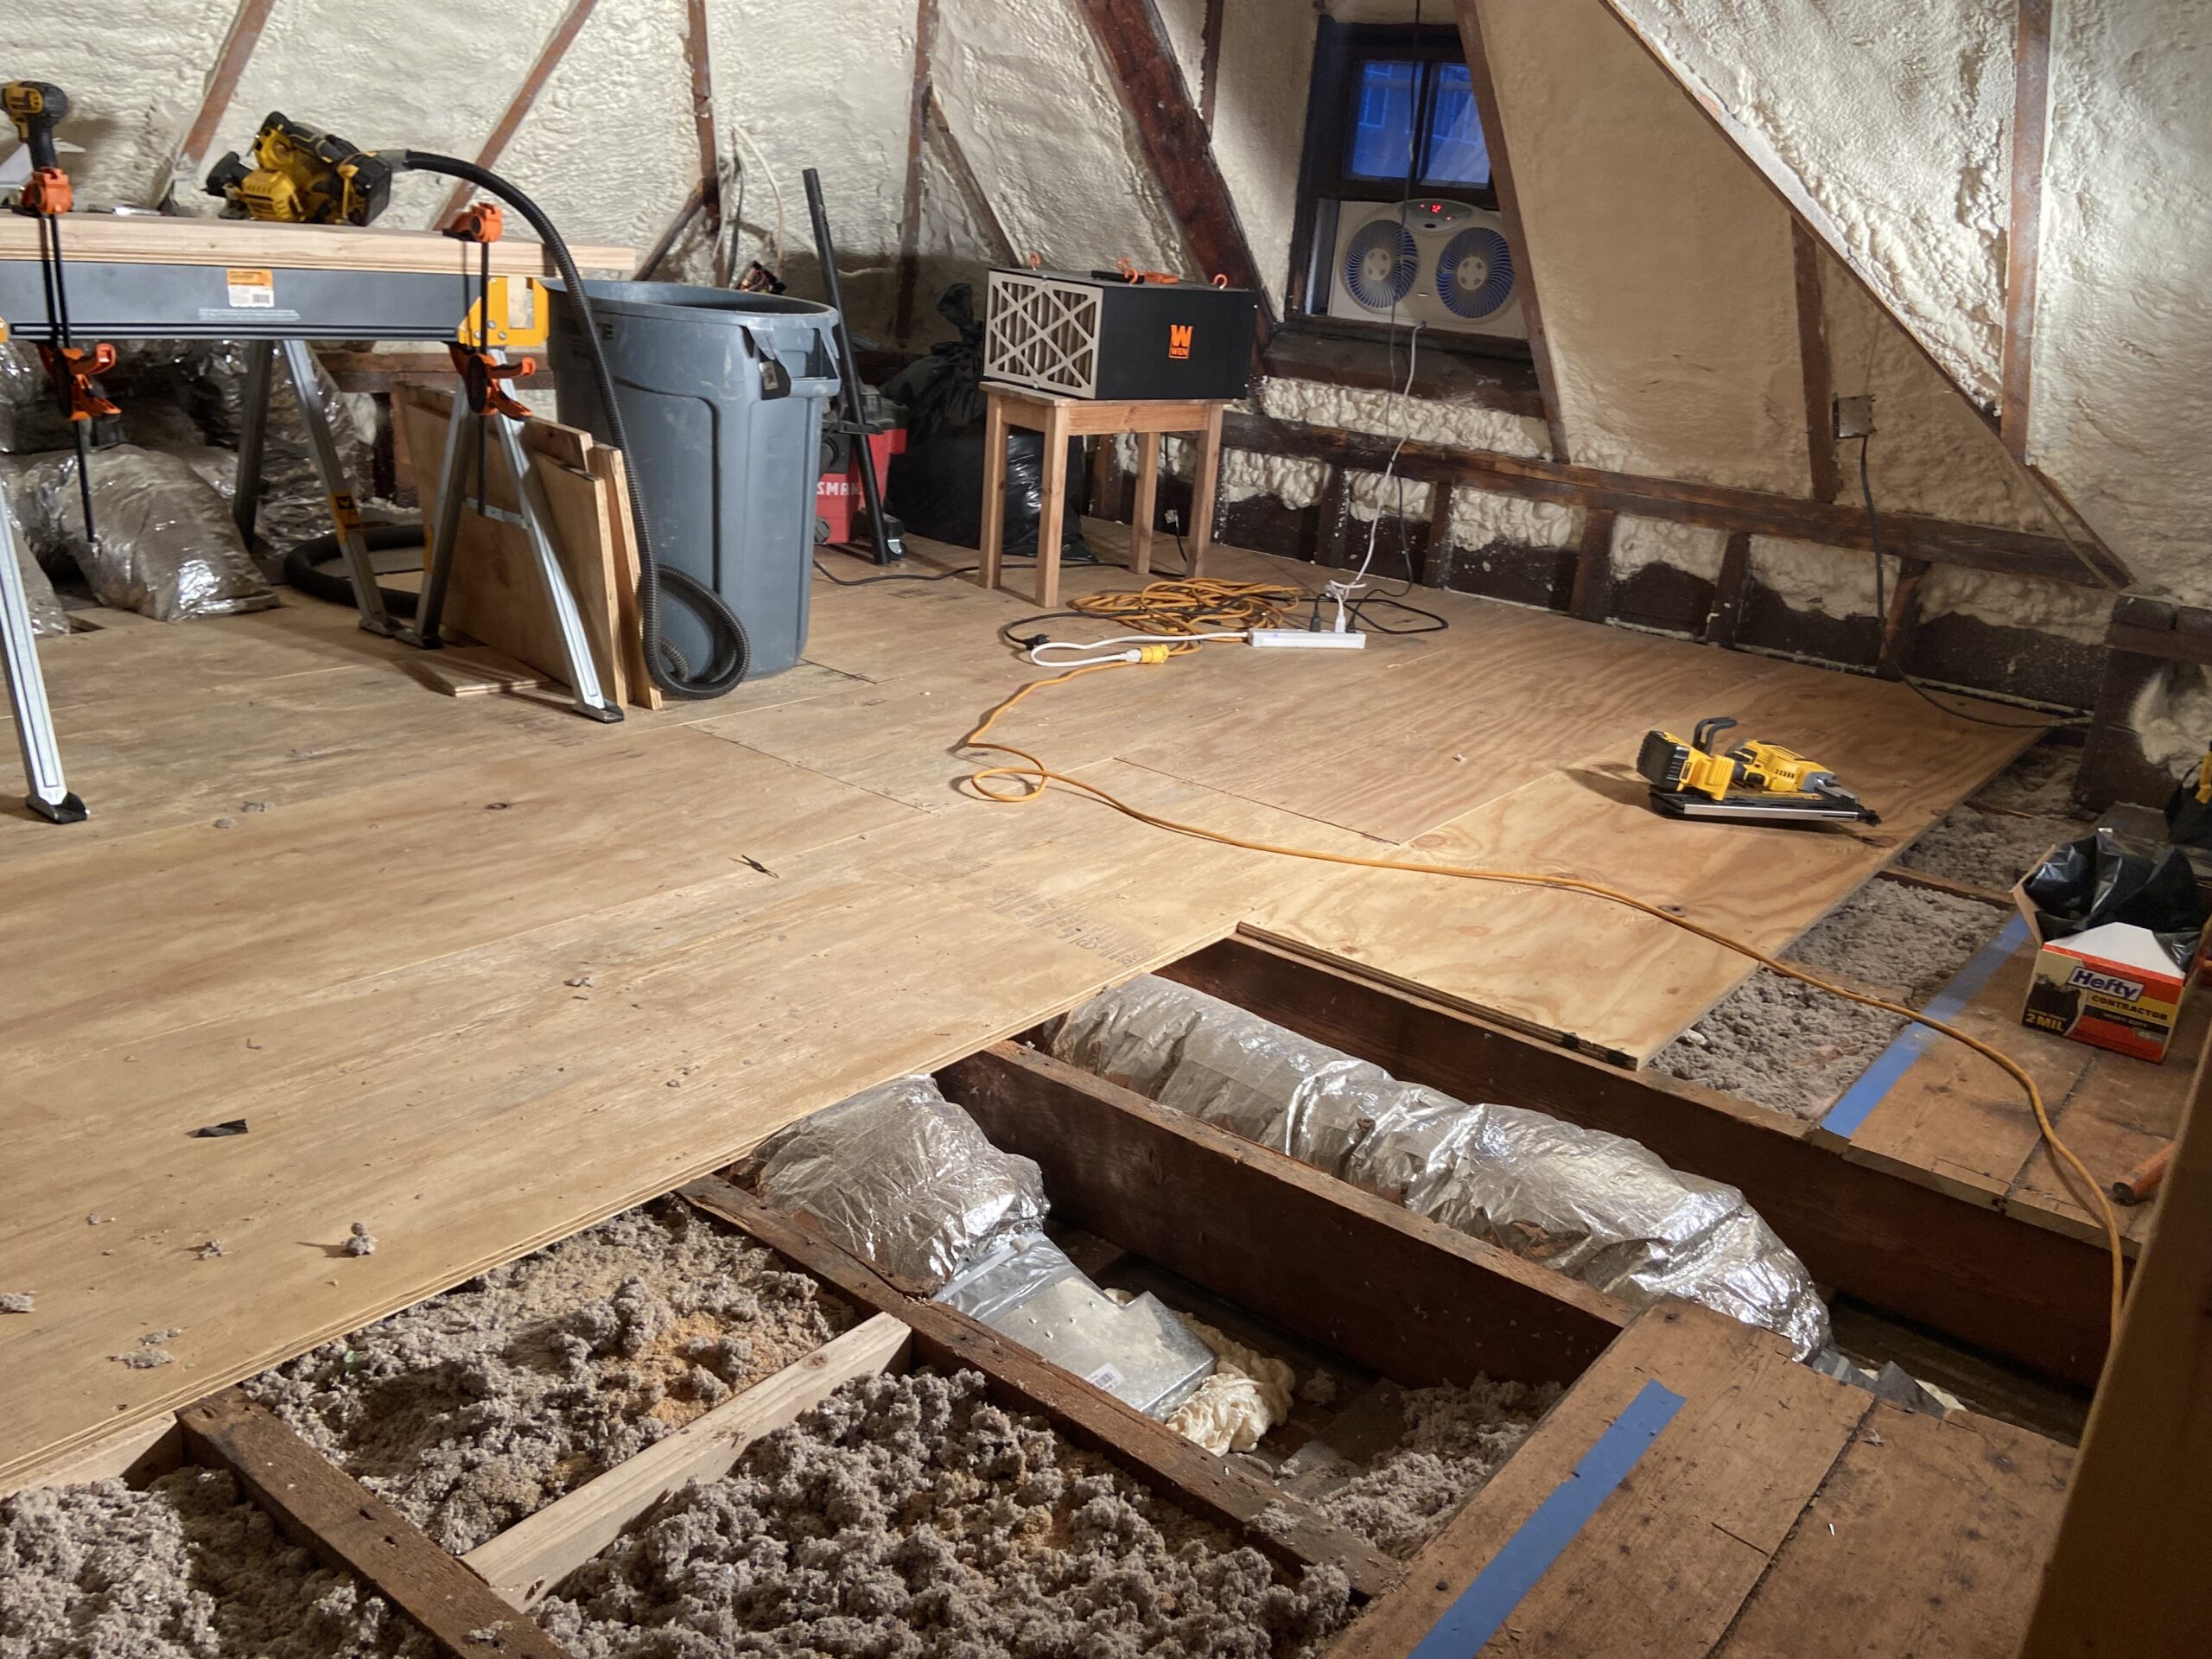
The first thing I did (as briefly mentioned earlier) was to lay them all on the same plane so that I had a corridor to walk and work from. From there, I took some measurements to see what kind of jenga I was working with and it turned out that I had two joists that lined up perfectly to fit two 2’x8’s side by side, which of course I could only do every other set so as to stagger the joints. This was in fact a lifesaver and cut my workload down tremendously. Why, you ask? Well because our joists are not 16” on center and are in fact a different width for every joist, averaging probably something like 22”.
Okay, with the jenga complete, we had a starting point to work from. Now, there are several key components to laying the subfloor including the right materials and positioning of the board. Additionally, if you’re working in an attic, you really should assess your layout (Jenga) so that your starting point is going to work with your future plans of where you want the plywood to end up.
So, on the materials front, we will want to talk about screws vs nails. Nail guns are faster, but, screws can be unscrewed. That said, if you’re going to use a nail gun, you’ll need nails that will do a better job holding the plywood down and that would be what’s called a ring shank. It’s recommended to use 2.5” ring shanks. This gives you enough depth to get both through the subfloor as well as the joist with enough bite to hold it.
For new construction and renovations, it’s standard practice to lay glue down on the joists prior to laying your subfloor. I opted out of the glue method for the following two reasons:
Initially, I started off laying the subfloor with my nail gun but quickly switched over to screws. As mentioned above, I realized that it was going to be a lot easier to pull the subfloor up at a later date if needed.
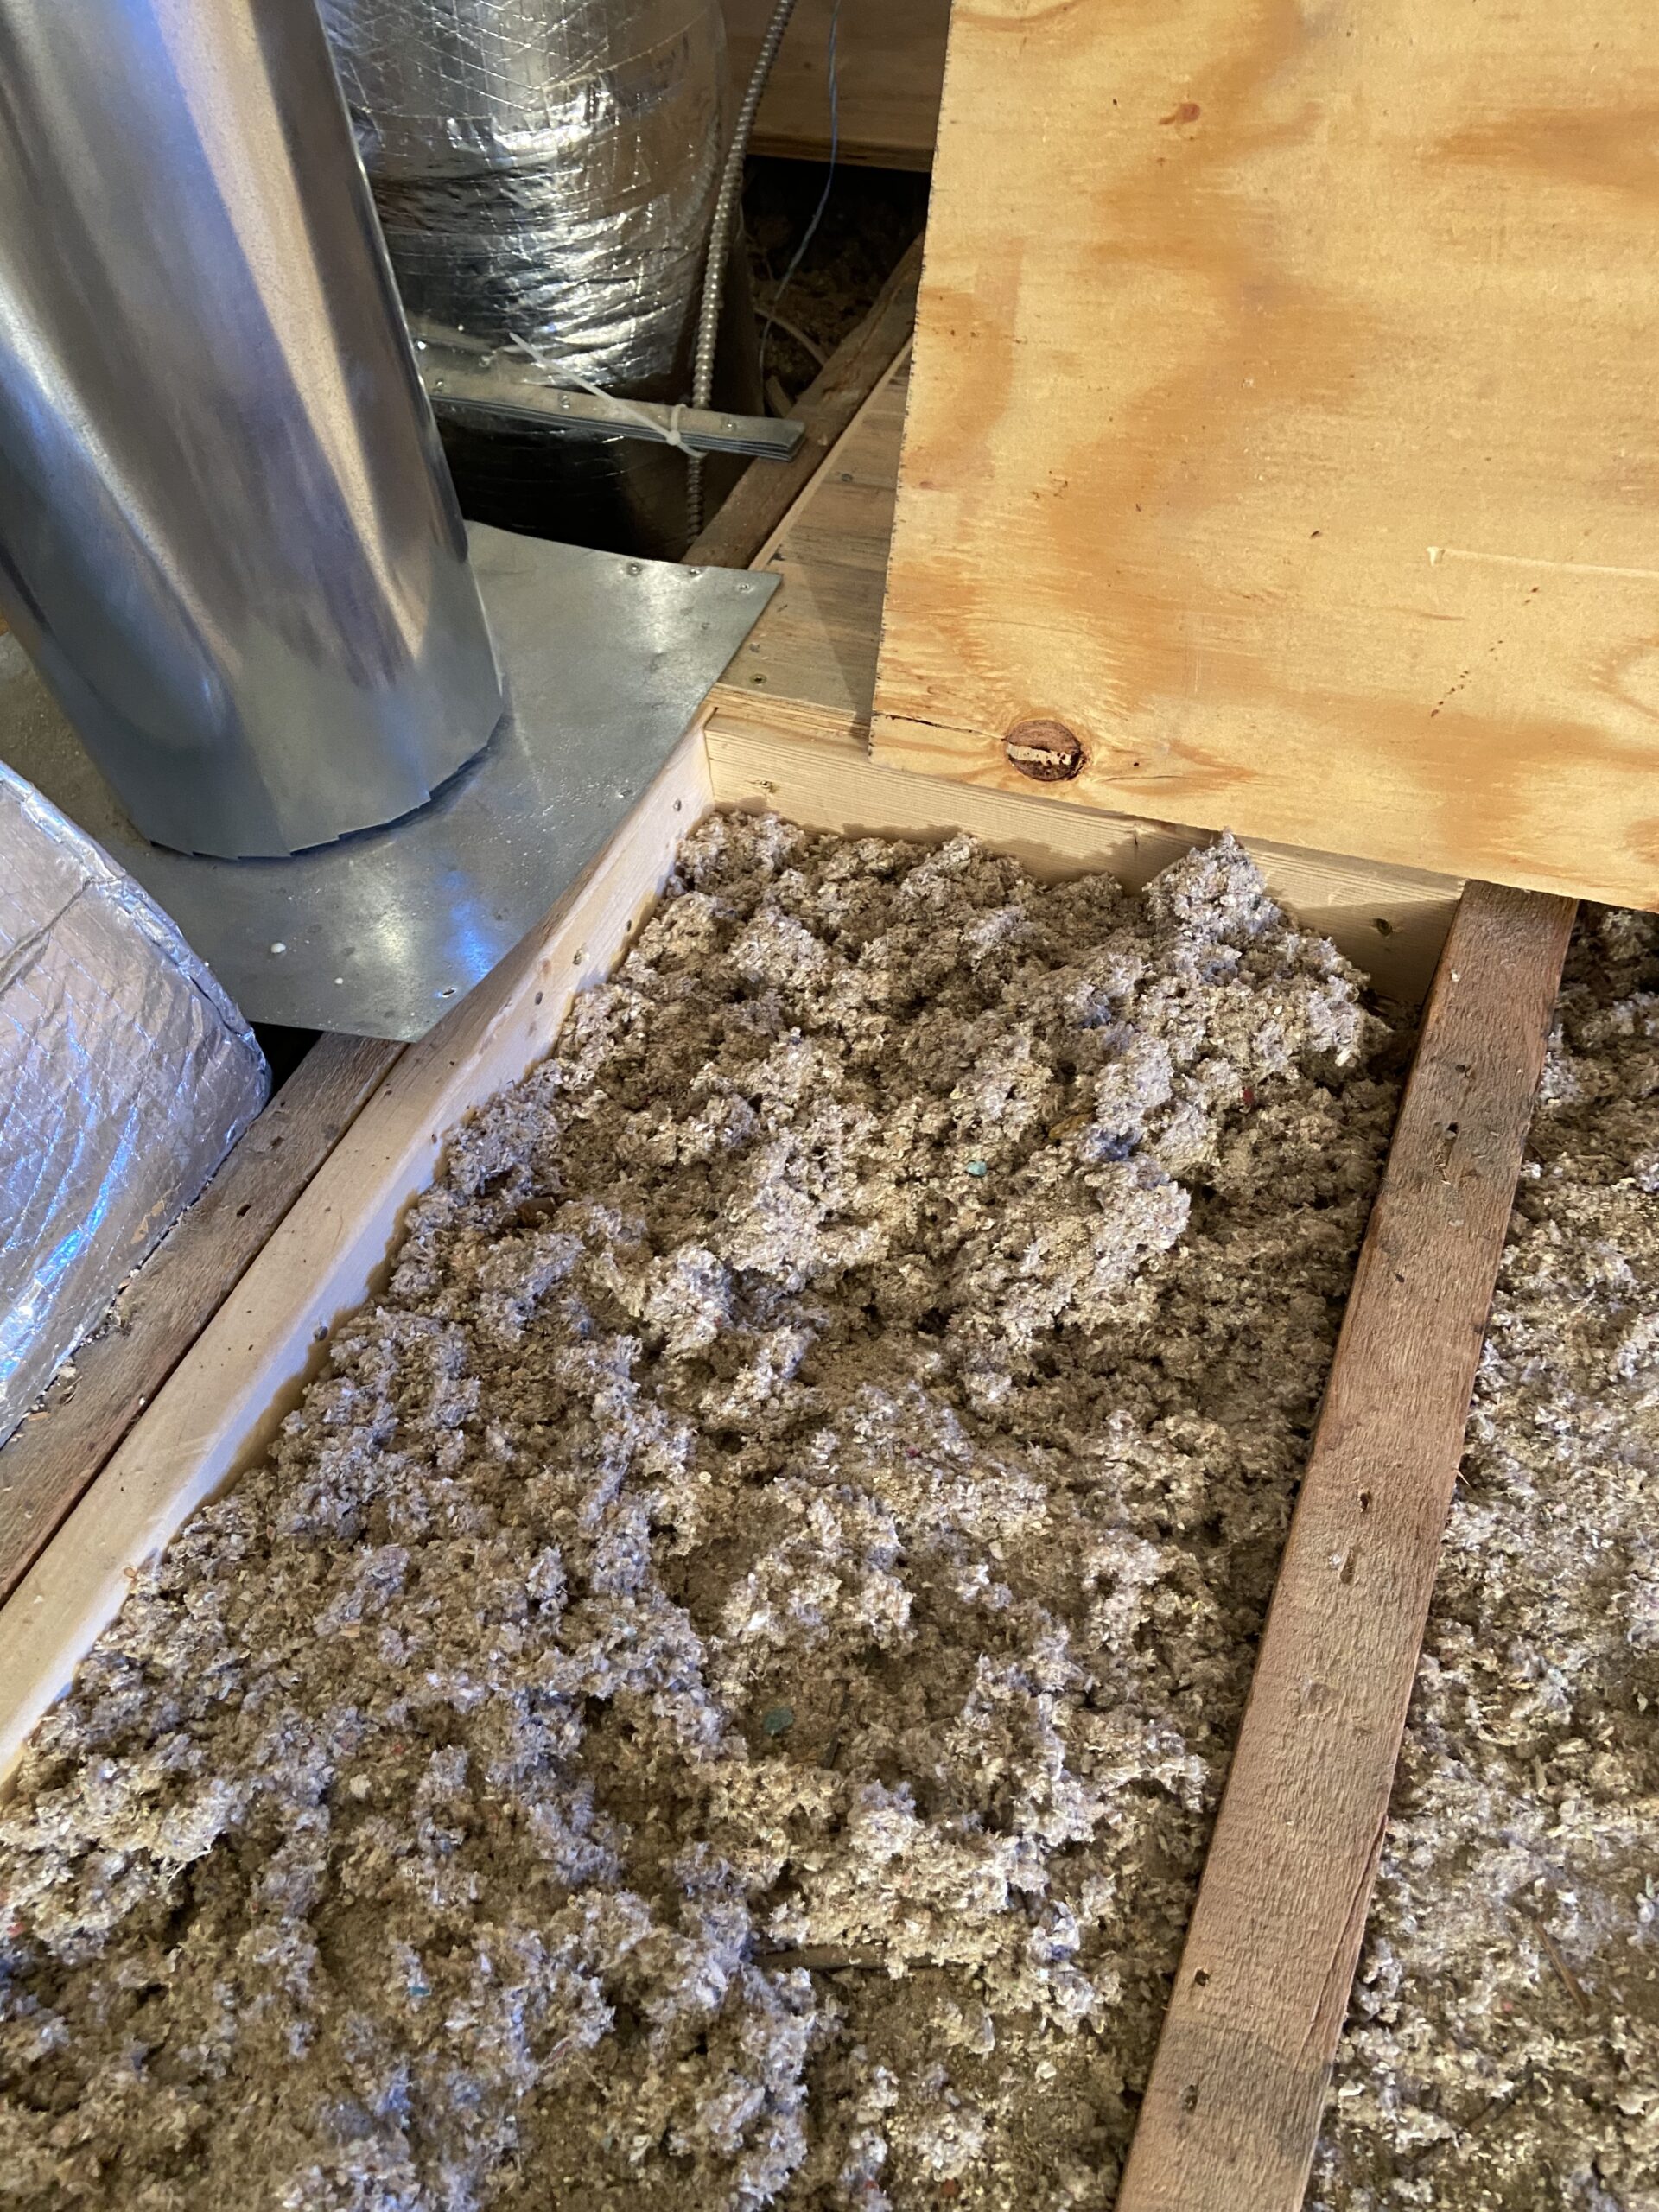
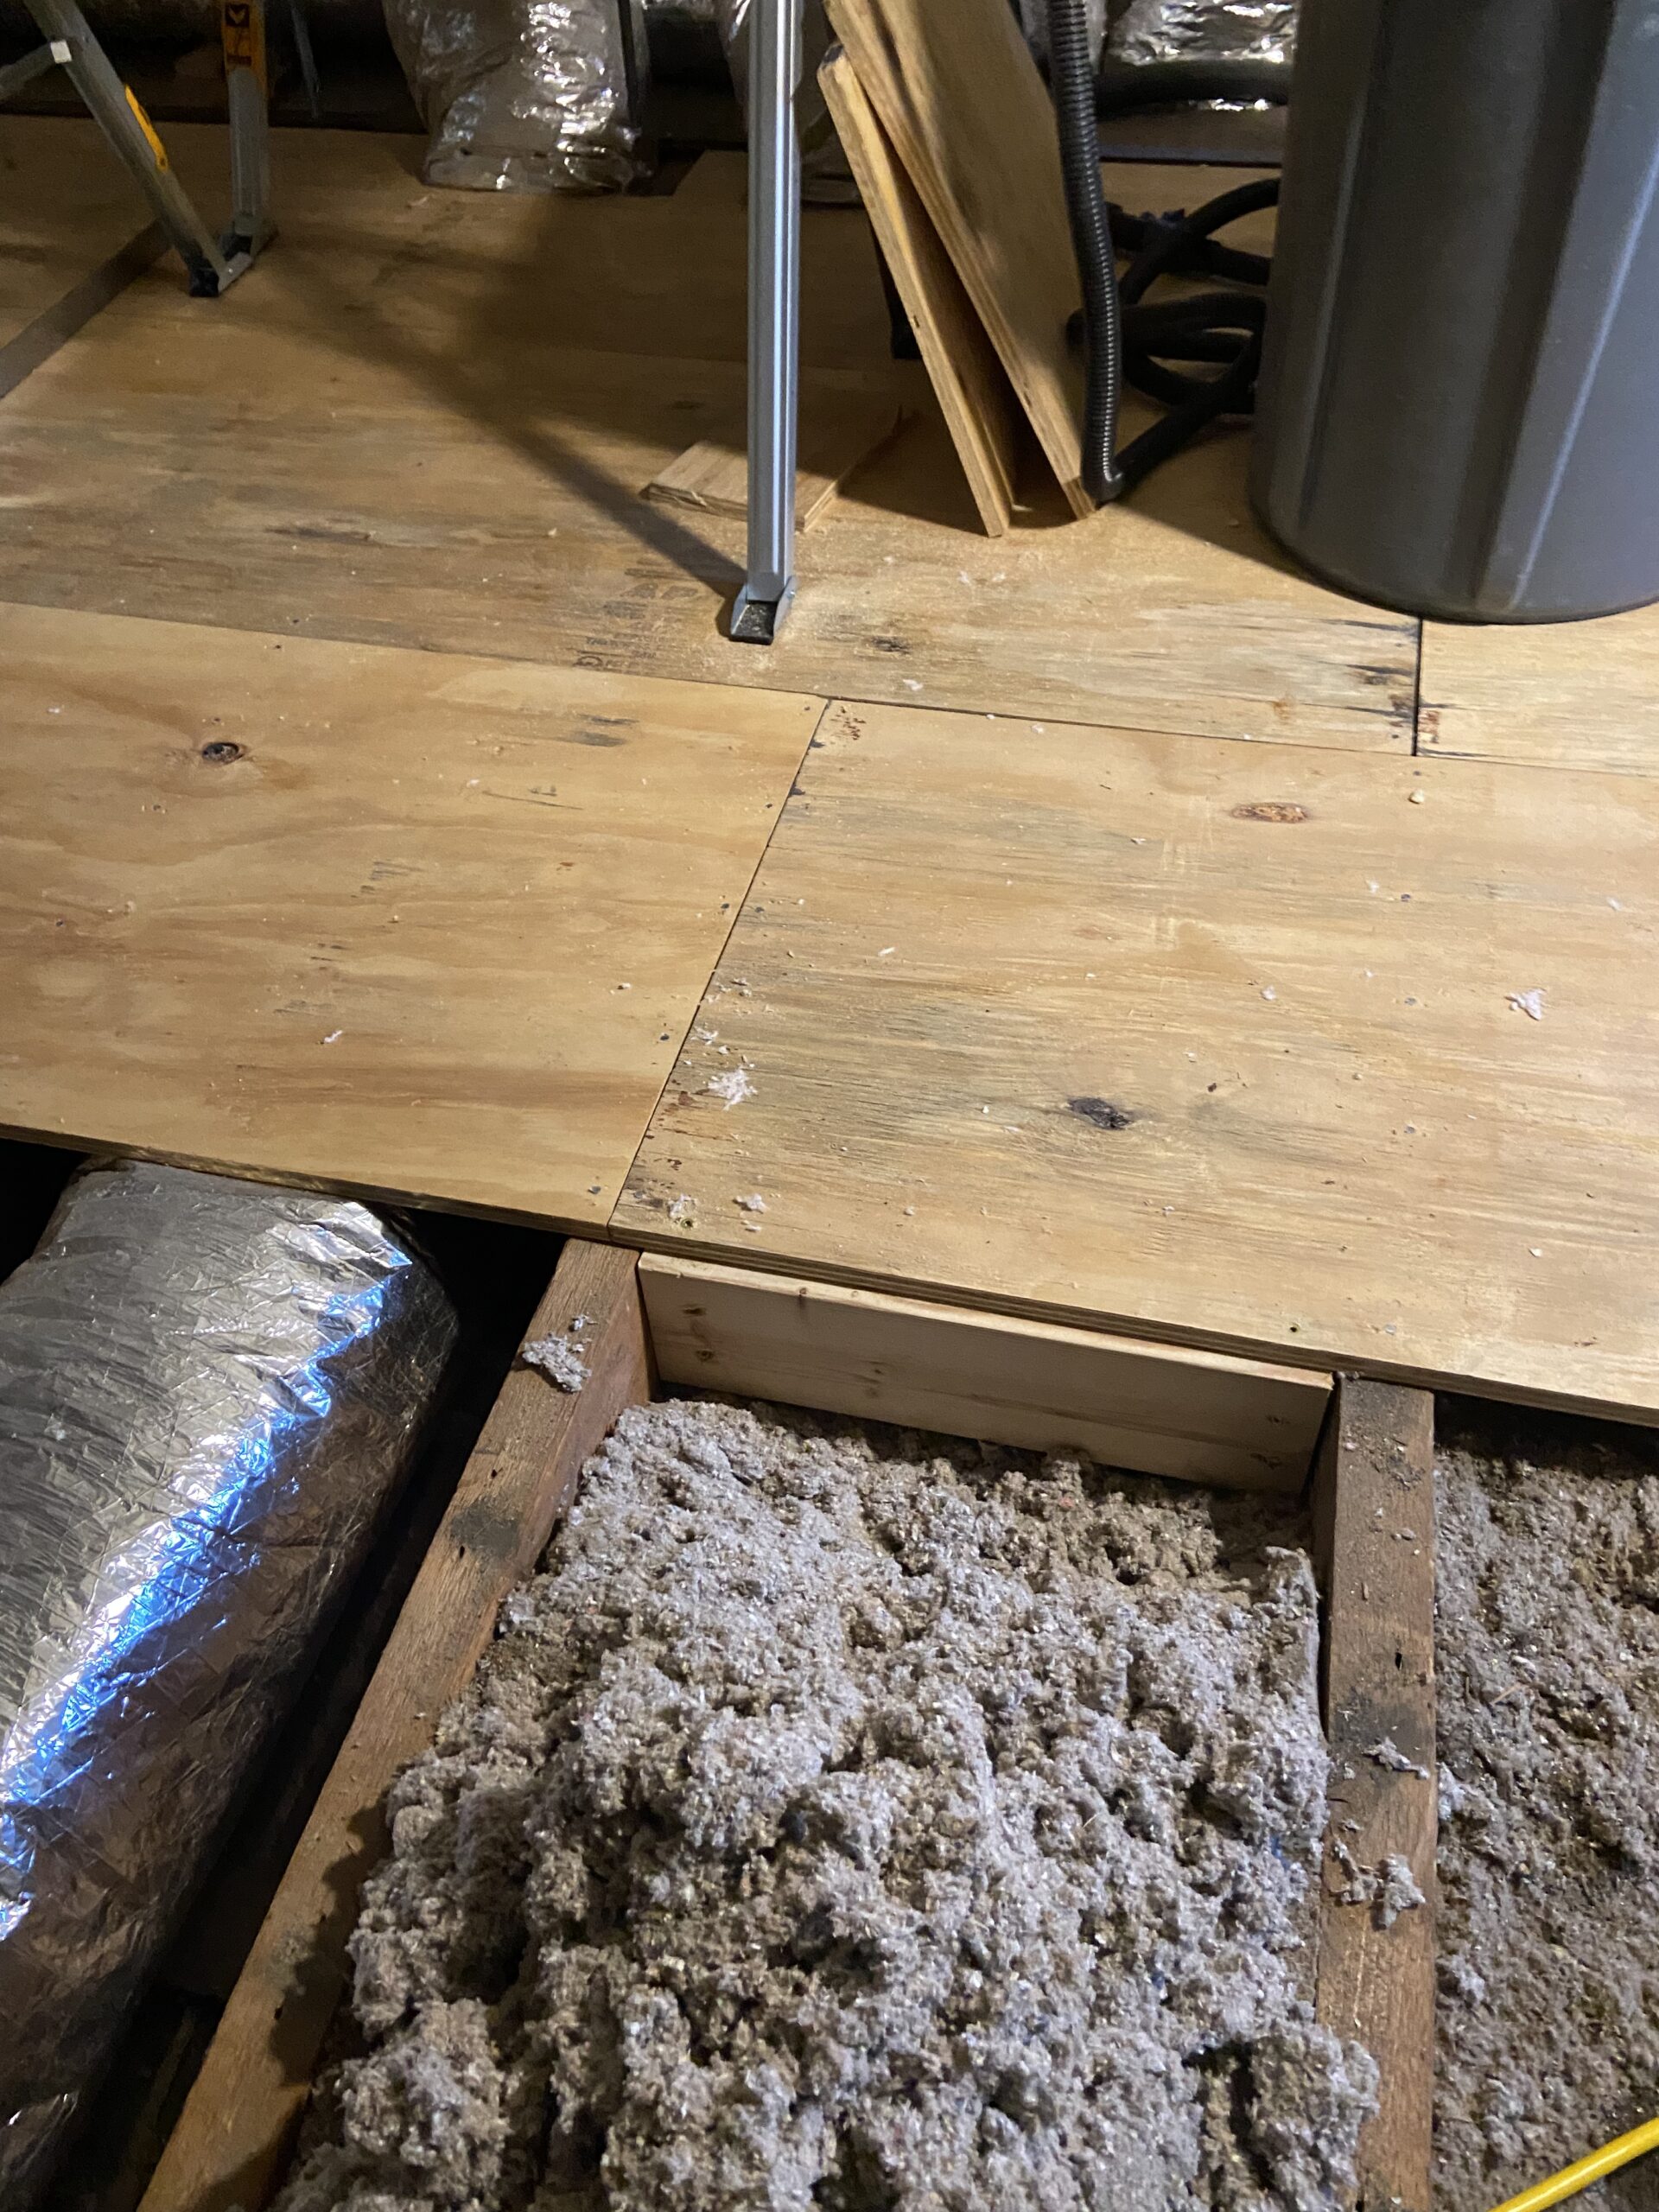
To install blocking between floor joists, I first had to measure the distance between the joists to determine the length of the blocking pieces. From there, cut the 2×6 enough to fit snugly. The first few times, you’ll be too long or too short (better to be a hair too long), but eventually, you’ll move fast and get those cuts right every time. One thing to note for an old house like this would be that while most of these beams aren’t warped per se, they may be at an angle and thus, your blocking is not going to slide in perfectly every time – a few degrees off here or there is normal.
When installing the blocking, don’t come in at an angle through the blocking into the joist, come in directly through the joist into the sidewall of the 2×6. So, if you’re like me, you’ve got to shovel out all of that old cellulose, fire in your screws, and then put it all back. Use at least a 3″ screw here, preferably 3.5″ if you have old, wide joists like me which are nominally 2″.
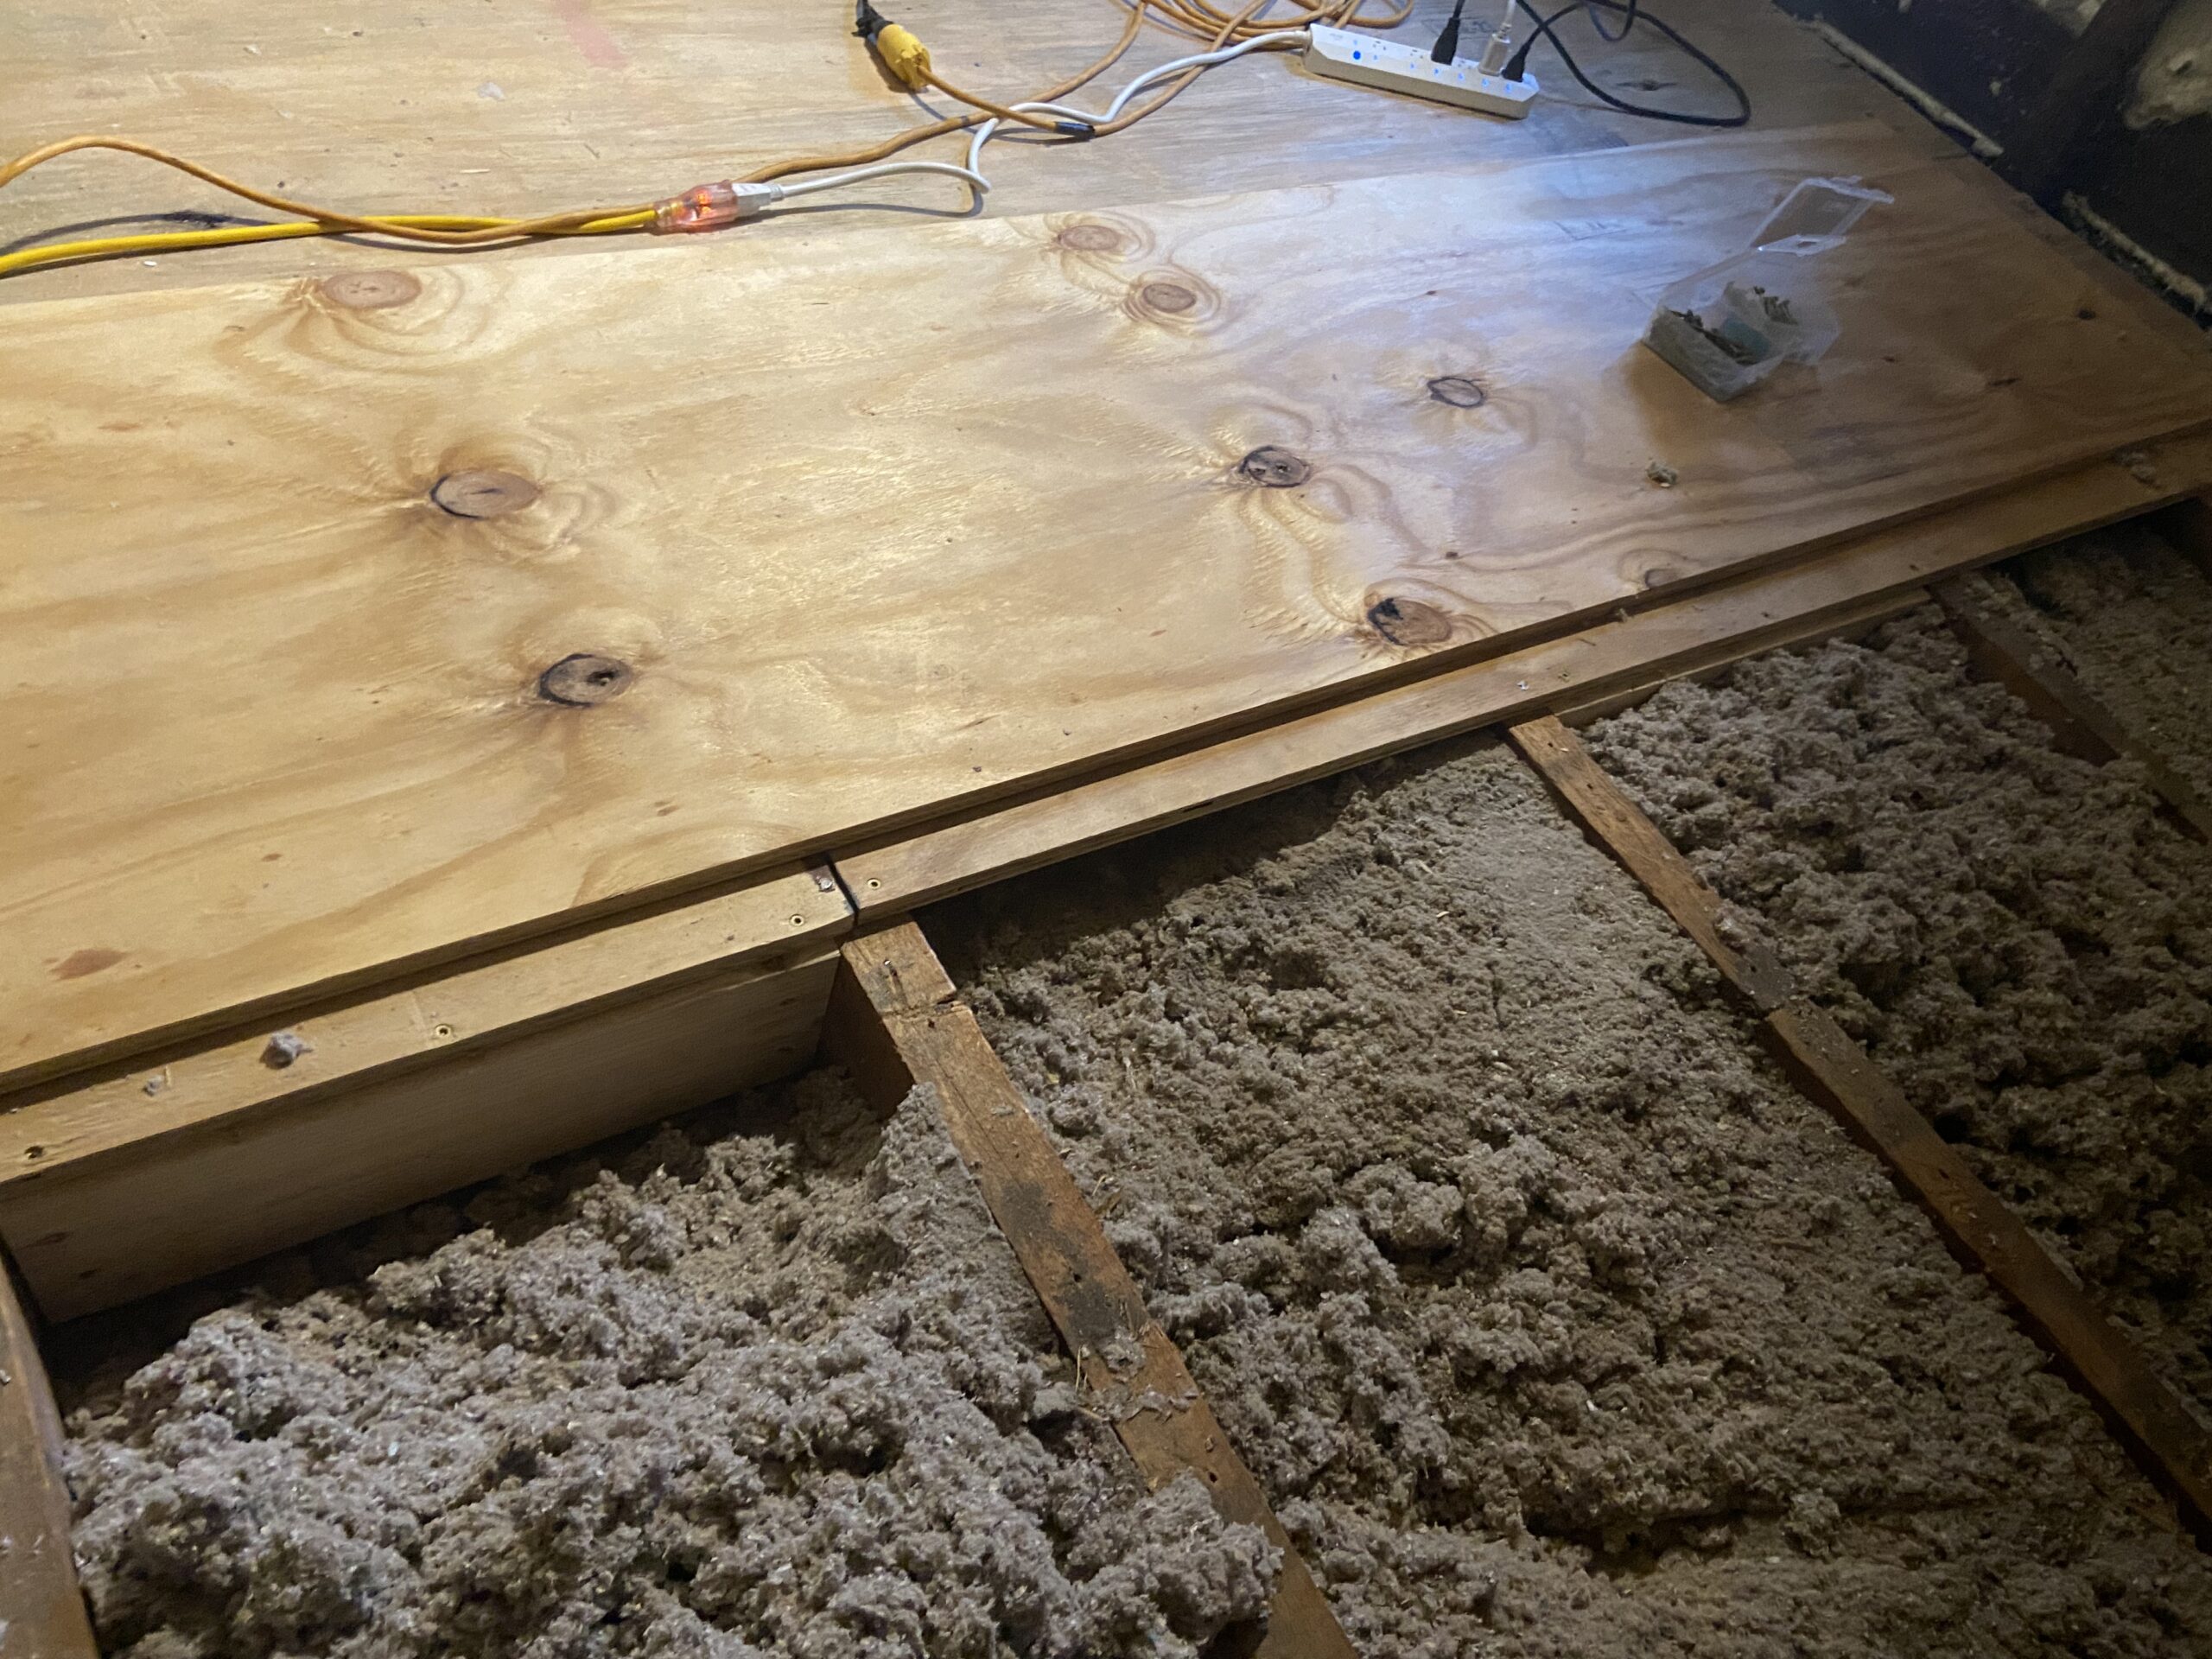
One thing to note which is of the utmost importance (in line with not staggering boards) is to ensure that you allow for proper spacing between each piece of subfloor. This allows for expansion and contraction from hot/cold environments and any settling that might come your way in the future.

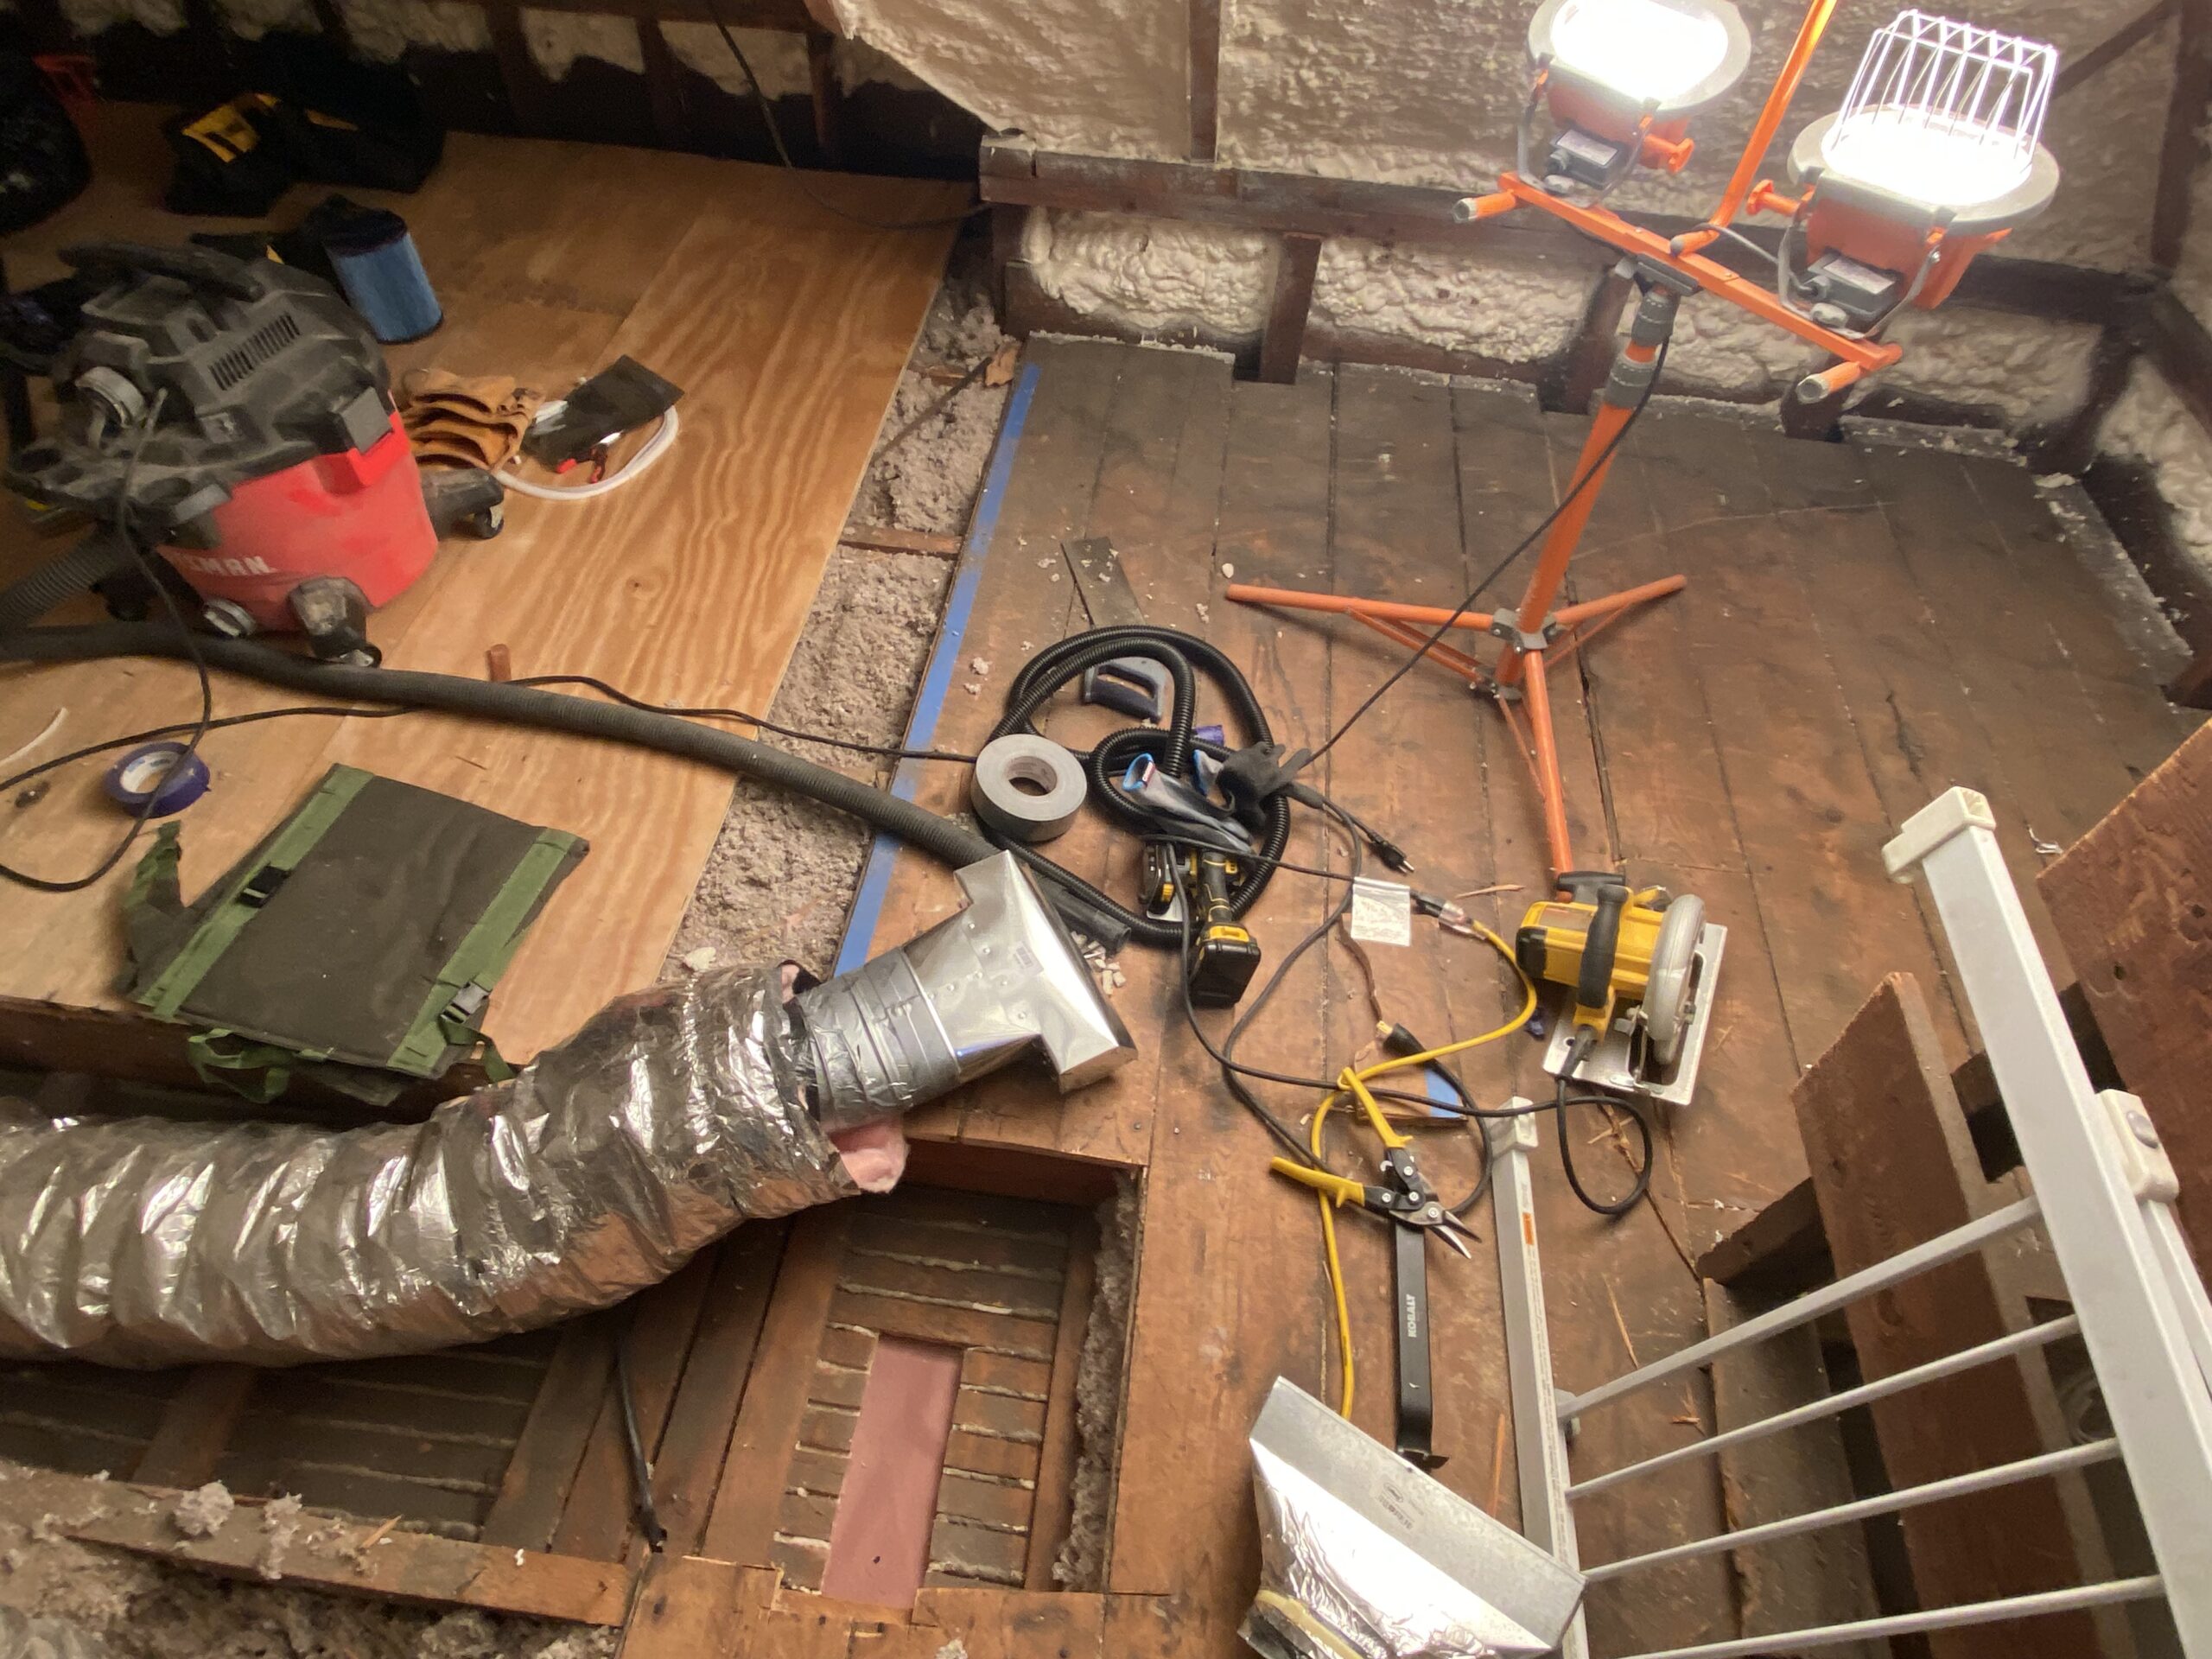
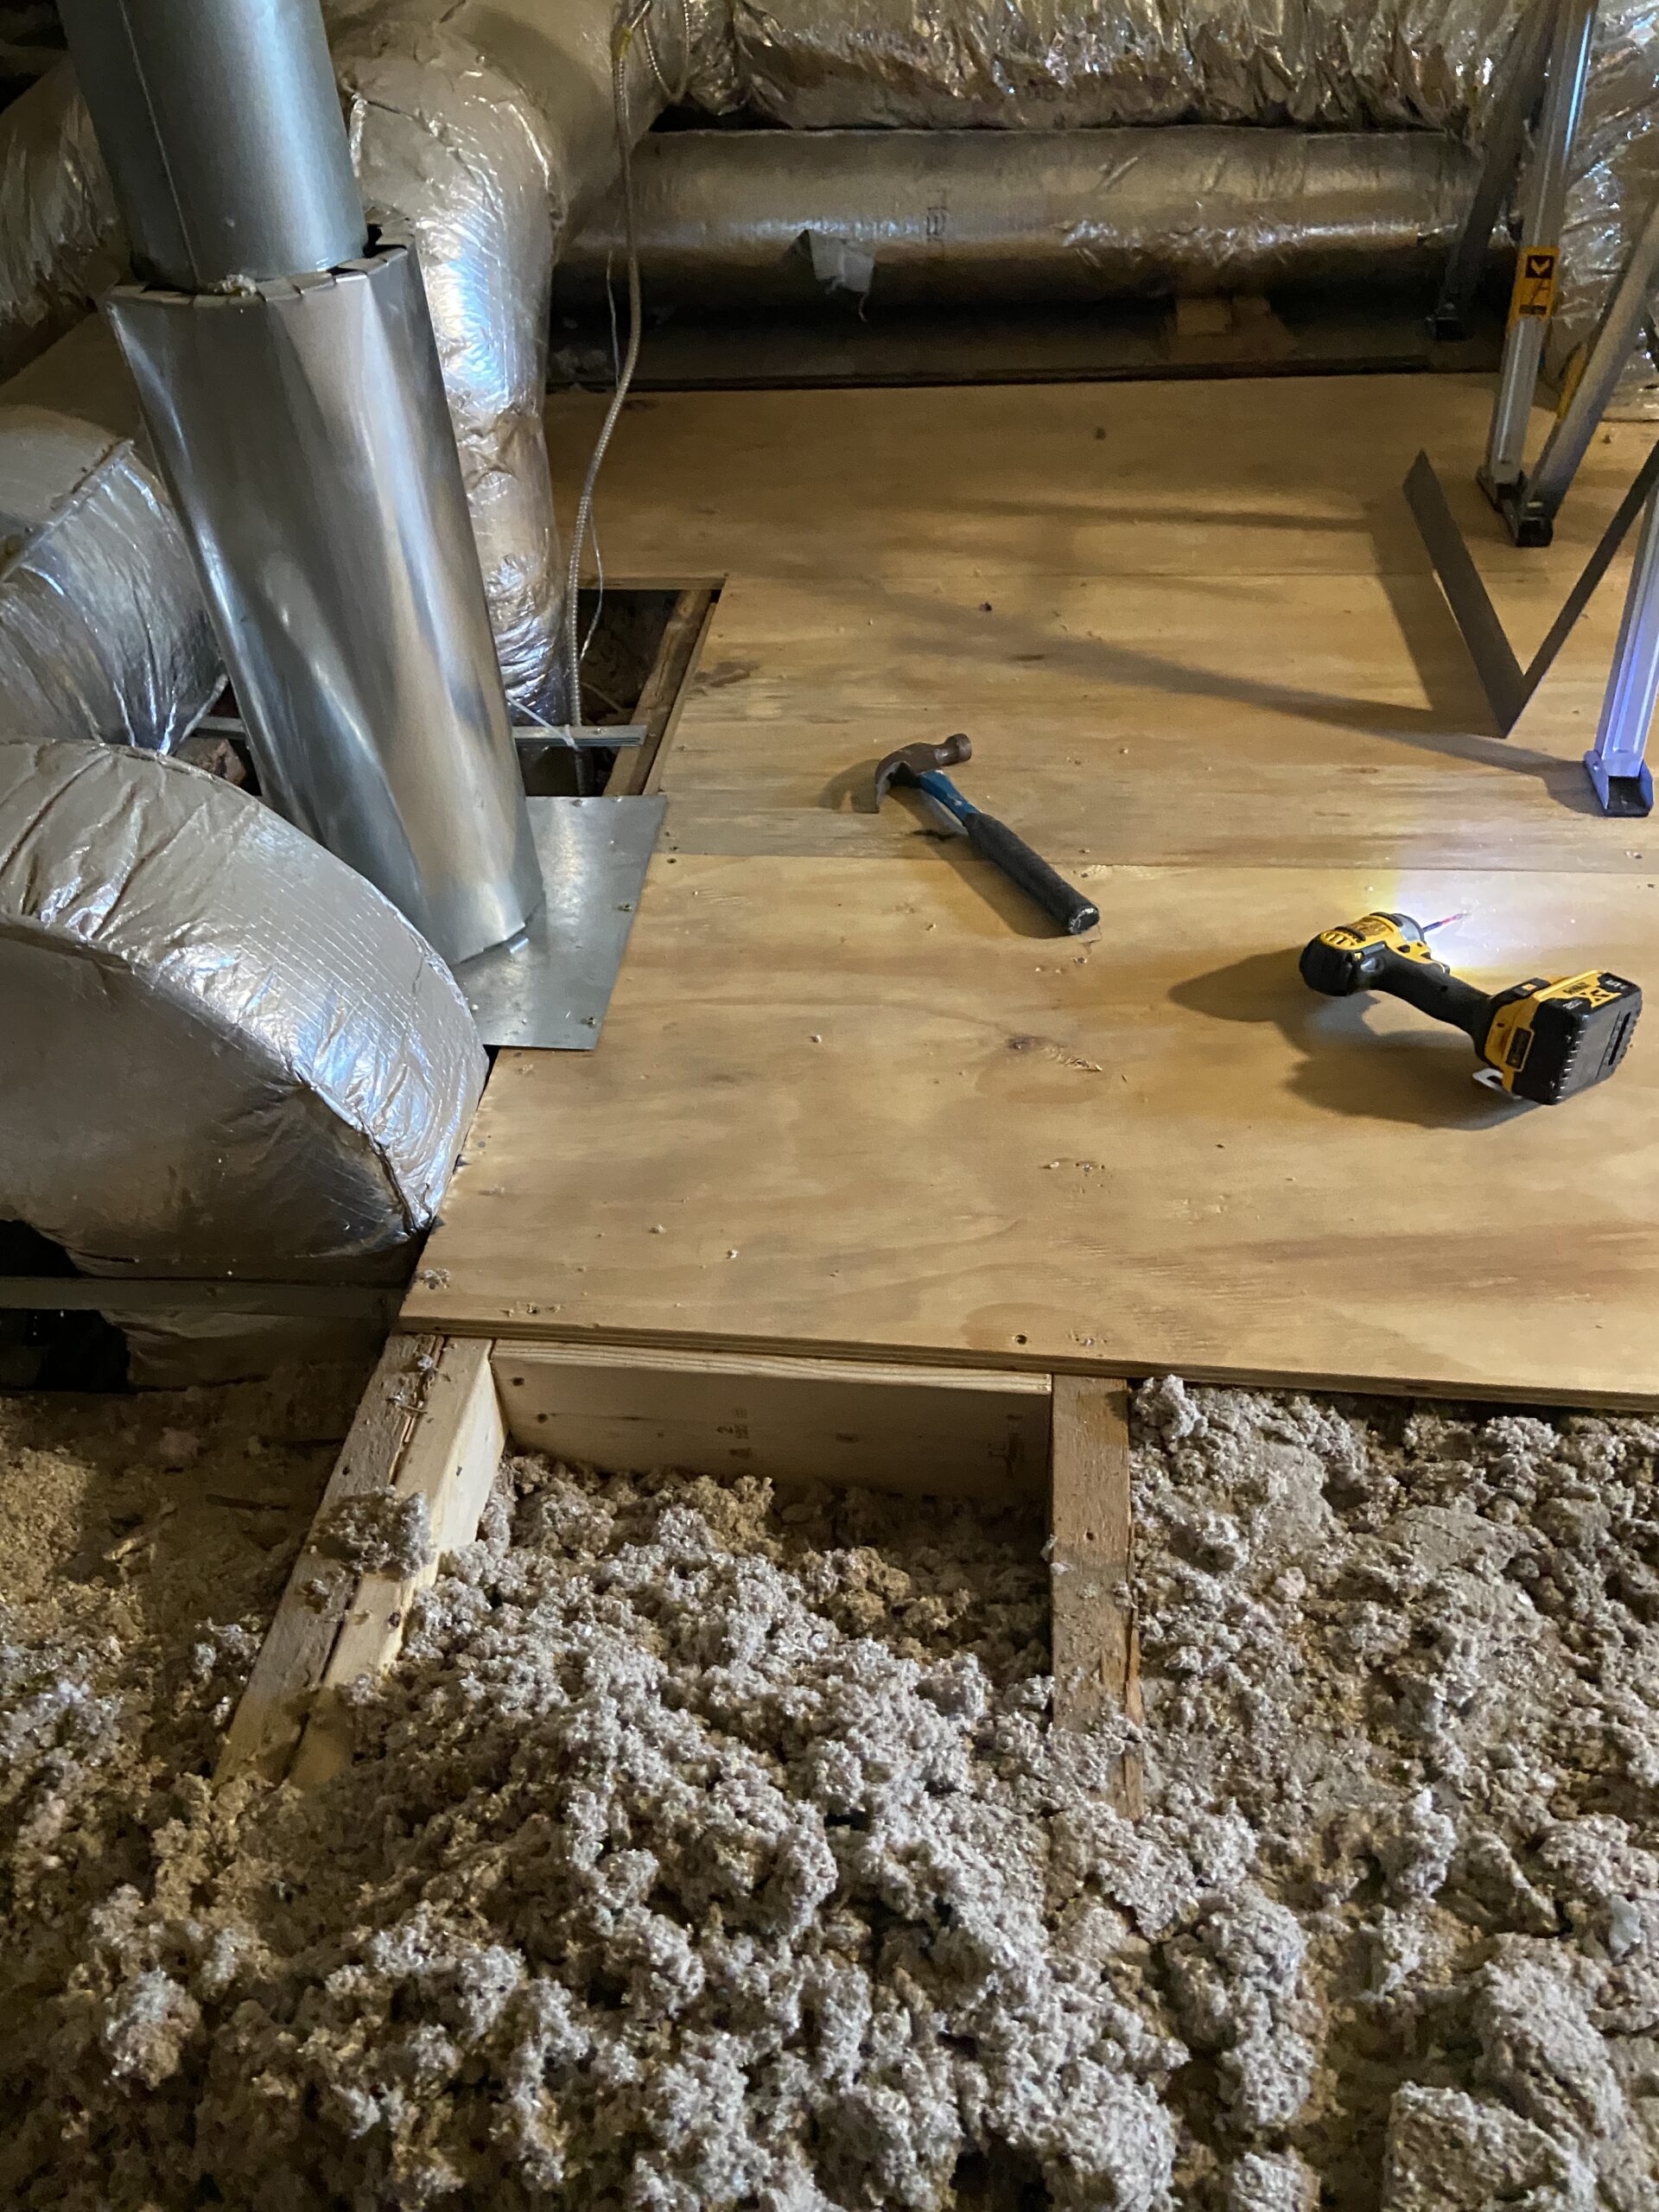
As I began to make progress on the subfloor, I started to open up my newfound clean, sturdy flooring for a new base of operations:
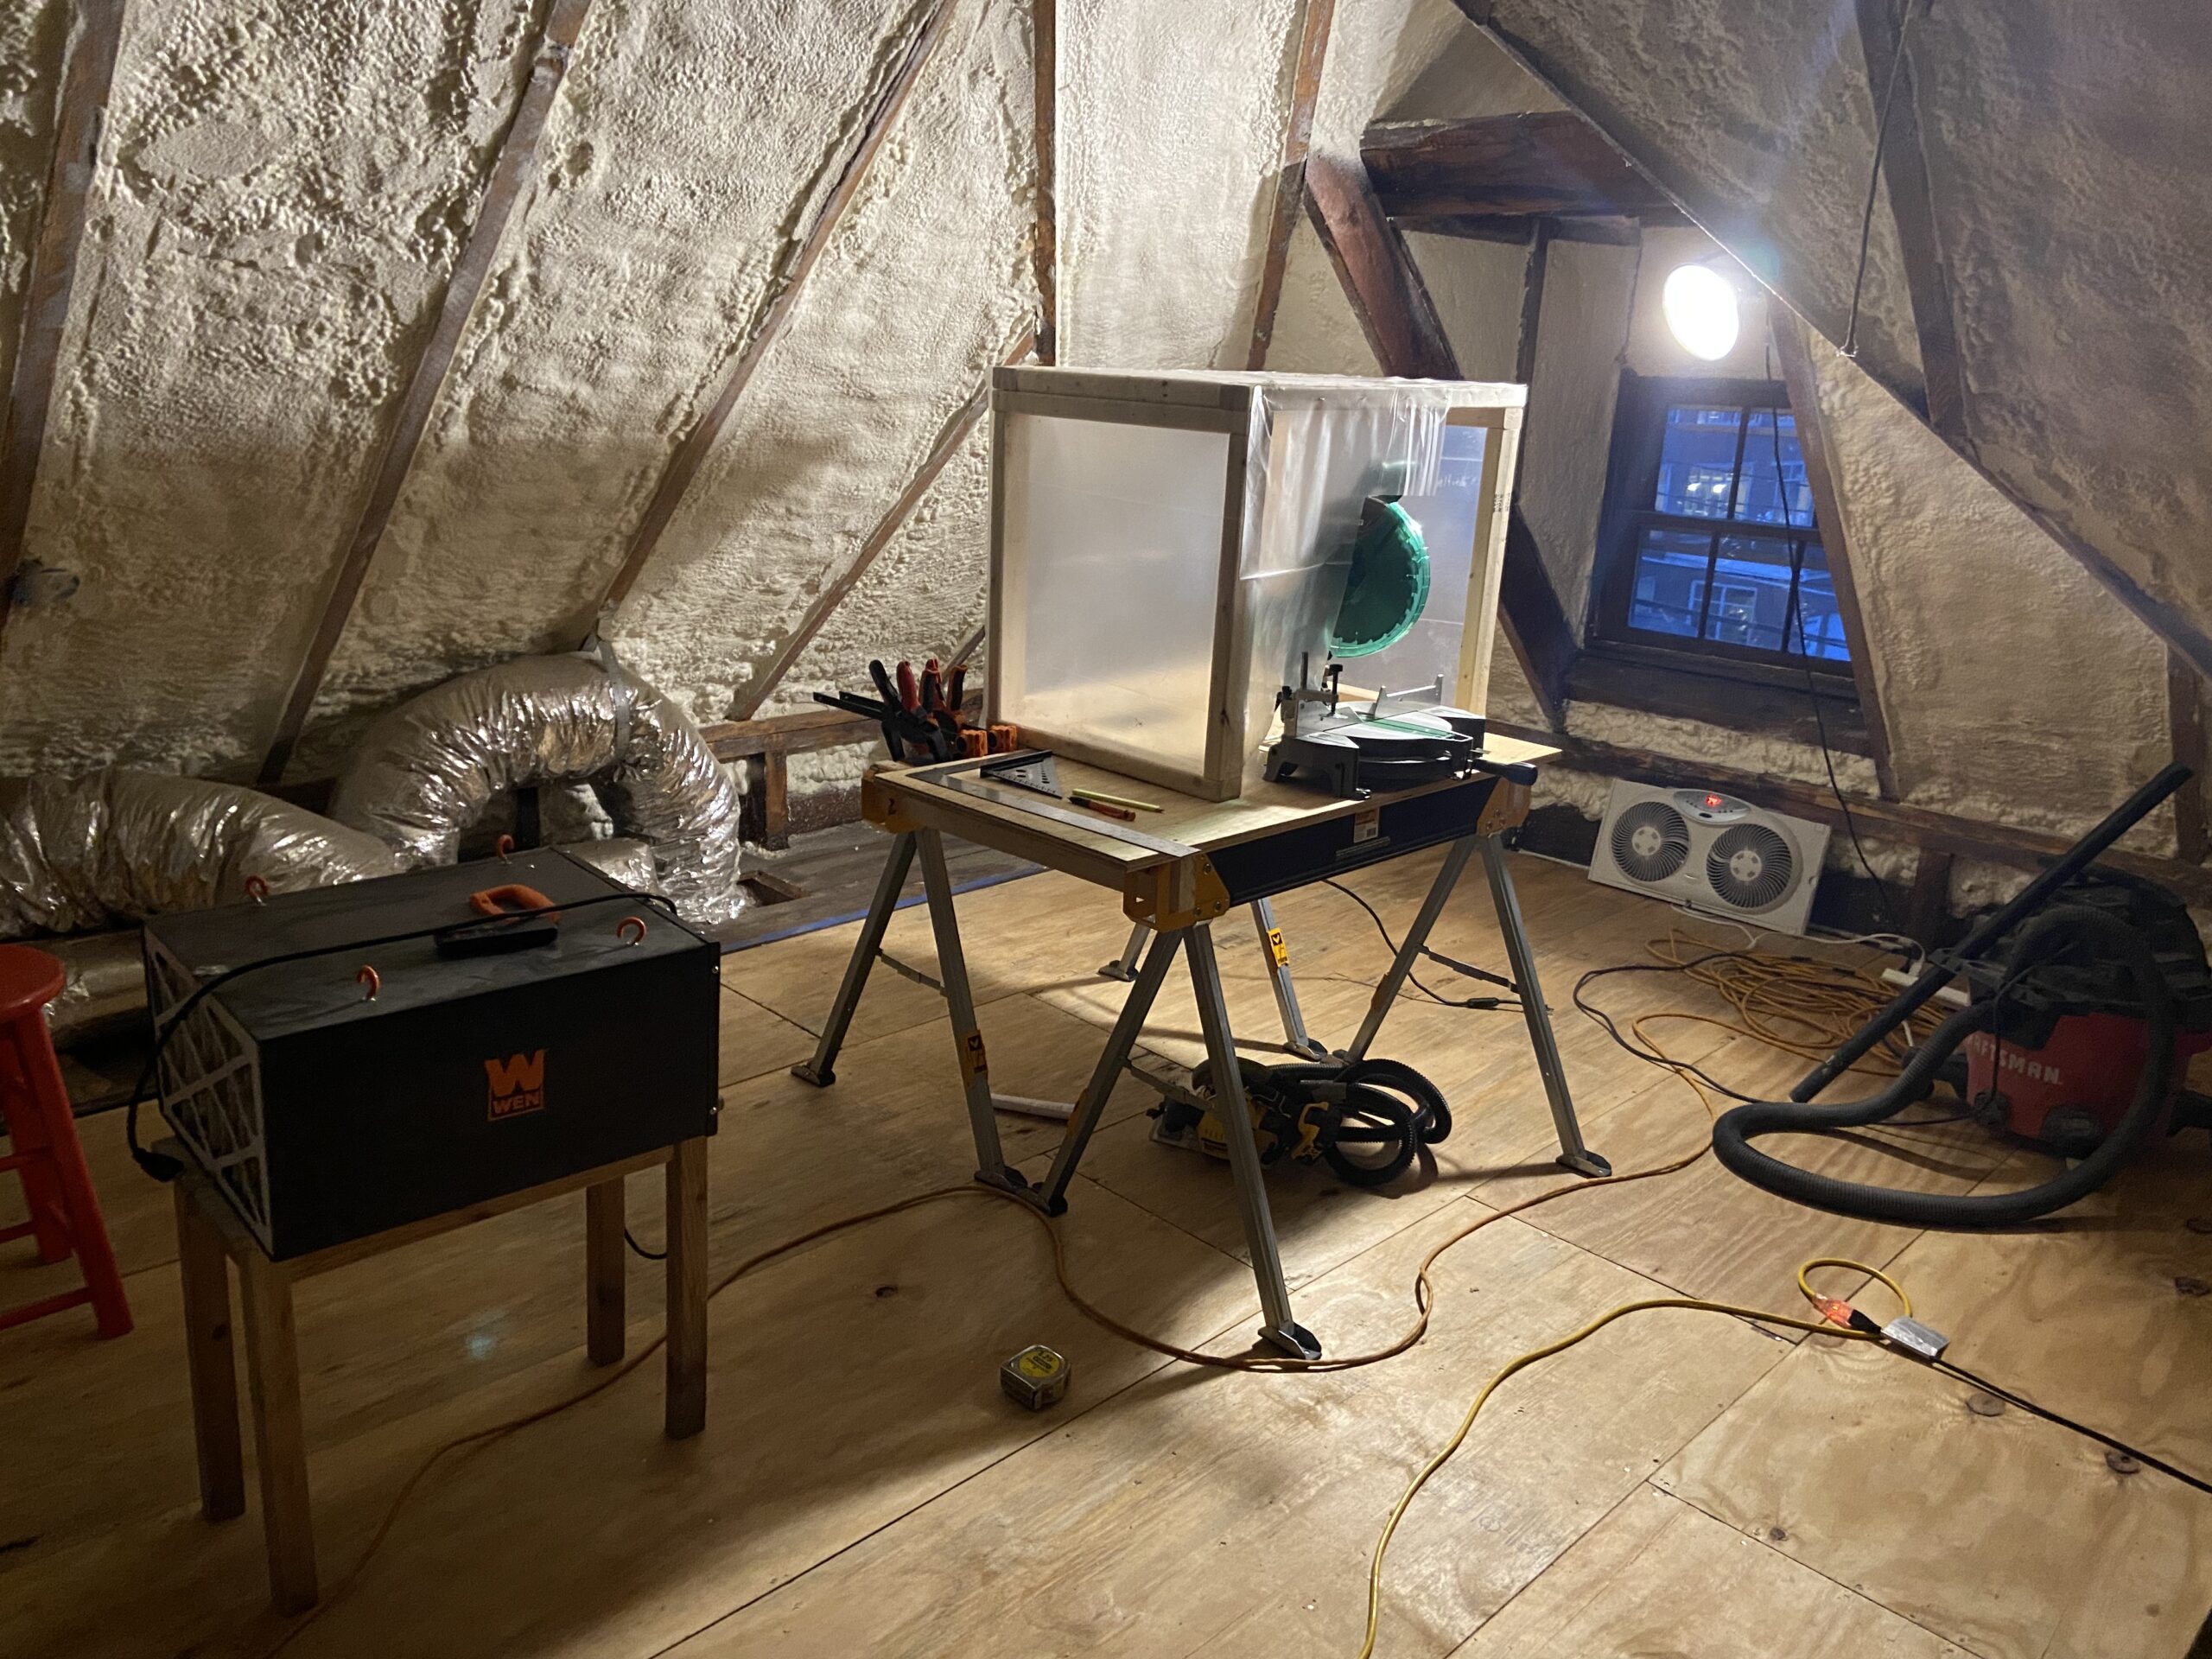
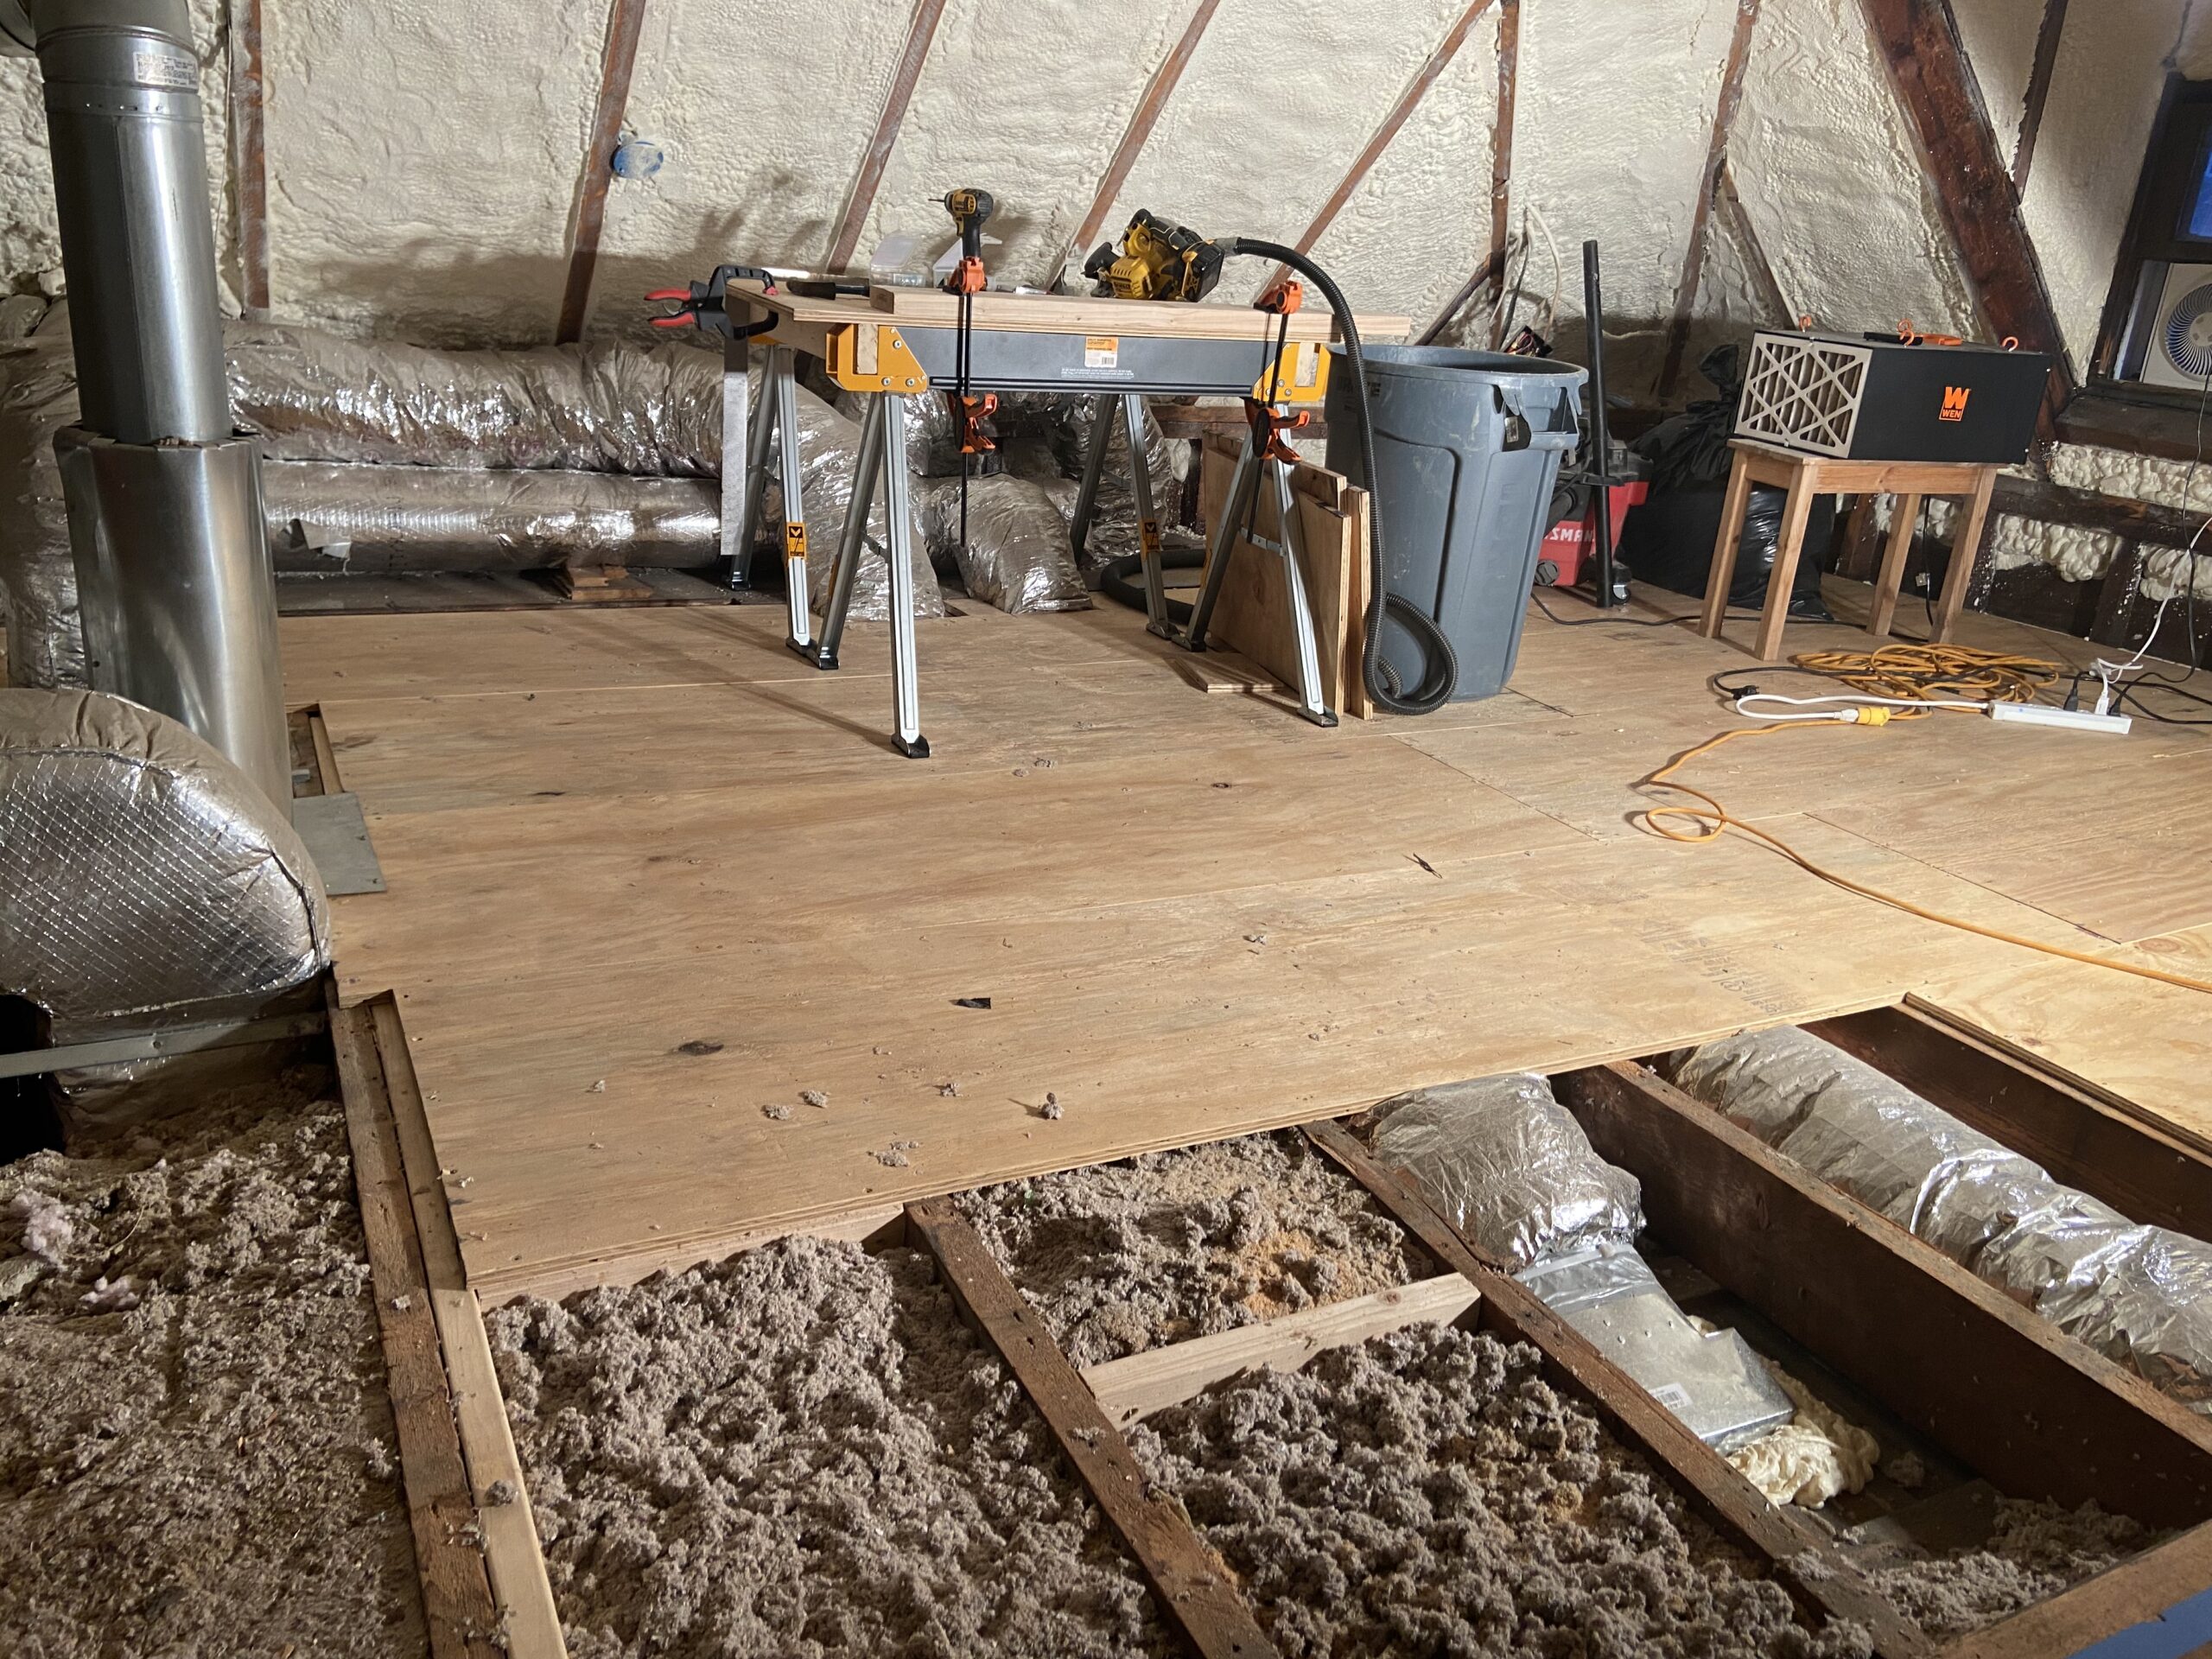
For the vast majority of the remaining workload, this would be home.