How to install the subfloor
Materials: Fasteners: Screws: Nails: Tools: Installation Okay, if I might say, the subfloor was by…
Tools Required:
The plan was simple. We needed to drop the HVAC flex lines in between the joists to fit the subflooring over them. However, this was much more complex than it seemed. This house was built in the 1800s, so, our attic floor joists were 2″ x 7″, nominally. The 1″ strapping below them at seemingly random intervals / over the support walls for the second floor effectively cuts the functionality of the joist to 6″. Hence, we had to find a duct boot that would cut 90 degrees at or under 6″.
Since this operation was a part time job of mine while I worked and managed two young children, I had to plan out my week in terms of the workload for the available hours I had in relation to the task itself. For the flex lines, I had to clean out the insulation between the joists and get the new duct boots ready to go the day before each flex line and or boot replacement. But before we did anything, I needed the right boot that would fit under the subfloor.
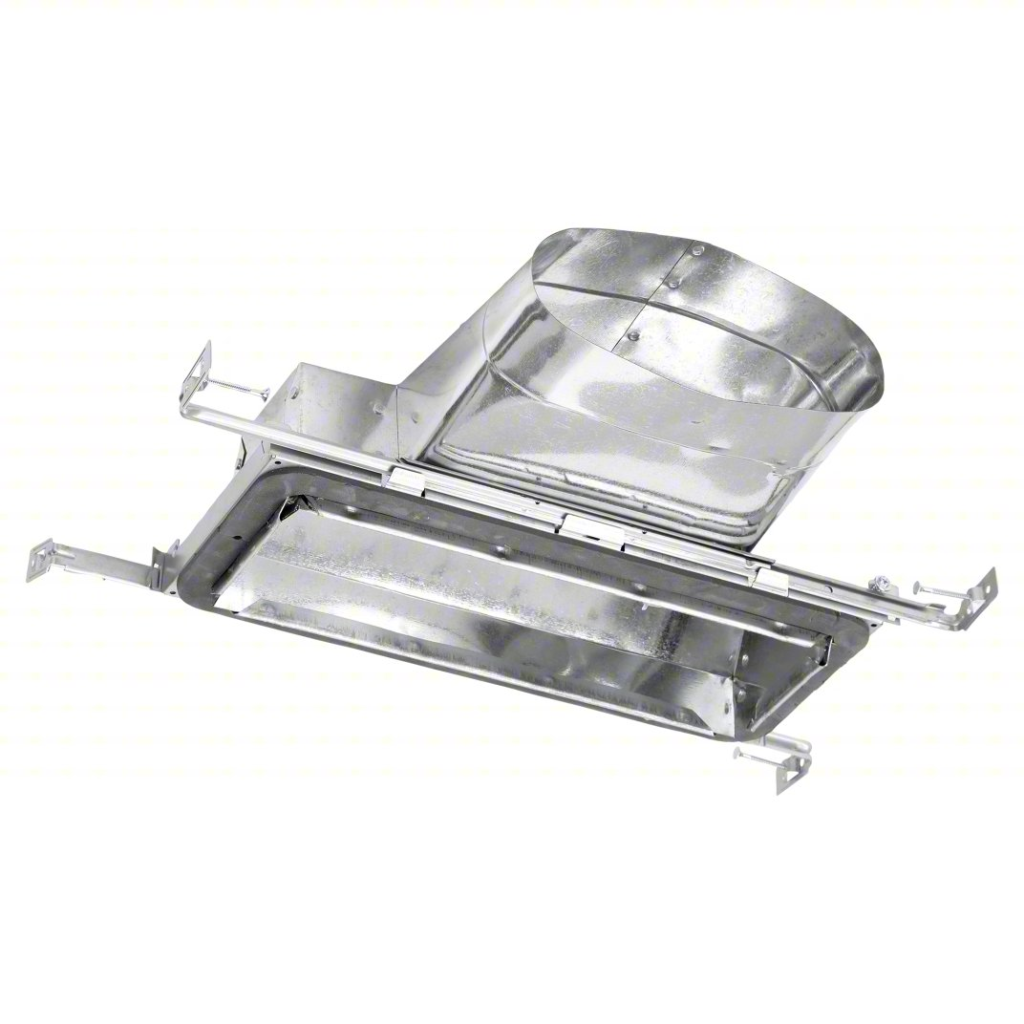
Now, I am not a trained HVAC technician by any means, but I did have a bit of know-how. That said, I saw two potential paths forward – custom sheet metal fabrication, or finding an out-of-the-box duct boot that would fit, or come close, and making it fit. I ended up finding a Speedi-Boot vent boot hanger on Graingers that fit nearly perfectly as the register height was only 4″:
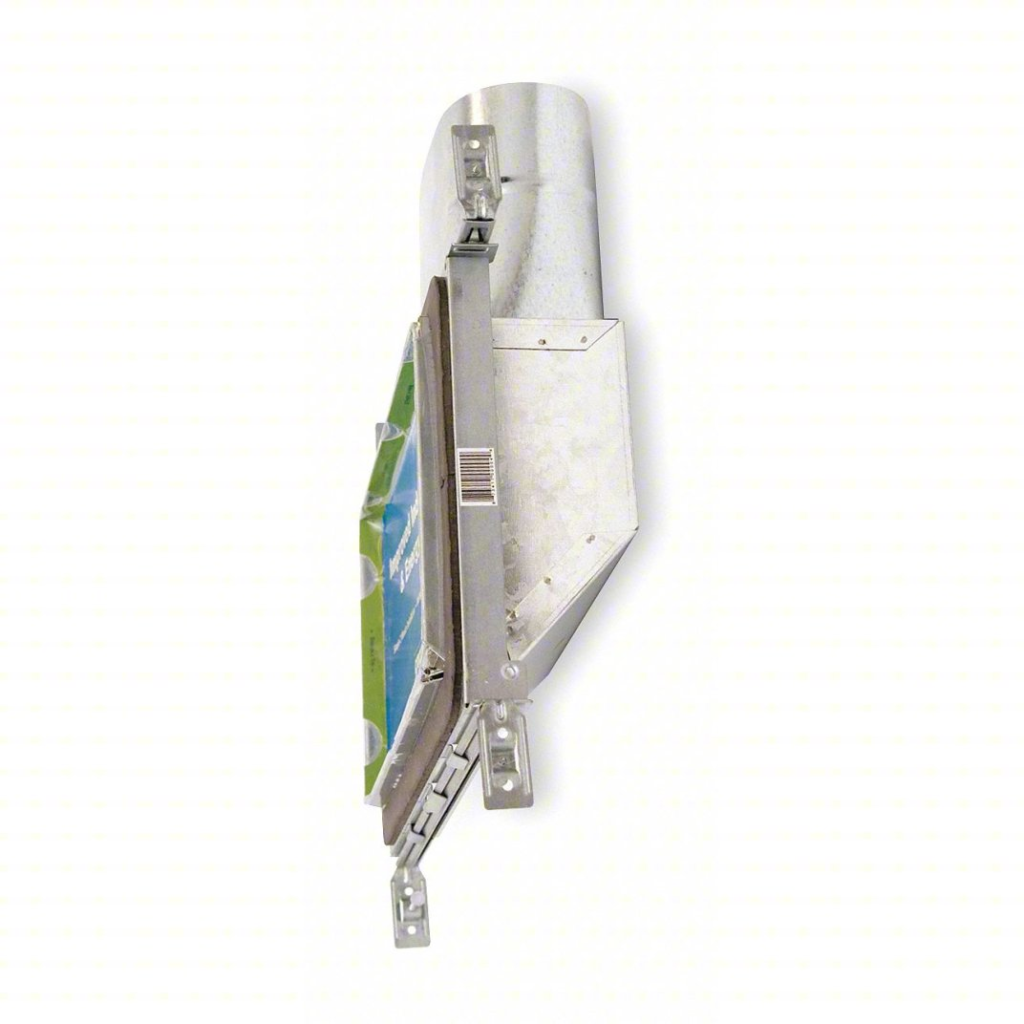
However, the issues that followed were the fact that it came with these annoying brackets to mount between studs, and, it was an oval connection.
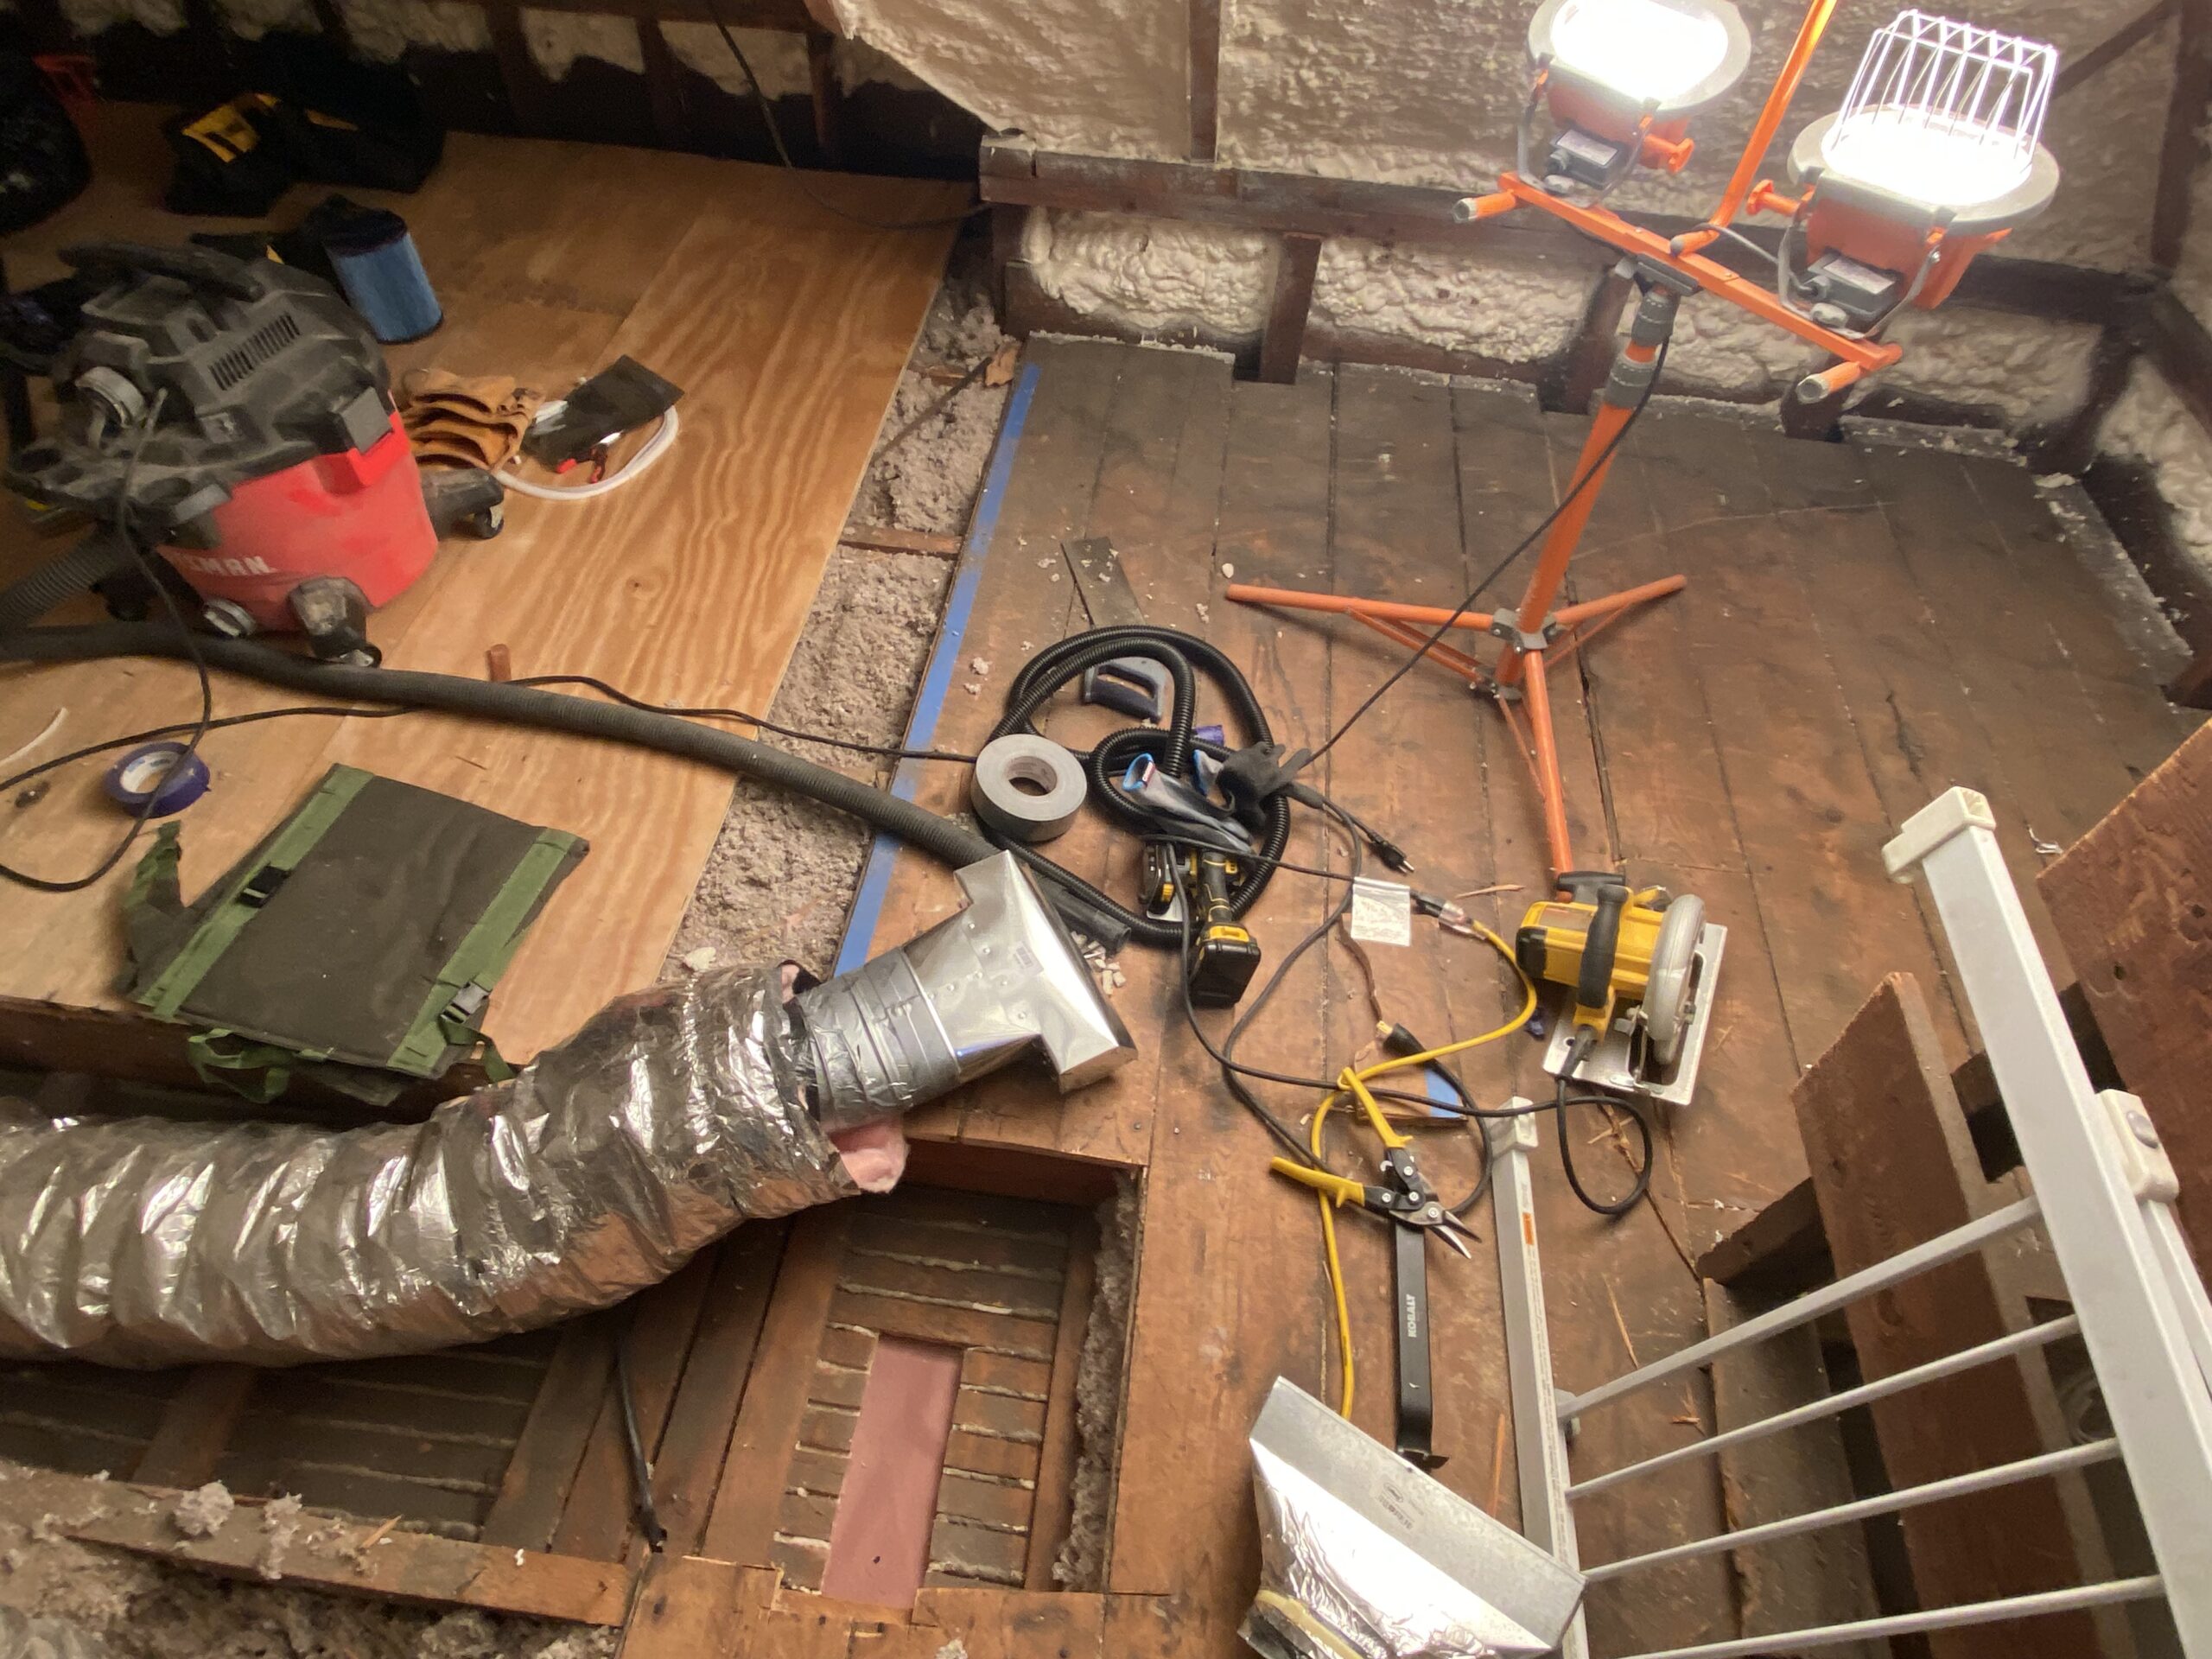
I used brute force and a variety of different types of pliers to rip the brackets off without wrecking the boot and brought it back to its original form as a duct boot before going to work on connecting it to the flex line (this took quite a while so I am glad that I prepped it). The next step of course was to get all of the ancient cellulose out from the joist channel which would eventually hold the flex line.
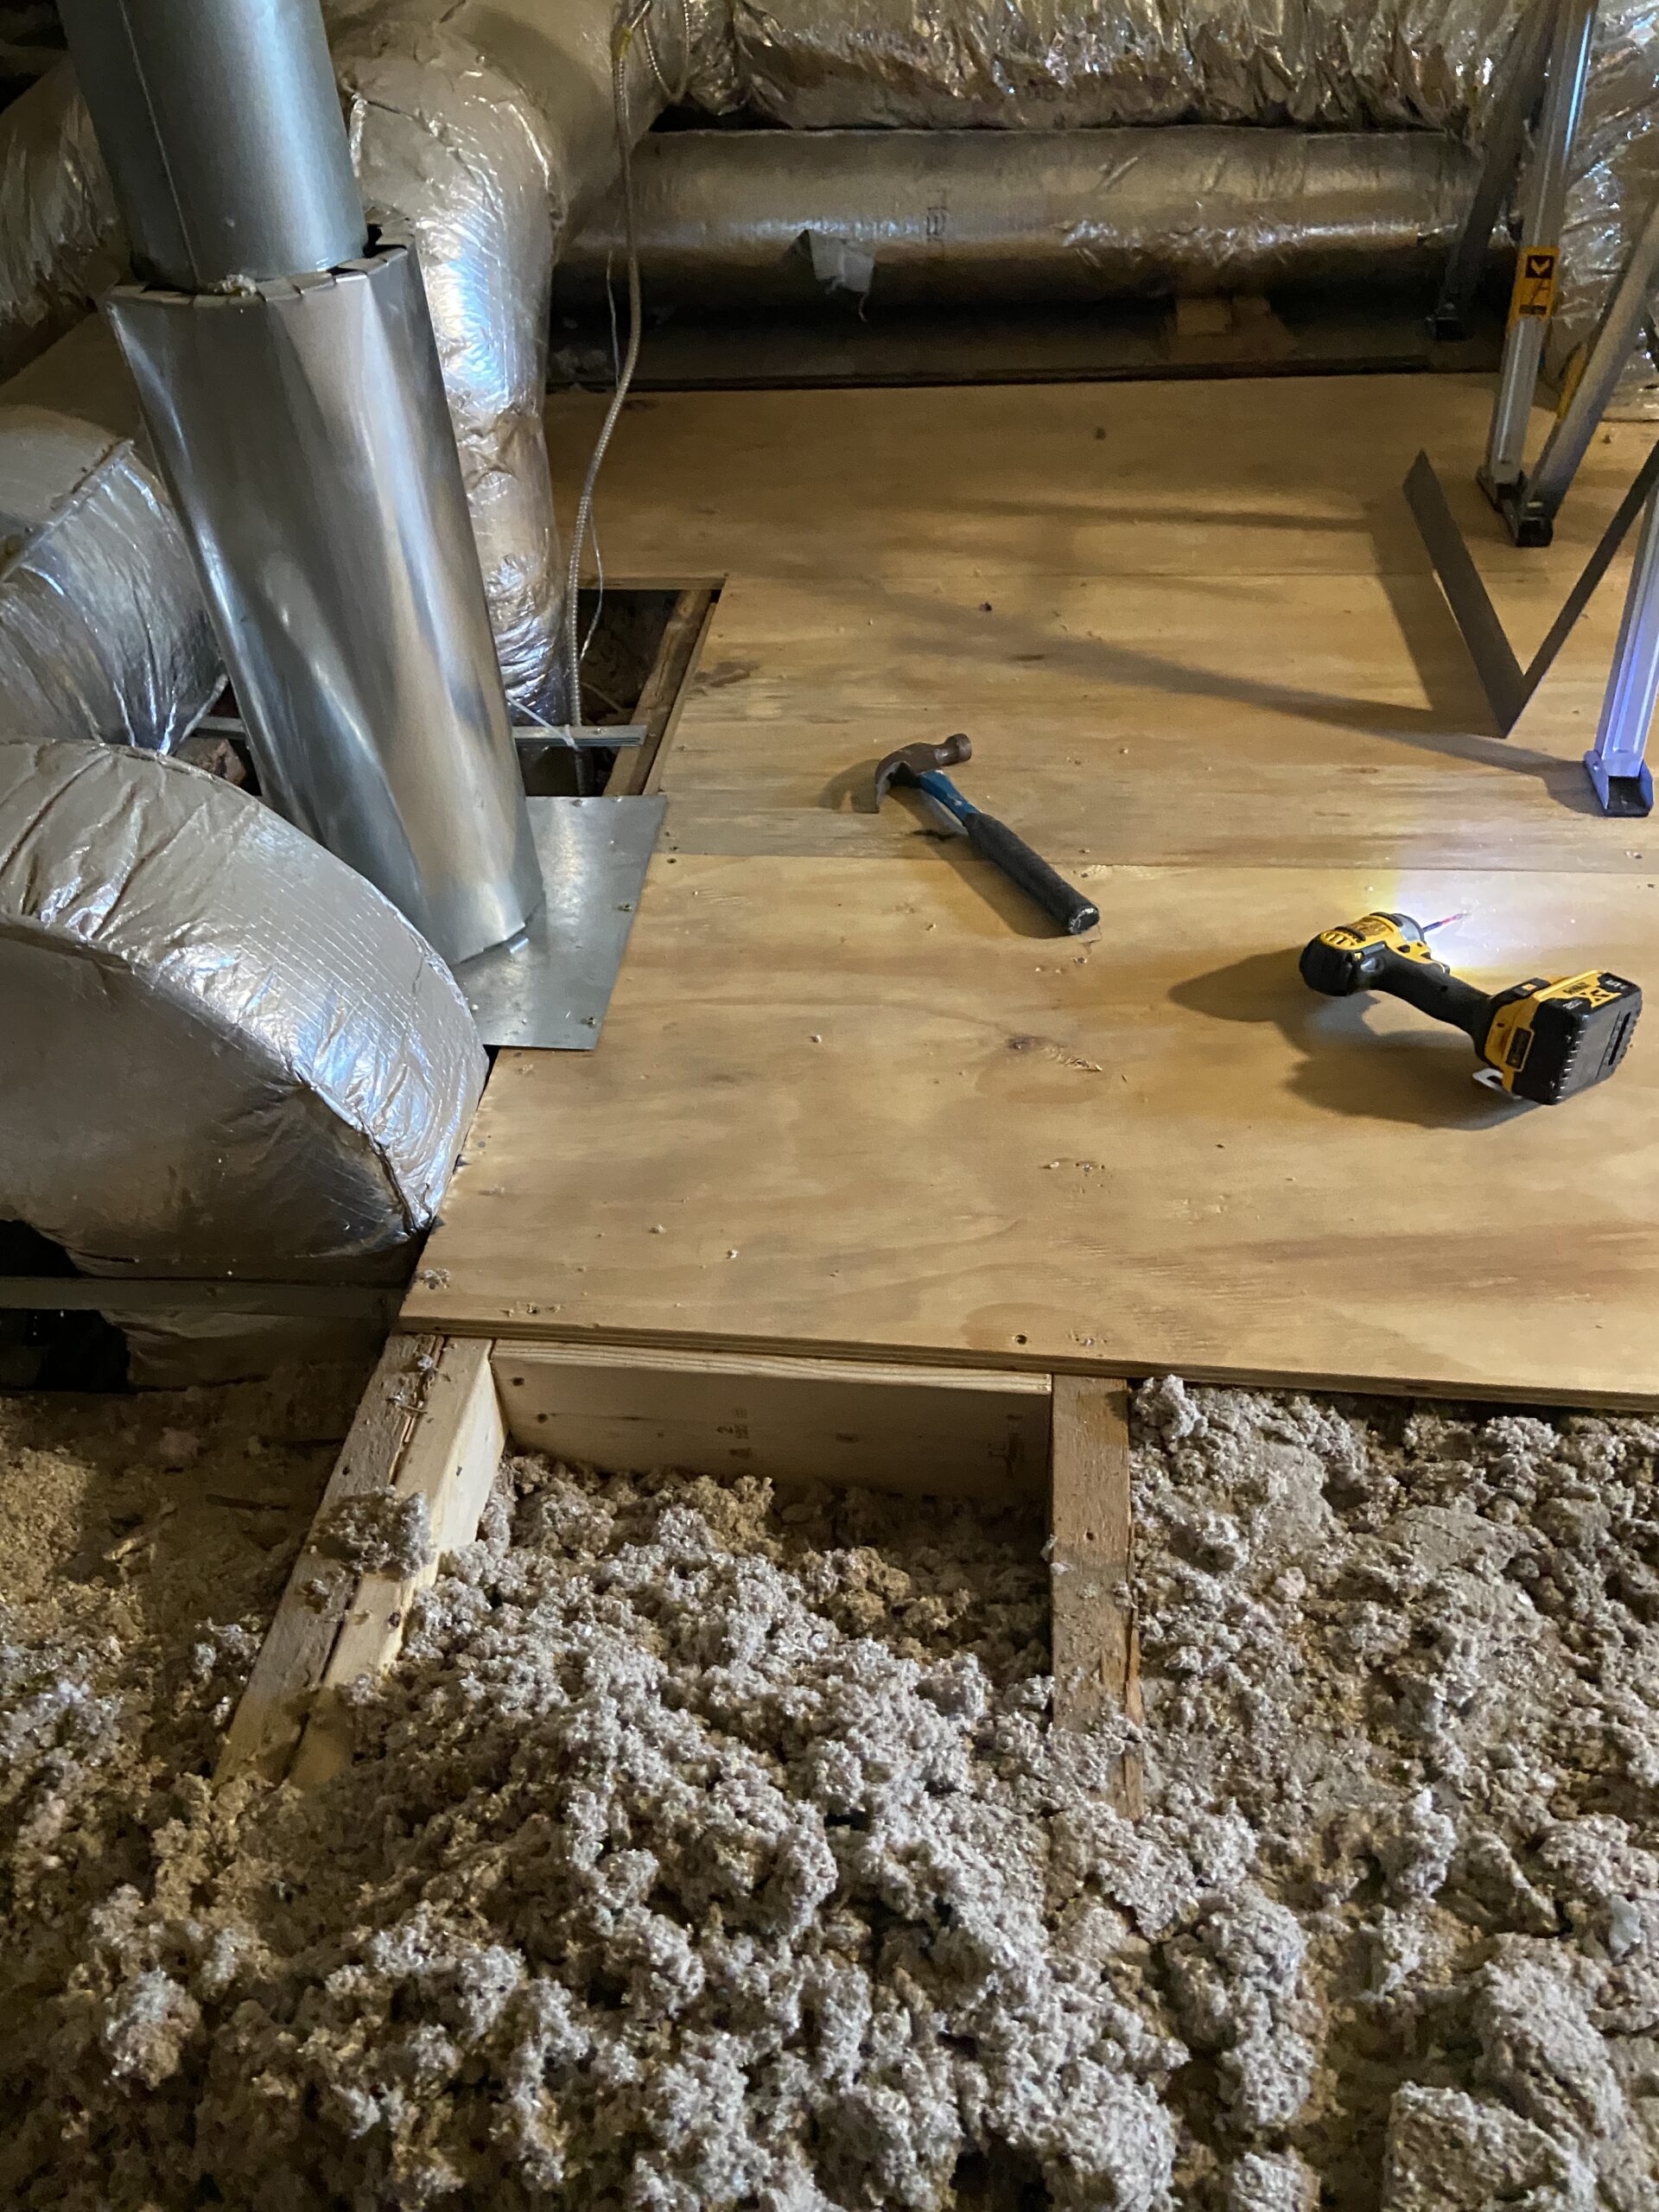
Initially, I attempted to use my shop vac and piped it into a dust collection trash barrel set up which proved to be quite slow and inefficient. Eventually, I just grabbed a snow shovel and scooped it all out into multiple 40-gallon trash bags. When all is said and done, this is what we were looking for:
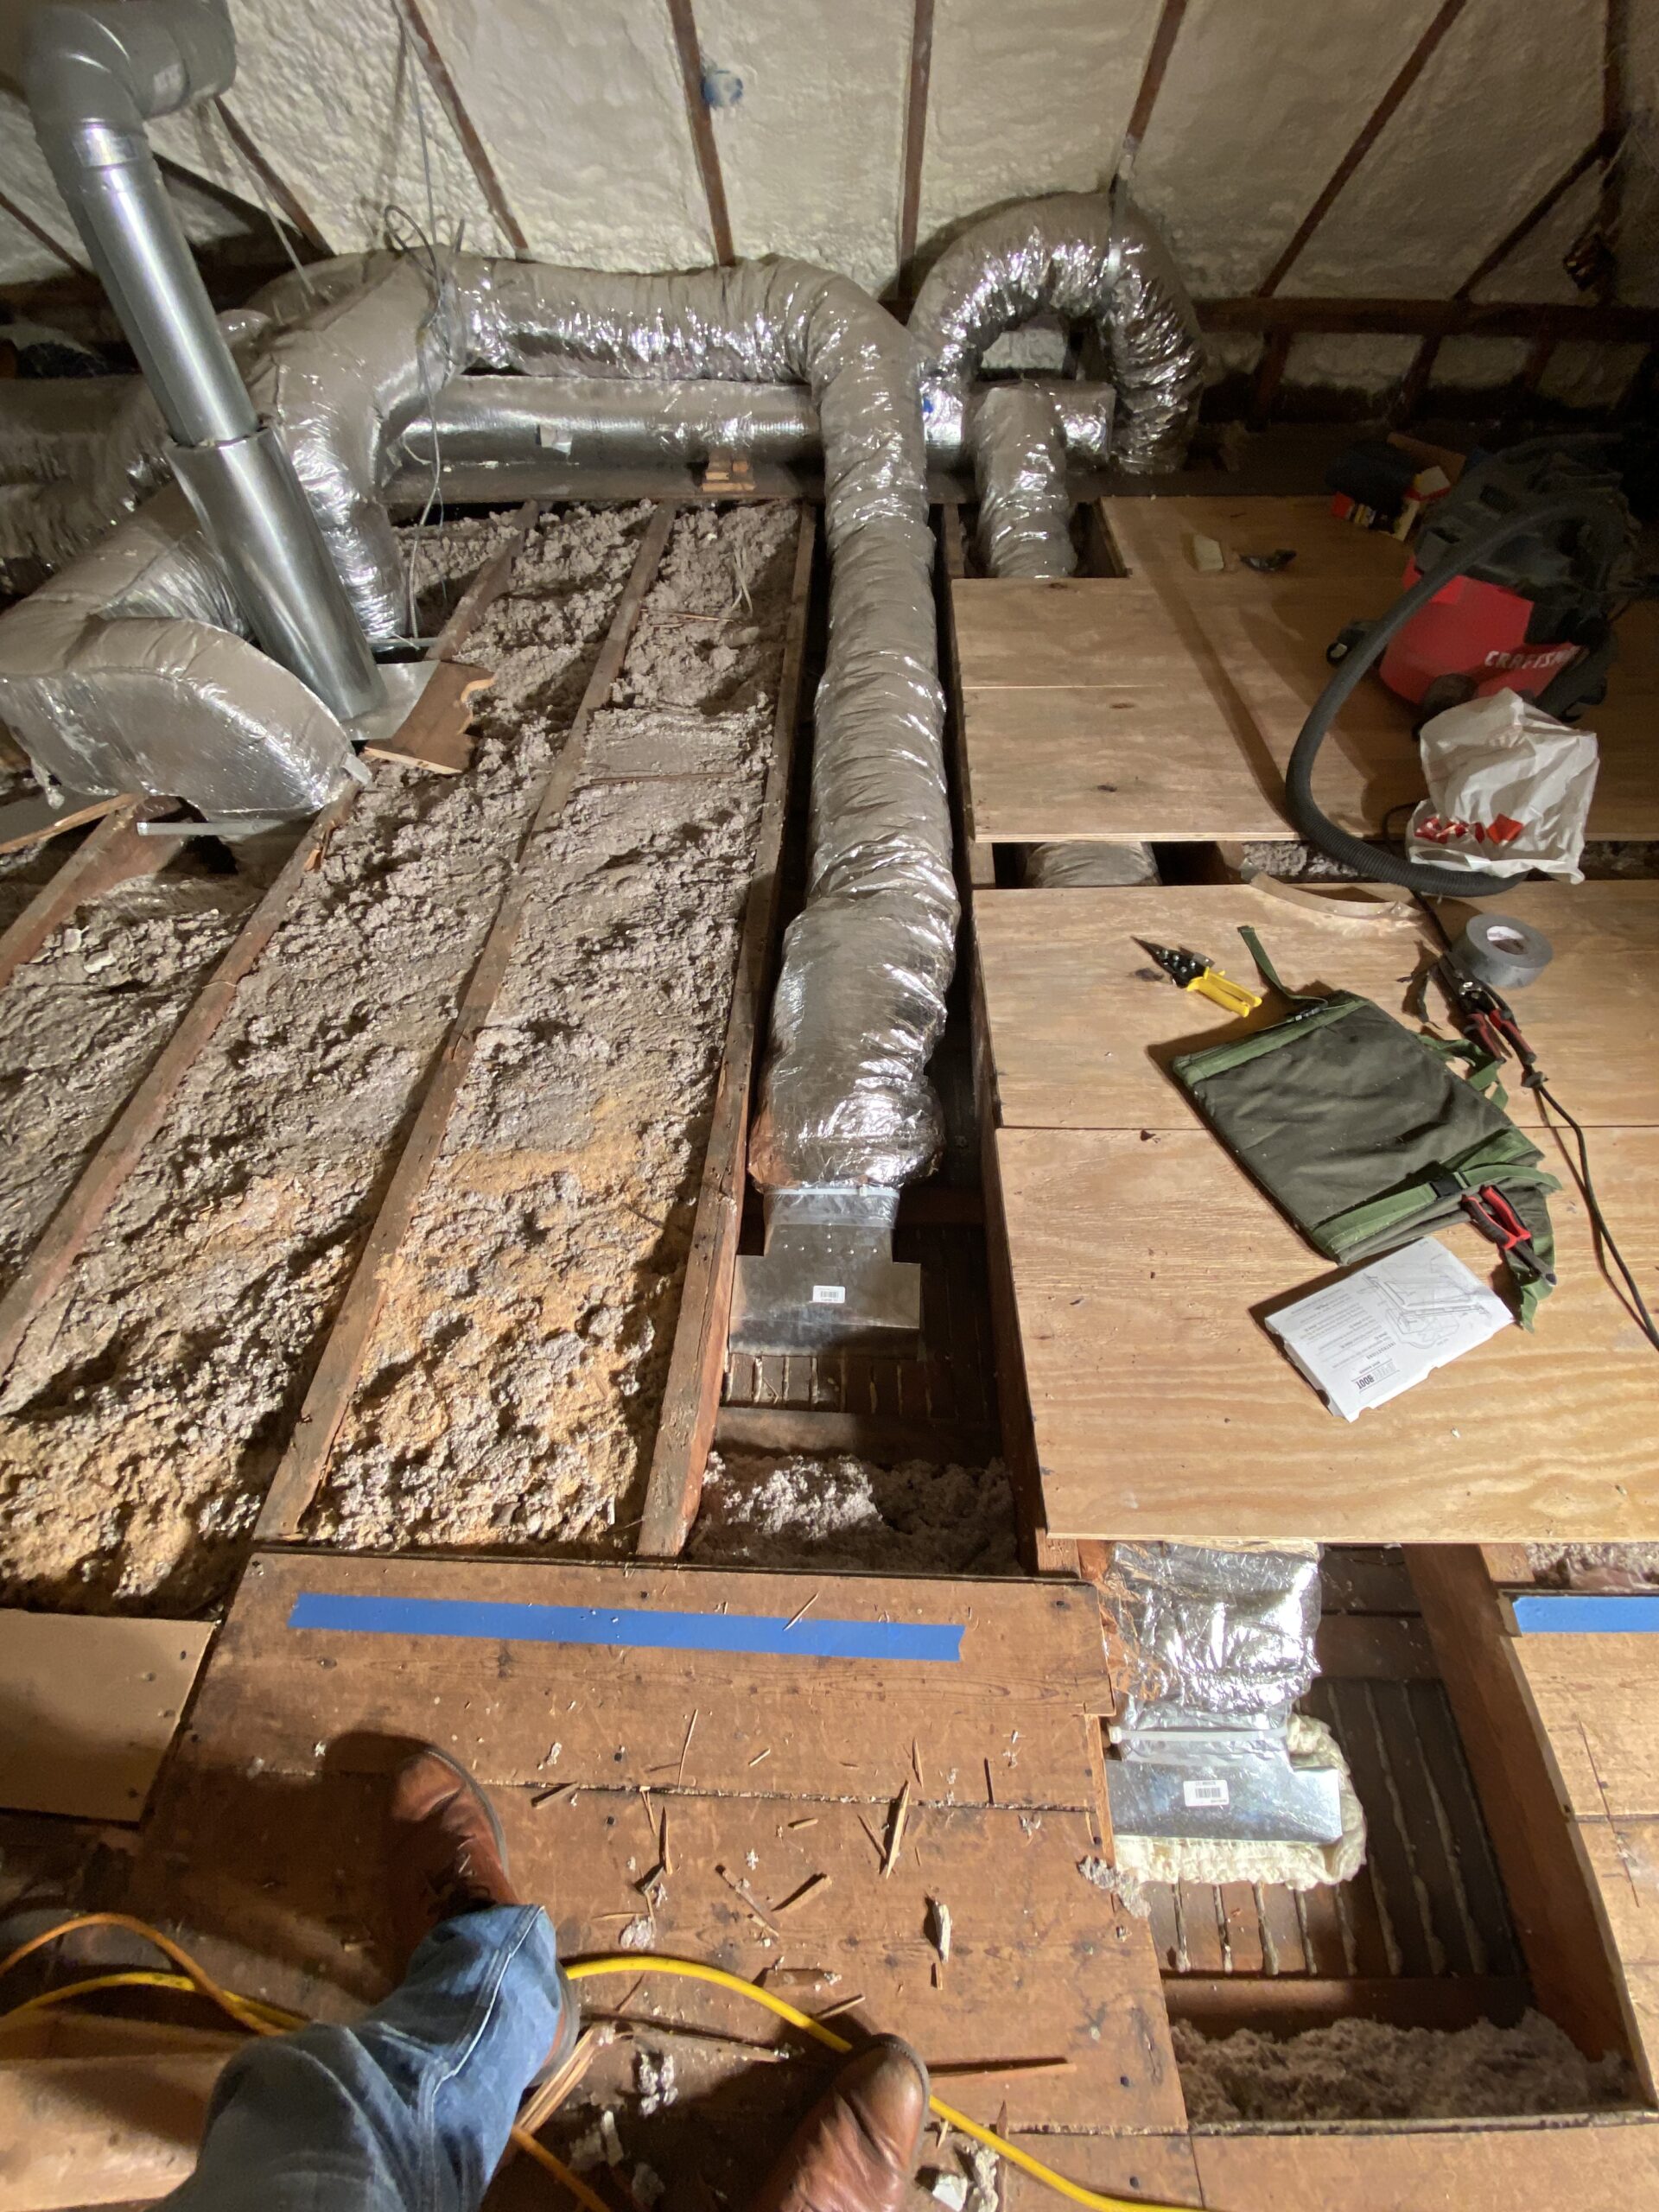
Note that these flex lines were R8 rated so they were a bit on the thicker side, especially for a return line. Now, back to the actual execution and implementation of a new duct boot.
The first thing that I did was cut the old duct boot off of the flex line with a pair of scissors and wire cutters (to snip the coil in the flex). When you open up an old flex line, you’re going to see quite a bit of dirt, dust, and debris inside of your line.

Now, for the first two flex lines that I did up there (a supply and a return), I simply swapped the boots. I used a duster and a vacuum to do my best to clean out the lines, but it was far from perfect. The volume of debris and difficulty cleaning led me to the decision to swap all of the lines out for fresh ones as the workload wasn’t too much more. Additionally, I had old R8 insulation on those lines which made it a bit harder to fit under the subfloor, so swapping them out for R6 paid space dividends.