How to install the subfloor
Materials: Fasteners: Screws: Nails: Tools: Installation Okay, if I might say, the subfloor was by…
After you’ve made your decision to finish and or renovate your attic, you may need to conduct a bit of demolition. In our case, we had an existing floor made from tongue and groove that must have been installed ~30 years earlier.
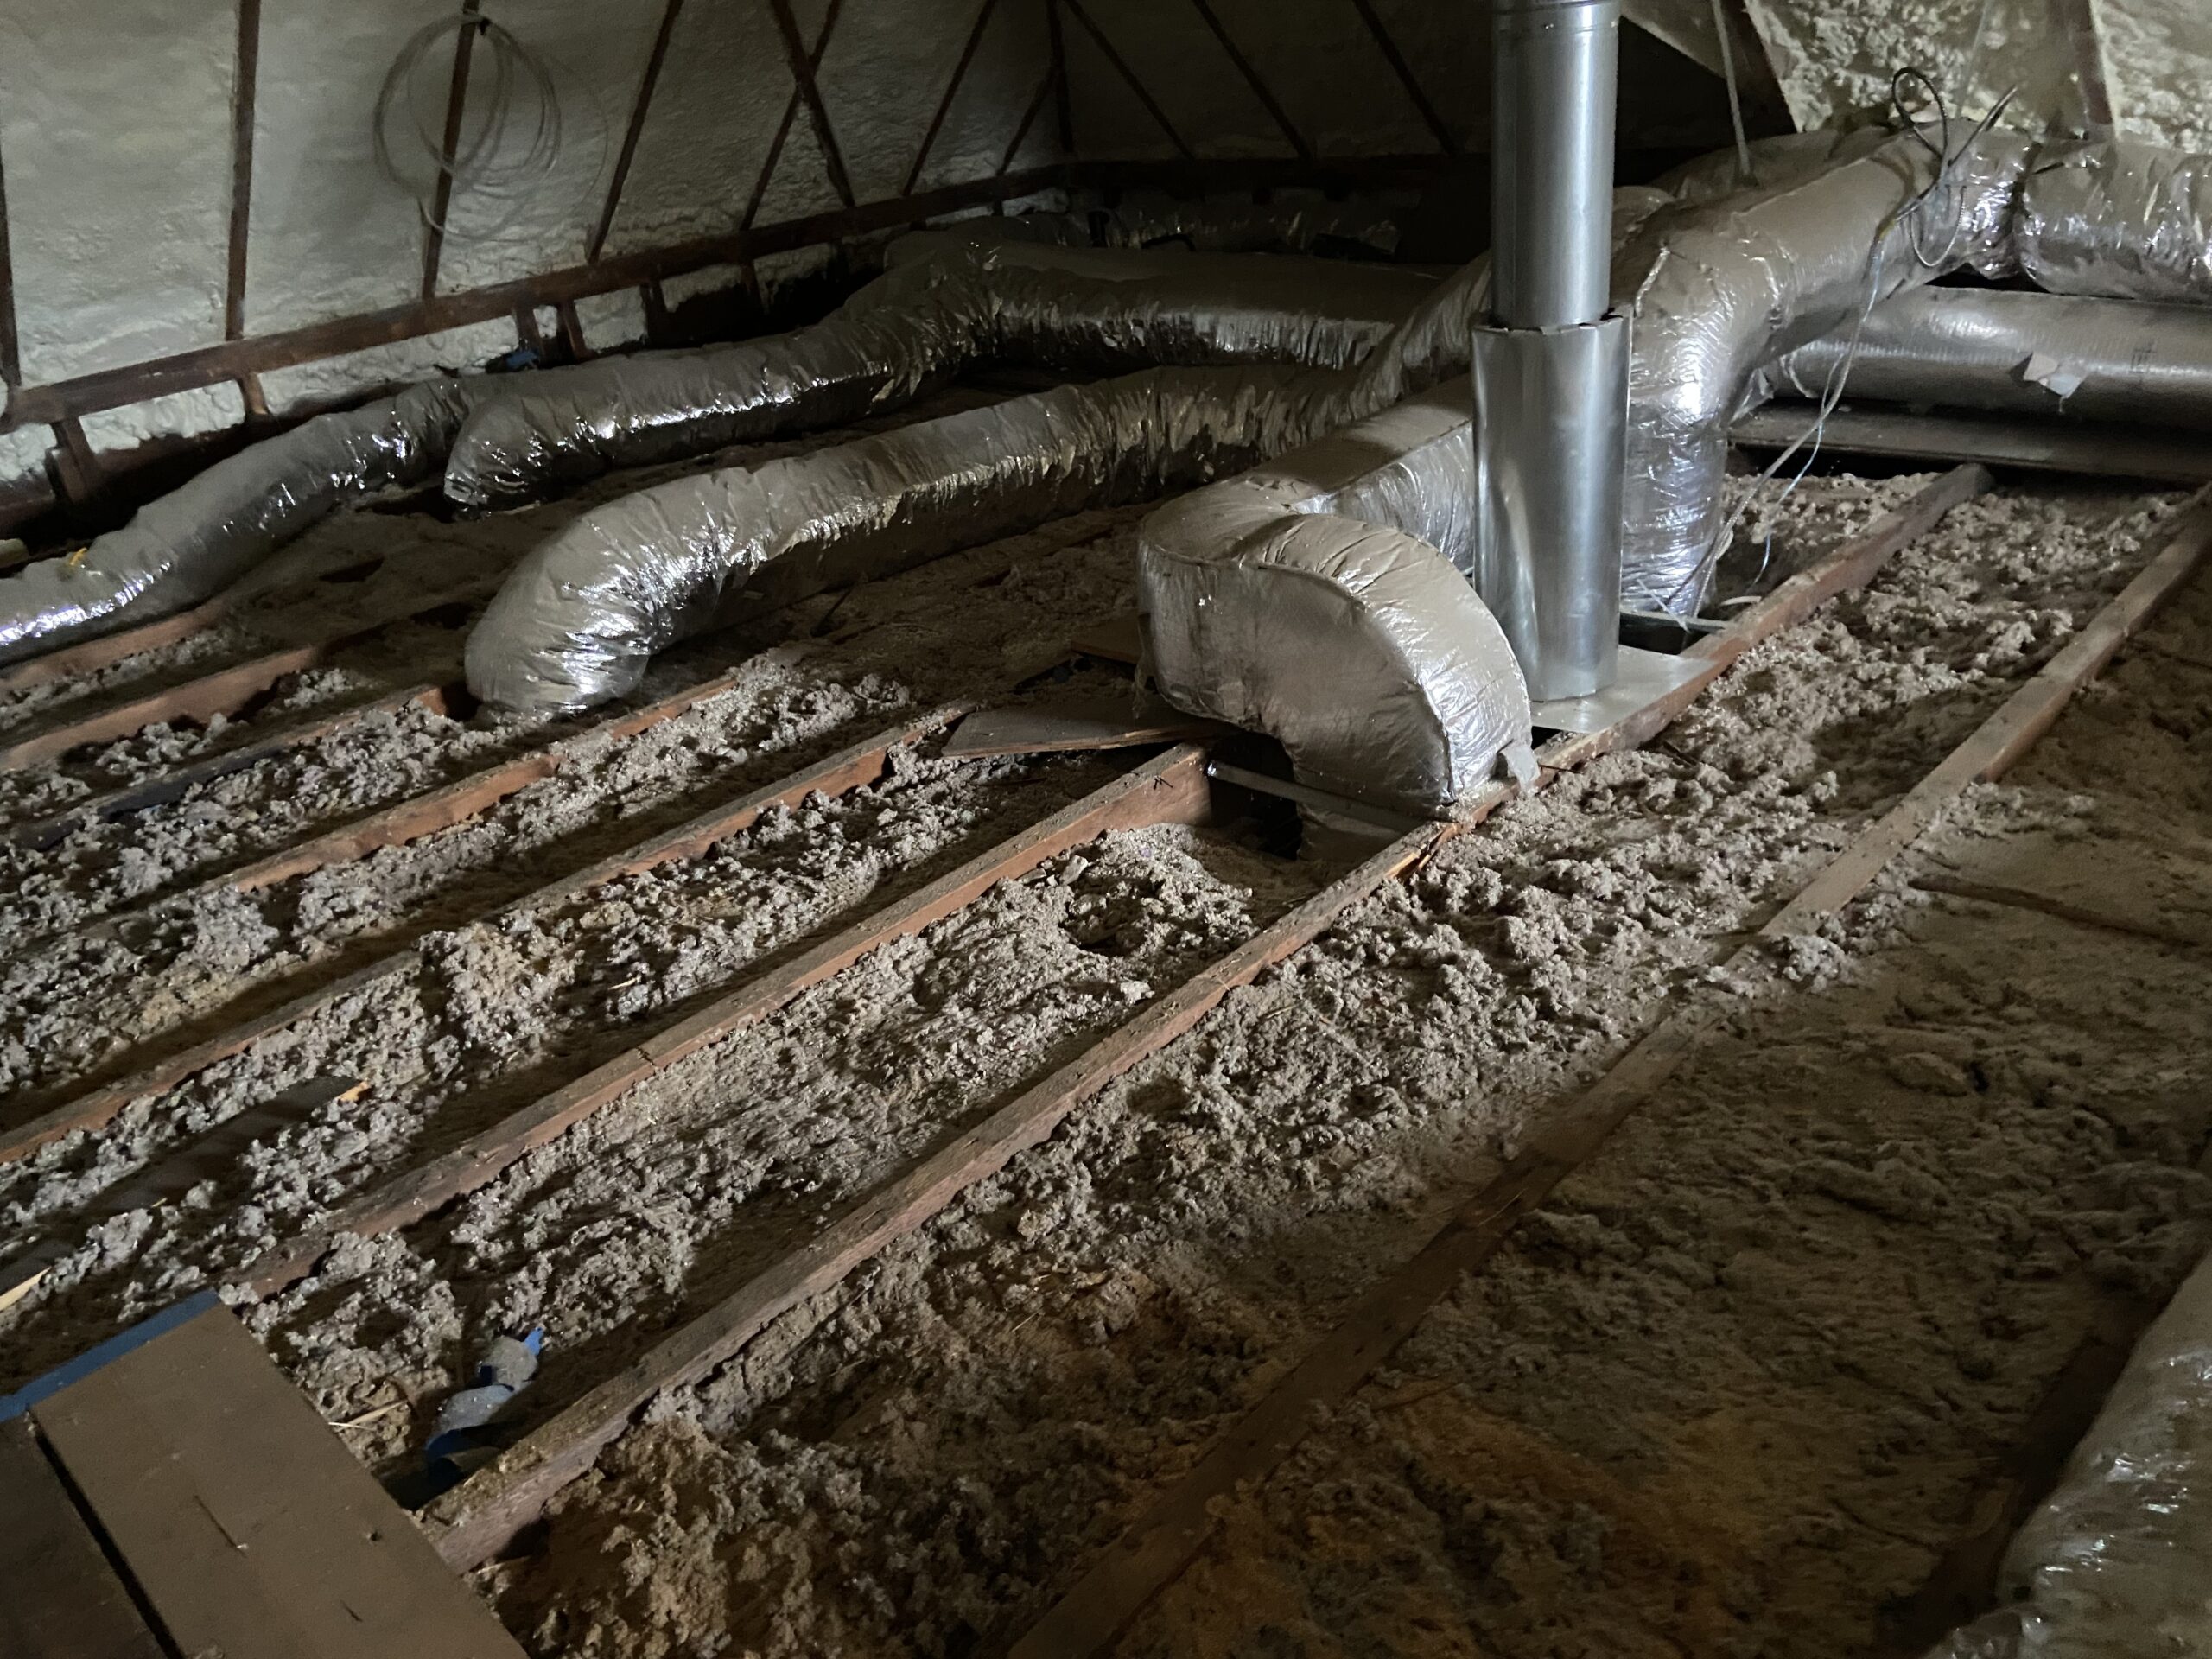
Underneath the flooring was ancient blown-in cellulose between the floor joists. The cellulose was well distributed and packed tight, which had broken down into an unhealthy dust-like material.

This was astounding given the heat loss through the second floor we saw. In the dead of winter when the temperatures outside hovered around zero, we’d see temps in the attic in the low 40s. As a balloon-framed house with no insulated walls, anywhere, the heat would just explode up between the 4″x4″ channels straight into the attic.
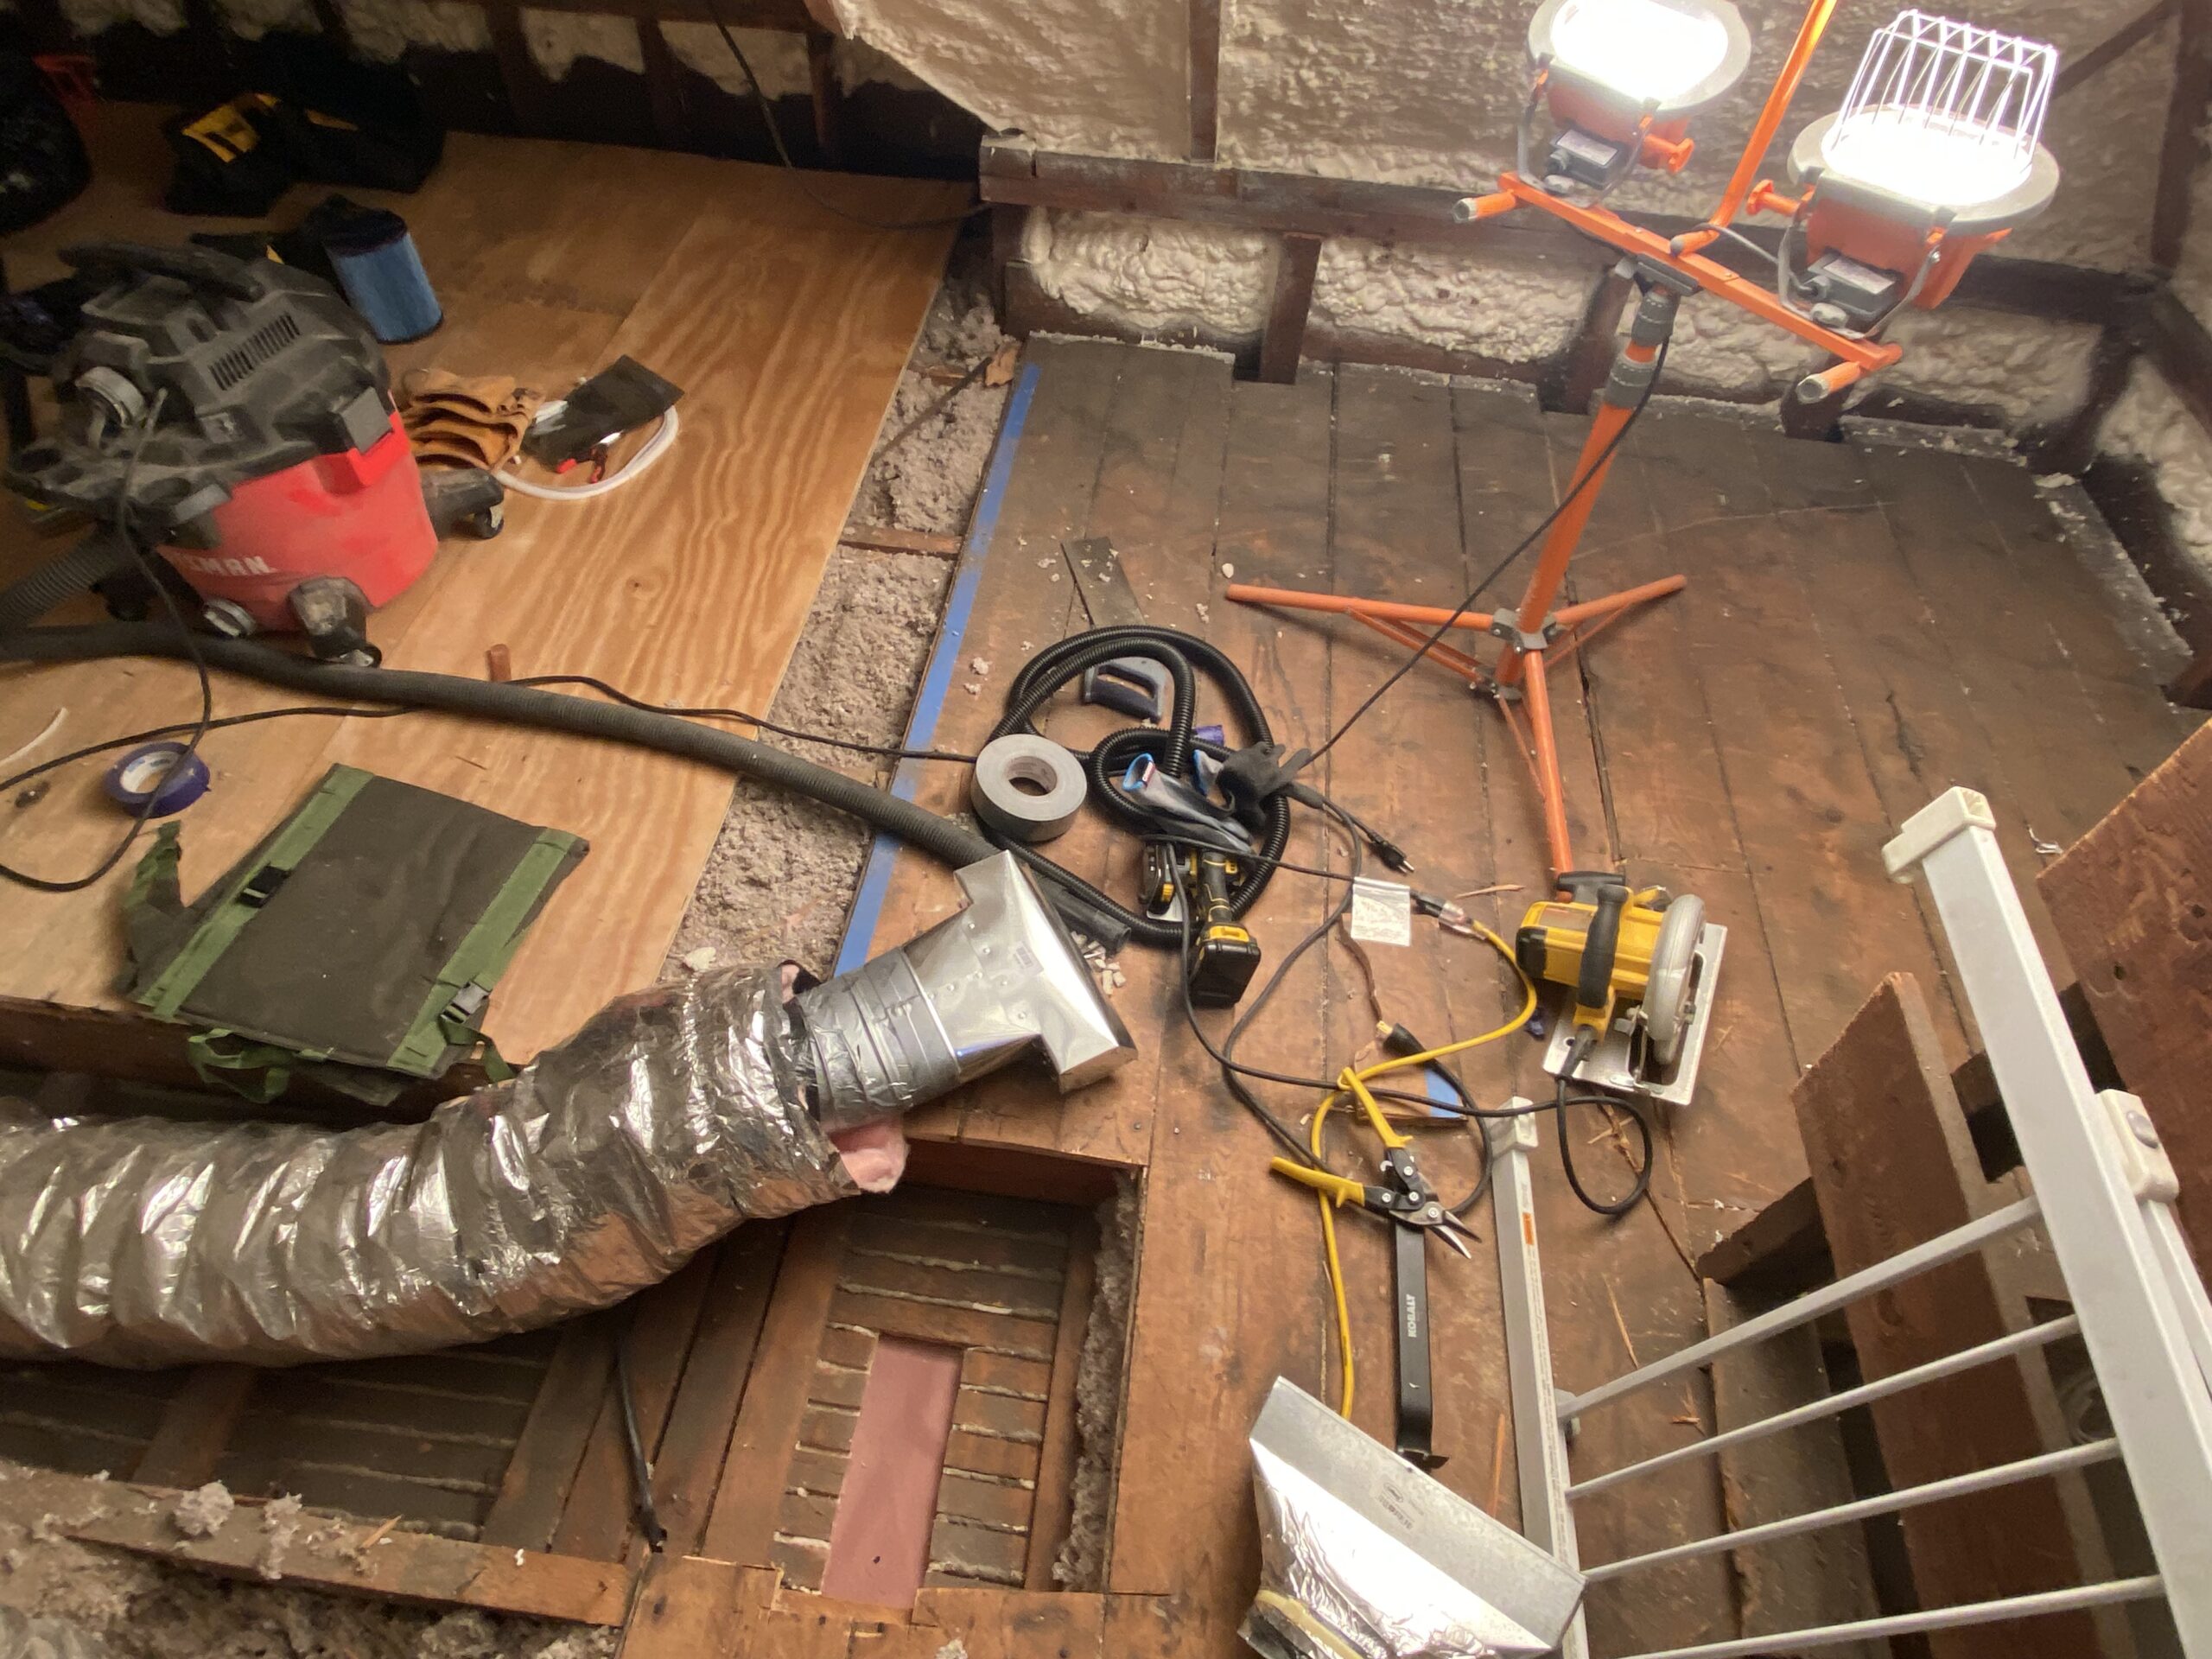
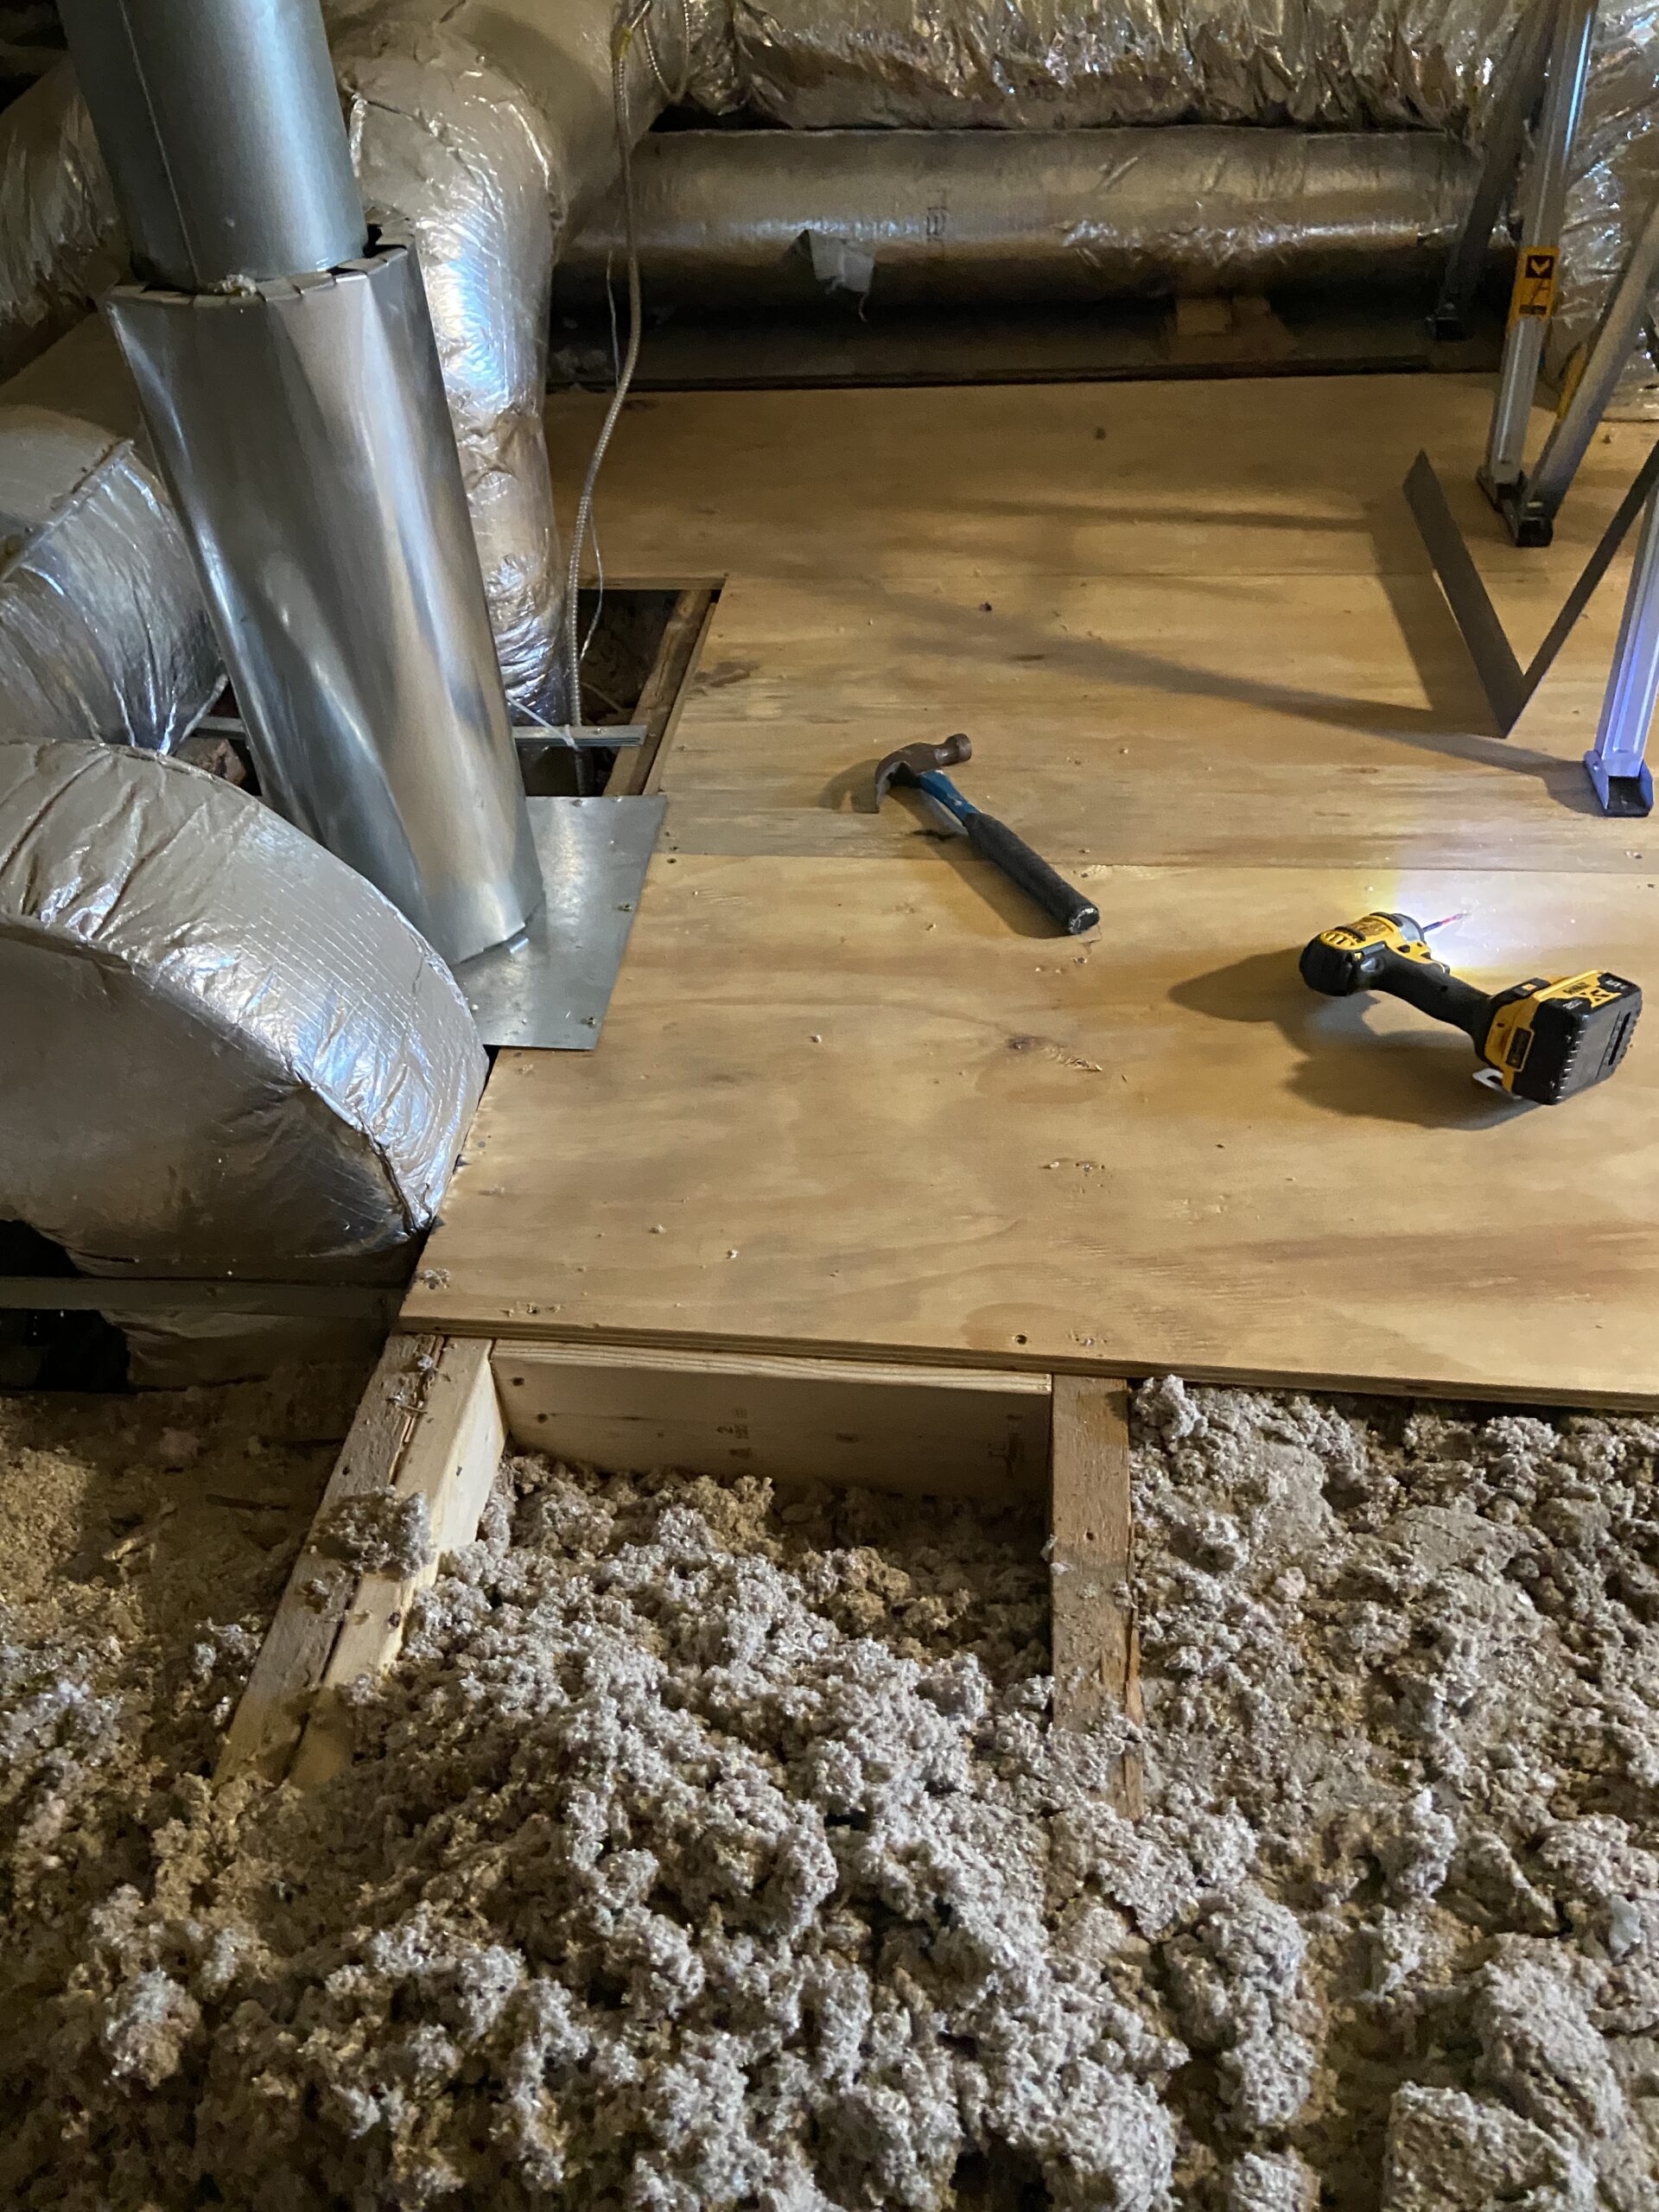
The original chimney of the house had been removed long before we bought the house and it was replaced with a gas firebase on the first floor, and a main trunk line for the HVAC stack right up through the house into the attic to supply forced air into the second floor from the ceiling. They used flex lines and they sat on top of the tongue and groove and were cut into the floor at a hard 90-degree angle.
I subcontracted out about 3/4 of the demo to a local crew and left 1/4 intact for myself to have a sturdy base of operations to work from (tool storage, lighting, etc). I felt as though this was quite necessary as it was quite a challenge to bring up plywood for subflooring and work on the HVAC in the early days.
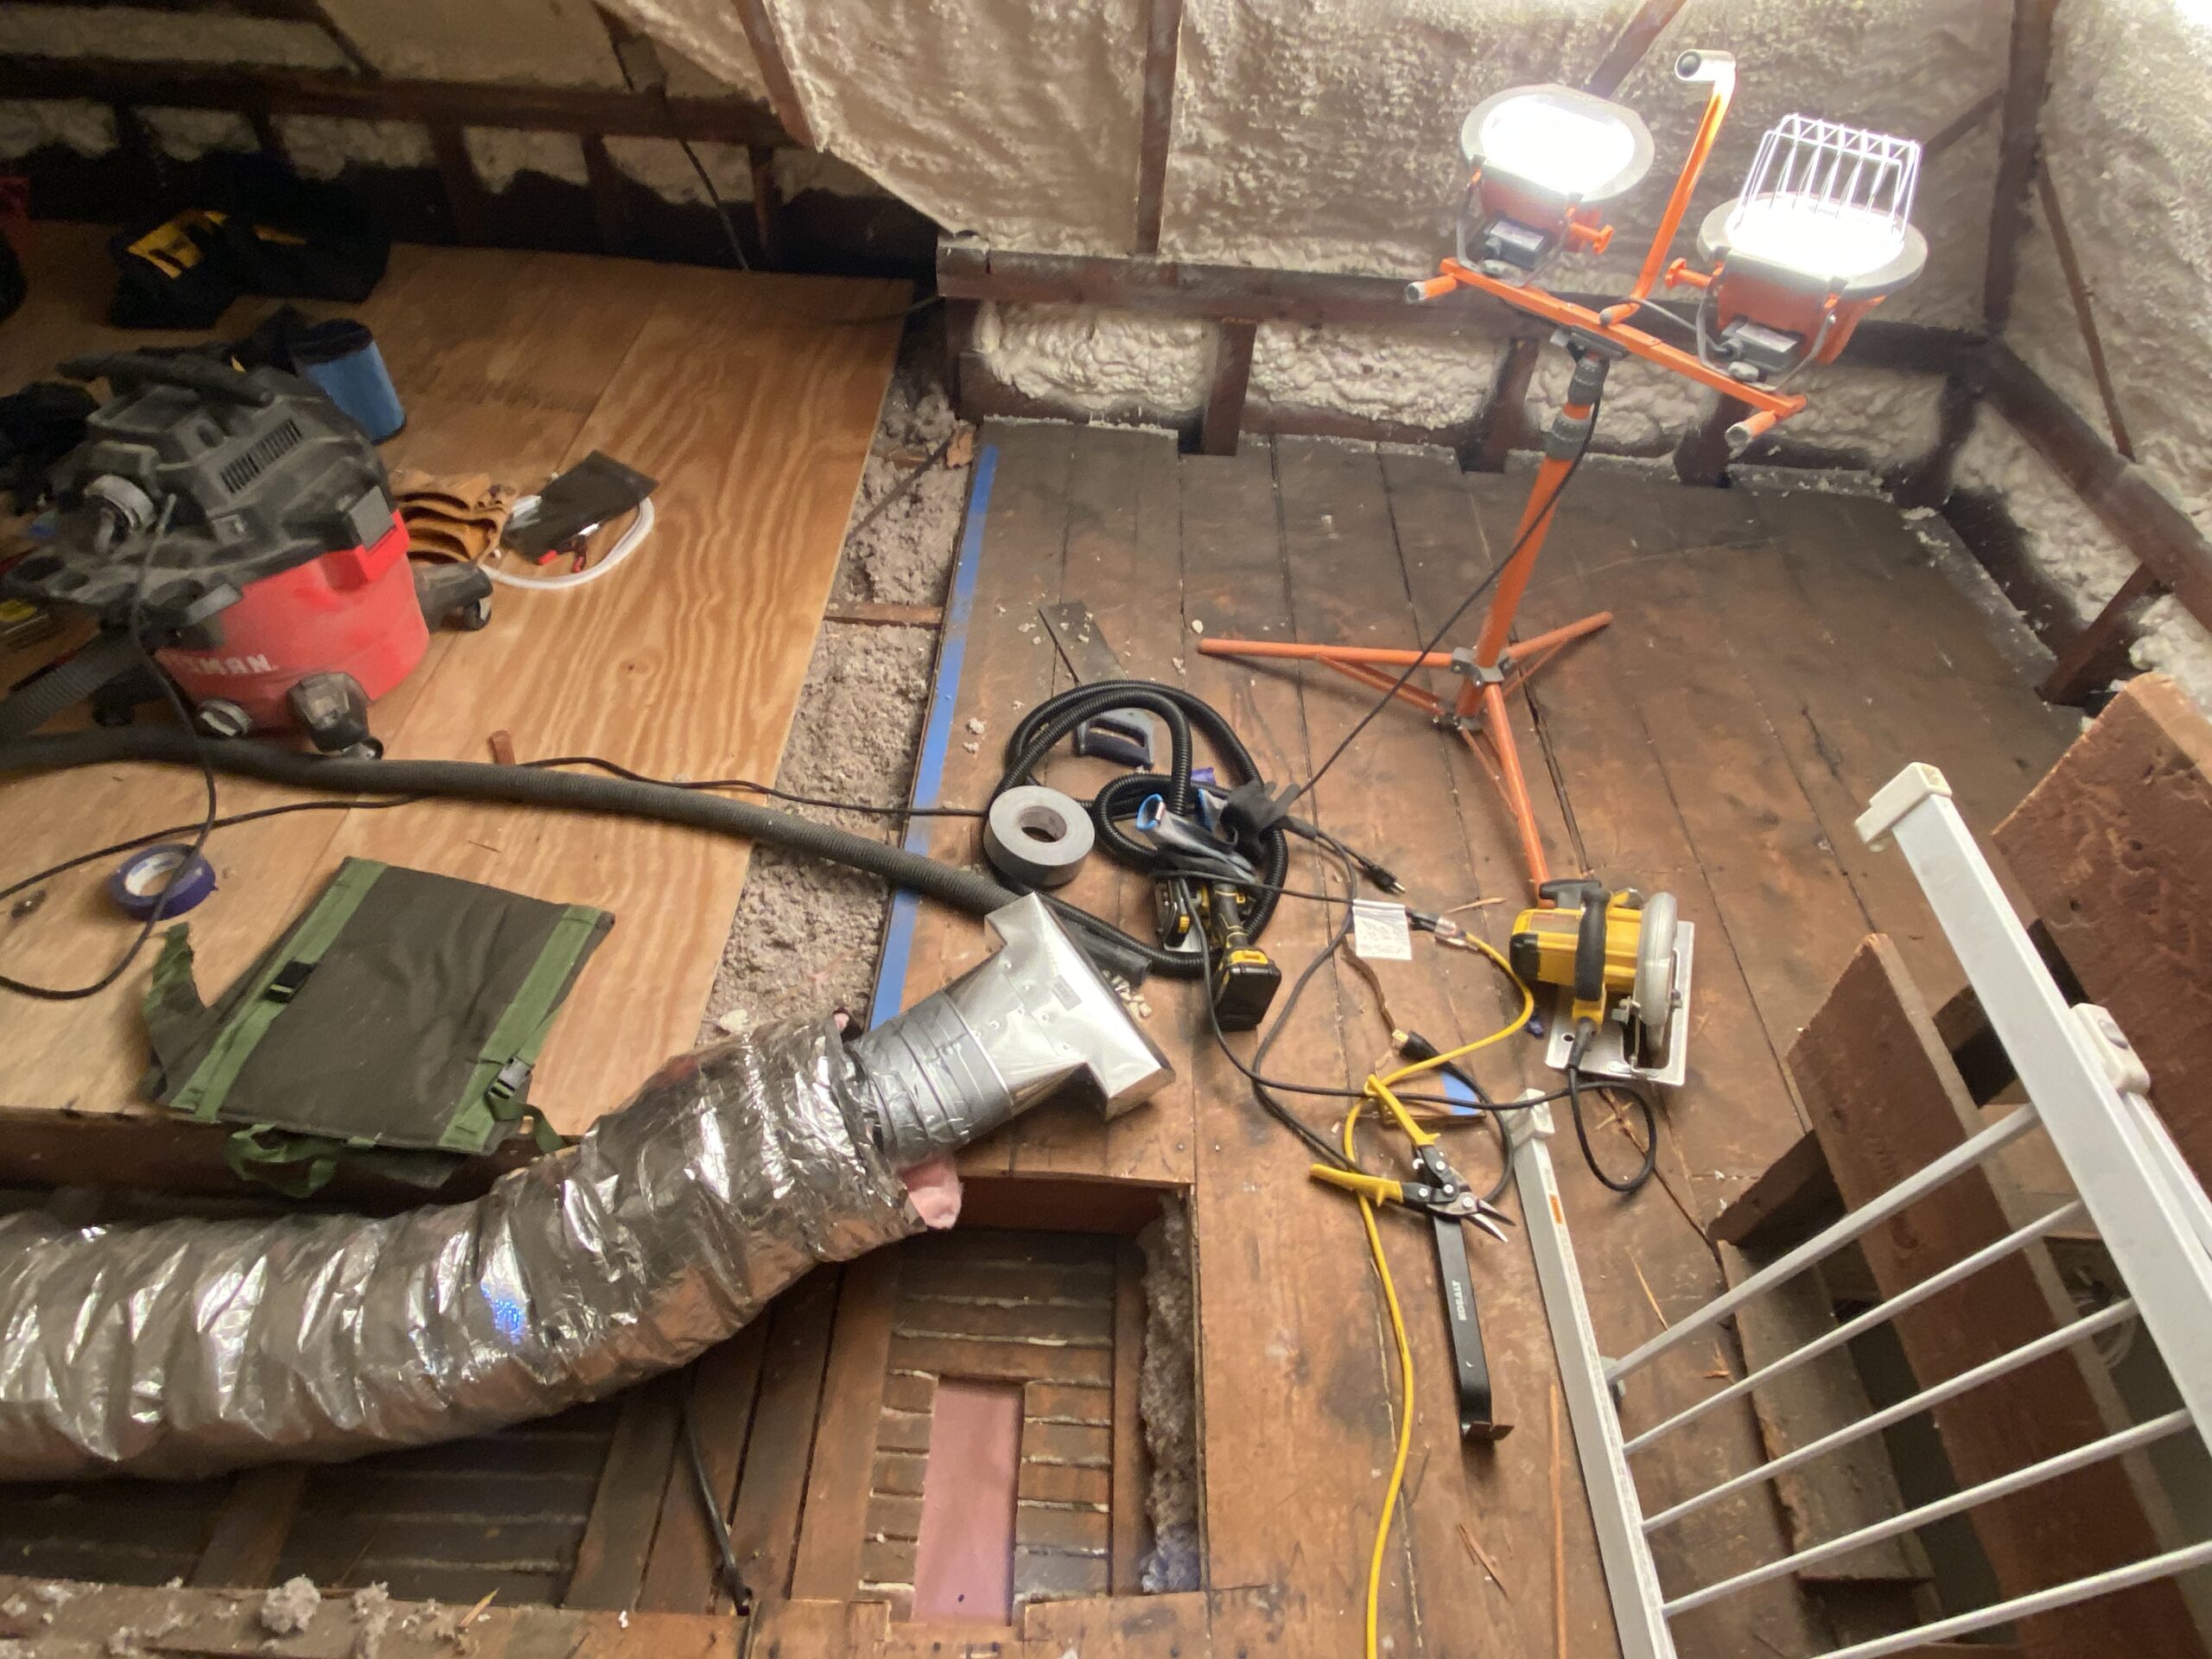
Once the bulk of the demolition was completed and the debris removed, it was time to start our HVAC work…and that was a journey that would last 8 months till the end.